Accessories: Light Meters

Although the Sunny f/16 rule is enormously helpful, if one is going to do serious photography, one needs a light meter.  There are four possible options for obtaining a serviceable meter:

  • A new light meter- the most expensive option.
  • A used light meter from a photographic dealer.  A guaranteed product, often at a reasonable price.
  • An older model meter with a CdS  sensor, often originally designed around a mercury battery.   These can be excellent meters and may often be obtained at a reasonable price on eBay.  However, as mercury batteries are no longer obtainable, they need to be recalibrated  to use modern batteries; this costs approximately $60 at a good camera repair shop.  Wein cells (zinc-air batteries) have been marketed to replace mercury batteries.  However, my camera repair guru at  Seattle’s Camera Clinic notes that these are basically hearing aid batteries and have a short life span.
  • An older,  selenium cell-based light meter.   These have no batteries, operating entirely on the current produced by the selenium cell.  If working, these can be  reliable and very serviceable meters, and can ofter be obtained for a few dollars on eBay.  Their one drawback is that they are not sensitive at low light levels.  The higher end selenium meters are supplied with a booster  cell to be used in dim light; this extends the range to some extent.

Although some authors recommend against purchasing older selenium cell meters, I have had good results with meters of this type from reputable manufacturers.  Sekonic meters seem to weather the years well.  One throws out the occasional meter that is nonfunctional or badly out of calibration, but the older meters are relatively inexpensive and one can afford to dispose of the occasional dud.

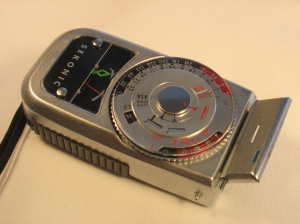
Among the older Sekonic selenium meters, two models stand out.  The first is the Sekonic L-8 Leader Deluxe, a compact meter with a detached amplifier cell that plugs into the bottom of the unit.  Like most of the selenium meters,

Sekonic L-8 Leader Deluxe

this has a pop-up cover that obscures most of the cell for high light levels; this cover pops open to expose the entire area of the cell for intermediate light levels.  For low light levels, the amplifier unit (a large selenium cell) is plugged in.  The indicator dial has three colored markers in red, yellow and blue respectively, each representing one of the three different modes.  Note that for low light level readings, the amplifier is used in conjunction with the open flip-up cover.  This meter is small, fitting nicely into the pocket of a small gadget bag, and extremely simple to use.  The manual for this meter is available on Mike Butkus’ Orphan Cameras site.

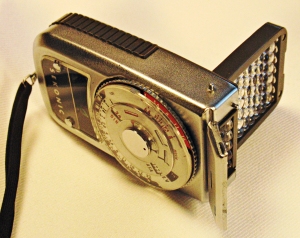
A slightly newer and larger meter is the Sekonic Multi-Leader, which has the

Sekonic Multi-Leader

amplifier cell incorporated into the bottom of the meter.  Arming the booster cell can be something of a challenge until one discovers that the cell ingeniously releases automatically when the dial is turned to the black indicator.  Otherwise, operation of this meter is identical to the L-8 Leader Deluxe.

Sekonic Multi-Leader with Booster Cell Open

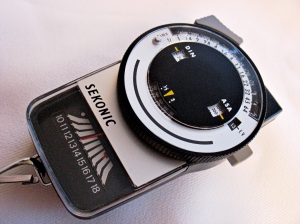
The cadmium sulfide (CdS) meters are battery operated, utilizing the variation in resistance of the CdS cell at different light levels.  As a result, they are capable of responding to low light levels, and their responsive range covers most of the light levels practical for film photography.  Among the older Sekonic CdS meters, one of the classic models is the L-248 Multi-Lumi, produced from 1971 to 1992.  This meter, whose manual is also available on Mike Butkus’ site, can be used in either incident or reflected light mode, using a frosted plastic hood to cover the CdS cell for incident readings.

Sekonic L-248 Multi-Lumi

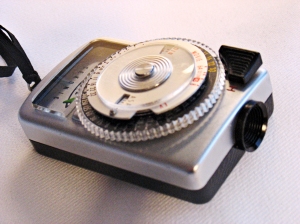
A smaller and somewhat simpler CdS meter is the Sekonic Micro-Leader, which lacks the capability for incident light readings.

Sekonic Micro-Leader

This meter originally used a PX-13 1.35 volt mercury battery, which is now no longer available.  Although the MBR625 Wein cell is advertiSed as a substitute, as noted above, these are hearing aid batteries, and their use is not recommended because of their very limited life span.  Various adapters are also advertised, but it is best to expend approximately $60 and have the meter recalibrated to use a modern battery.

A wide variety of other classic meters are available, and the reader is advised to consult Karen Nakamura’s Photoethnography.com web site for a discussion of classic meters from Gossen, Weston, and other manufacturers.  Manuals for many of these meters are available on Mike Butkus’ web site.

An excellent treatise on the subject of exposure and exposure values is available on John Lind’s Science of Photography site, cited below.  Ace Camera’s notes on using an 18% gray card are also helpful.

An excellent discussion of early light metering systems is available on the Early Photography site.

References:

Ace Camera.  “How to Use an 18% Gray Card.”  http://www.acecam.com/magazine/gray-card.html.

Butkus, M.  “Flash and Light Meter Instruction Manuals.”  http://www.butkus.org/chinon/flashes_meters.htm

Early Photography.  “Exposure Meters.”  http://www.earlyphotography.co.uk/site/meters.html.

Lind, John.  The Science of Photography: Exposure.”  http://johnlind.tripod.com/science/scienceexposure.html.

Nakamura, Karen.  “Light Meters for Classic Cameras.”    http://www.photoethnography.com/equipment.html

Wikipedia Article: “Light Meter” http://en.wikipedia.org/wiki/Light_meter.
The Wash, Thousand Palms

Afternoon Shadows at the Wash, Thousand Palms

After a day at a conference in Palm Springs, I escaped into the sun in search of desert images.  A quick search of the internet reminded me of one of Palm Springs’ real treats, the oases of Desert Fan Palms (Washingtonia filifera) that flourish wherever the San Andeas fault forces deep groundwater to the surface, and I was soon speeding northward toward the Thousand Palms preserve.  Leaving the town’s ritzy gated communities and straggling suburbs behind, I was soon traversing Highway 10 through the rocky desert of the northern Coachella Valley.

Just before I reached the oasis, I passed over a dry wash curving off toward the eroded brown crests of the distant Little San Bernardino Mountains.  Intrigued by the interplay of the shafts of the late afternoon shadows and the curving lines of the wash and the trees, I stopped and went exploring.  The late afternoon sun was low, and every rock and tree cast a spear of  shadow across the line of the wash as it curved around a rocky outcrop.  I took this photo on XP-2 with my No. 1 Kodak Junior at f/22, and once again the little Rapid Rectilinear lens captured a crisp image with excellent contrast and tonal range.

Later, I found the little road to Thousand Palms Canyon and, managing to elude the rattlesnakes and sidewinders, I savored the cool dusk between the majestic columns of palms, and climbed a crumbling slope to the top of a bluff where I found an old wooden cross sillouetted against the sunset.

References:

“Coachella Valley Preserve.”  http://www.coachellavalleypreserve.org/.

“Coachella Valley Preserve Thousand palms oasis.”  http://3dparks.wr.usgs.gov/jotr/html/coachella.htm.

“1000 Palms oasis.”  http://www.coachellavalleypreserve.org/wilhelmhistory/histone.html.

“Thousand Palms Oasis on the San Andreas Fault.”  http://geology.about.com/od/geology_ca/ig/safsouth/safsouthpalms.htm.

Accessories: Focusing Aids

There are a few simple accessories that greatly facilitate focusing with vintage cameras.

Focusing Screen Magnifier:

A magnifier is an extremely helpful accessory for determining optimum focus on the ground glass.  Many photographers use a standard hand-held loupe for this purpose.  However, for those cameras with handy pop-up viewing screen hoods, inserting a loupe into the hood on a 4×5 camera is challenging, and with a 2×3 format camera, using a loupe of the usual size is virtually impossible.  A simple magnifier on a handle can be easily fabricated from an inexpensive pocket magnifier and a short piece of brass or aluminum square tubular rod.

Magnifier and Handle

Simple pocket magnifiers of the type shown are available in various quality levels on eBay or in hardware stores.  Mine was purchased for $2.99 at Hardwick’s Hardware in Seattle.  The rod or bar stock is usually available in hobby shops or hardware outlets.  Undo the two screws holding the cover onto the lens assembly and remove the short rod that serves as a pivot, then replace it with an approximately 4″ length of the rod.

Finished Magnifier

Magnifier - Top View

With my magnifier, 3/32″ square tubular rod proved to provide a snug fit.  A small machine screw can then be screwed into the bottom of the rod to secure the lower end in the magnifier body (fortuitously, the small screws holding the magnifier together proved to be an exact fit in my case) and gentle crimping may be all that is required to tighten the fit of the handle into the magnifier.  A gentle bend to the handle ensures that your fingers will be out of the line of sight.  Precise focusing can then be accomplished by using the handle to position the magnifier into the viewing hood directly over the focusing screen.

Dark Cloth for Focusing:

In the Pacific Northwest, the best weather for photographing the forests and mountains with their hanging moss and curtains of mist is usually overcast and rainy.  Consequently, light levels can be very low.  Even though the Baby Pacemaker, like many other technical and press style cameras, has a pop-up viewing hood, it is still hard to see the image on my non-Fresnel viewing screen.  Consequently, having a dark cloth to put over the camera is very helpful and, under some conditions, essential.

The Dark Cloth

However, keeping a dark cloth in place over a small camera without having it fall off into the mud or slide over the lens can be a challenge.  Consequently. I devised a dark cloth that can be snugged around the camera body.  This is made from a 24″x40″ piece of heavy black cloth hemmed around the edges, with a nylon drawstring threaded through one long side.  The cloth is then folded in half and clipped together by a hook and eye, leaving an opening just large enough to pass over the body of the camera.

Detail of Closure

A cable clamp (available from most outdoor equipment stores) is threaded over each end of the cord, and these two ties are used to snug the dark cloth over the camera body.

To be continued….

Stone House, Saltspring Island

The Stone House, Saltspring Island

Located between mainland British Columbia and Vancouver Island, Saltspring Island, the largest of the Gulf Islands, is a unique and beautiful spot.   Driving up the ramp from the little ferry, one wanders along winding roads that snake between mountains and forests of cedar and Douglas fir.  Then suddenly the corridor of forest opens to reveal a pocket of valley with rolling farmland, punctuated by rustic farmhouses set among gnarled Garry Oaks.  Sheep graze in the fields, and signs for artists’ studios, potter’s workshops, and woodworker’s shops dot the road’s edge.

The island has a long and fascinating history.  First explored by the Spanish and British in the 1700s, Saltspring was settled in the 1850s by early pioneers who had abandoned their hopes of quick riches in the Fraser River Gold Rush.

A group of 9 Negro slaves, who had purchased their liberty in the United States, arrived at what was to become thew town of Vesuvius in 1857.  More black settlers from California were followed by immigrants from Portugal and Scandinavia, then British and Hawaiian settlers (Kanakas) originally recruited by the Hudson’s Bay Company.   As a result of this long history, the island boasts some of the oldest farms in  the province, and photographers find many abandoned farmhouses and barns dating from the 1800s.

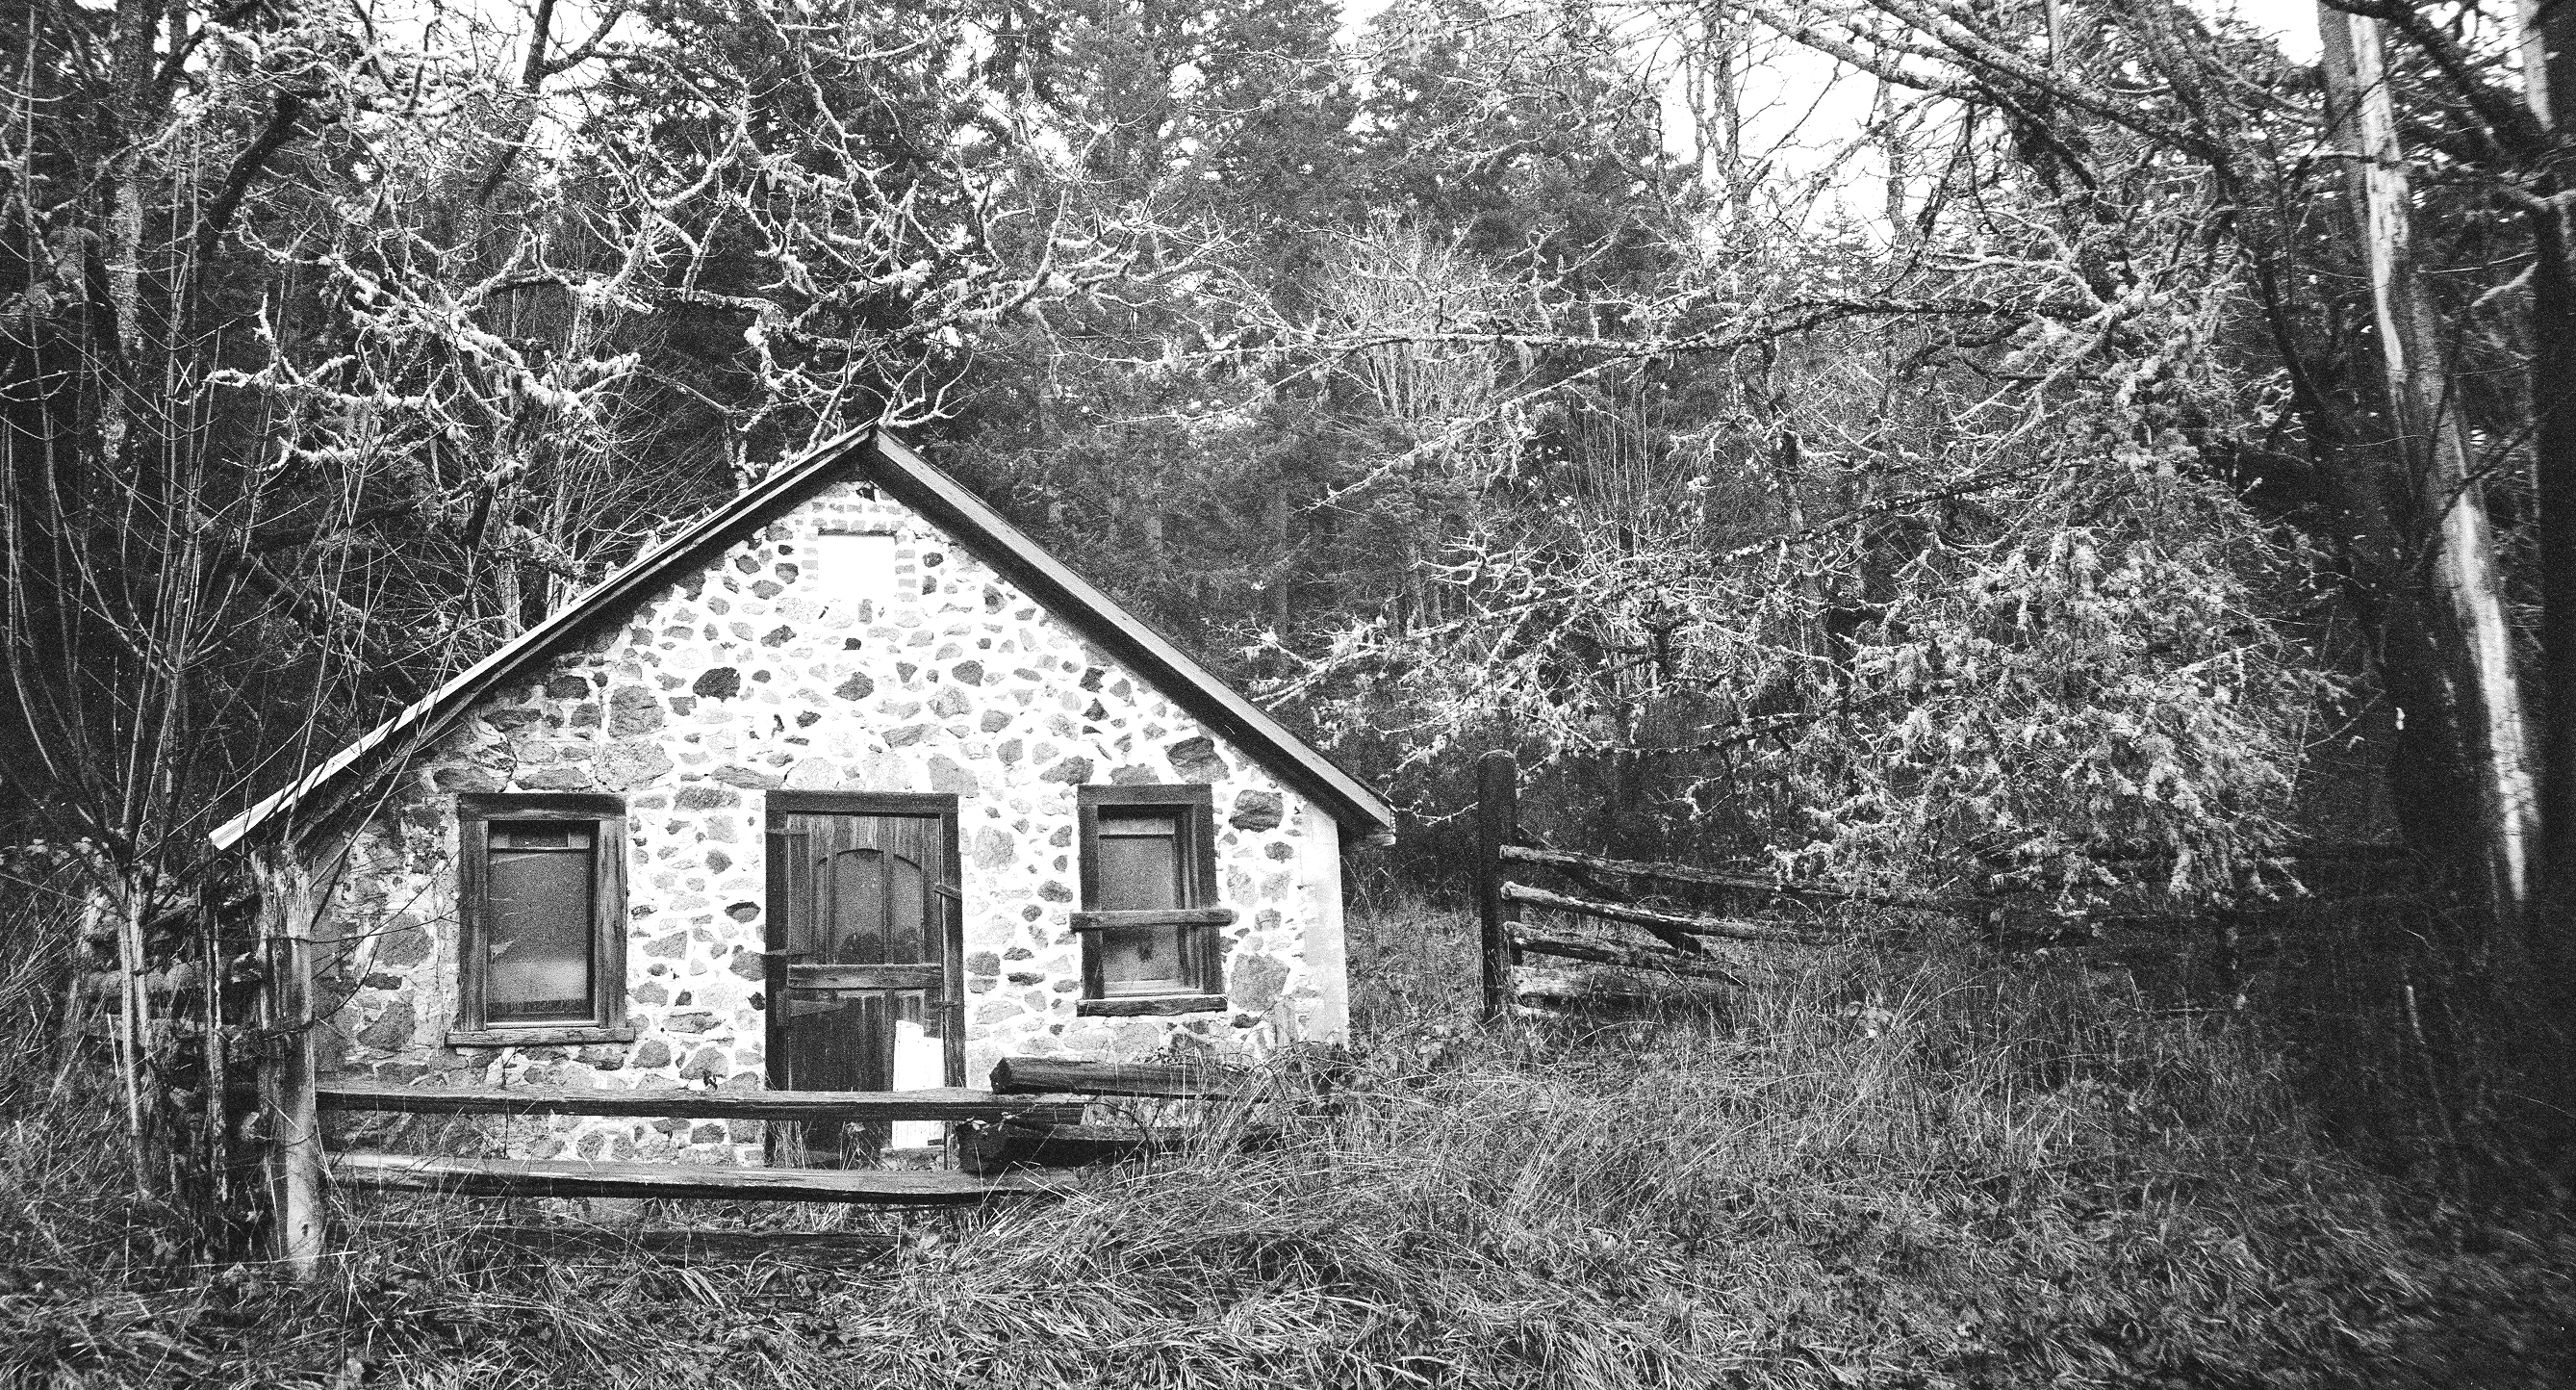
As the light was fading under drippy skies and heavy overcast, I came across this old house in a small valley near the sea, with a meadow and a lovely old abandoned barn.  Sitting beside a muddy lane, this old farmhouse was framed by alders and maples festooned with lichen.

This image was taken on Kodak VC- 160 at f/16 using the 65 mm. Schneider Angulon on my Baby Graphic.  Given the limited amount of foreground, front tilt was not used.

Using the interchangeable backs on the Baby Graphic, I then took a black and white version on Ilford XP-2:

The Stone House, Black & White

References:

“Saltspring Island.”  Online Posting on vancouverisland.com. http://www.vancouverisland.com/regions/towns/?townid=257

The Misty Lane

The Misty Lane

This image, taken at f/22 with the 75 mm. Ross Xpres lens on my Ensign Selfix 16-20, is a good example of what can be accomplished by vigorous cropping and creative processing in Photoshop.  Although not of gallery quality, this is a pleasant and somewhat moody image of a road in the mist.  The original image (see below) was a thoroughly unremarkable color photograph of a lane in light mist taken on Kodak VC-160 film.

The mist was not thick enough to produce much effect.  However, on viewing the original image, I thought that there might still be a picture hiding within.  After converting the image to grayscale in Photoshop, I cropped out the busy sky and trees, isolating the lines of trees and road converging into the distance.  Cropping off the distracting, light-colored space between the trees at both sides, I anchored the image between dark tree trunks.  I then used the Curves function to accentuate the darker tonal values, darkening the trees at the beginning of the lane, and similarly accentuated the lighter values, brightening the early rays of the sun as they struck the end of the lane where the misty effect was most pronounced.

Misty Lane Original Image

The take-home lessons are twofold.  First, much of the artistry of photography occurs after the shutter clicks, and the same original image can be interpreted by the printer, be he/she at the sink or the mouse, in multiple ways.  Learn to scrutinize your photographs for interesting lines or elements that might be extracted to form the basis of an artistic picture.  Secondly, for those who still debate between digital and “real” photography, I would suggest that rescuing this image could have been done by traditional burning and dodging, but only by a master printer.  Using Photoshop, I drew out the essential monochrome elements of this image in about fifteen minutes- and didn’t have to clean out the sink!

Postscript:

Recently, a kind reader, Scott Bilotta from the International Directory of Camera Collectors, offered me another insight into the many images that can hide within a seemingly ordinary negative.  I must admit that I don’t think well in square format; as a landscape photographer, most things are side to side or, occasionally, up and down, but rarely square.  Scott reworked this image in Photoshop, using the square format to capture the critical elements in a way that I had not considered in my rectangular mindset.

The Misty Lane, Scott's Version

In this image, I think that the delicacy of the mist adds to the overall impression of early morning sun and colorful fallen leaves.  Thanks, Scott for showing me more creative possibilities.