Restoration, like cutlery at a formal banquet, proceeds from the outside in. The leather needs to be restored and reattached before interior work can be done. However, before restoring the leather, the numerous copper oxide blisters need to be repaired:
Step 1: Copper Oxide Blisters: These are most effectively dealt with by gently removing the leather and scraping off the green oxide mound with a miniature chisel. The corres-

Scraping Copper Oxide
ponding mound of oxide adhering to the under surface of the leather should also be scraped clean. Since the rivets are frequently hollow, copper oxide accumulates

Cleaning Out Rivets
within the rivet, and this cheesy deposit needs to be dug out with a dentist’s pick after chiseling off the surface oxide. If the leather is securely stuck to the frame, an “X” can be cut over the blister with a sharp scalpel or razor blade and the oxide scraped out. Thomas Tomosoy describes this process in “Restoring Classic and Collectible Cameras” on page 37.
After copper oxide deposits have been removed, either by lifting the leather covering or by cutting X’s over the bulges, a thin layer of tacky craft glue is spread on both surfaces and allowed to dry slightly. Then the leather is pressed firmly back into place and massaged gently to remove any air bubbles or glue puddles. Carefully press down on the bumps in the leather formed by the copper oxide to flatten and reattach these areas to the metal. Beware of exerting too much pressure on the leather with hard instruments, as this can flatten the grain once the leather is moistened by the glue.
As with many vintage cameras, the leather on the front plate of the Ansco bends up to cover the flange around the edge of the plate. Make sure the leather covering around this flange adheres closely as the glue dries; this can be accomplished by massaging the leather edge as the tacky glue becomes progressively more sticky during drying.
Step 2: Stretching Shrunken Leather: Losing its attachment to the metal surface, the leather on the back has dried and shrunken so that it is almost a quarter-inch shorter than the metal back:
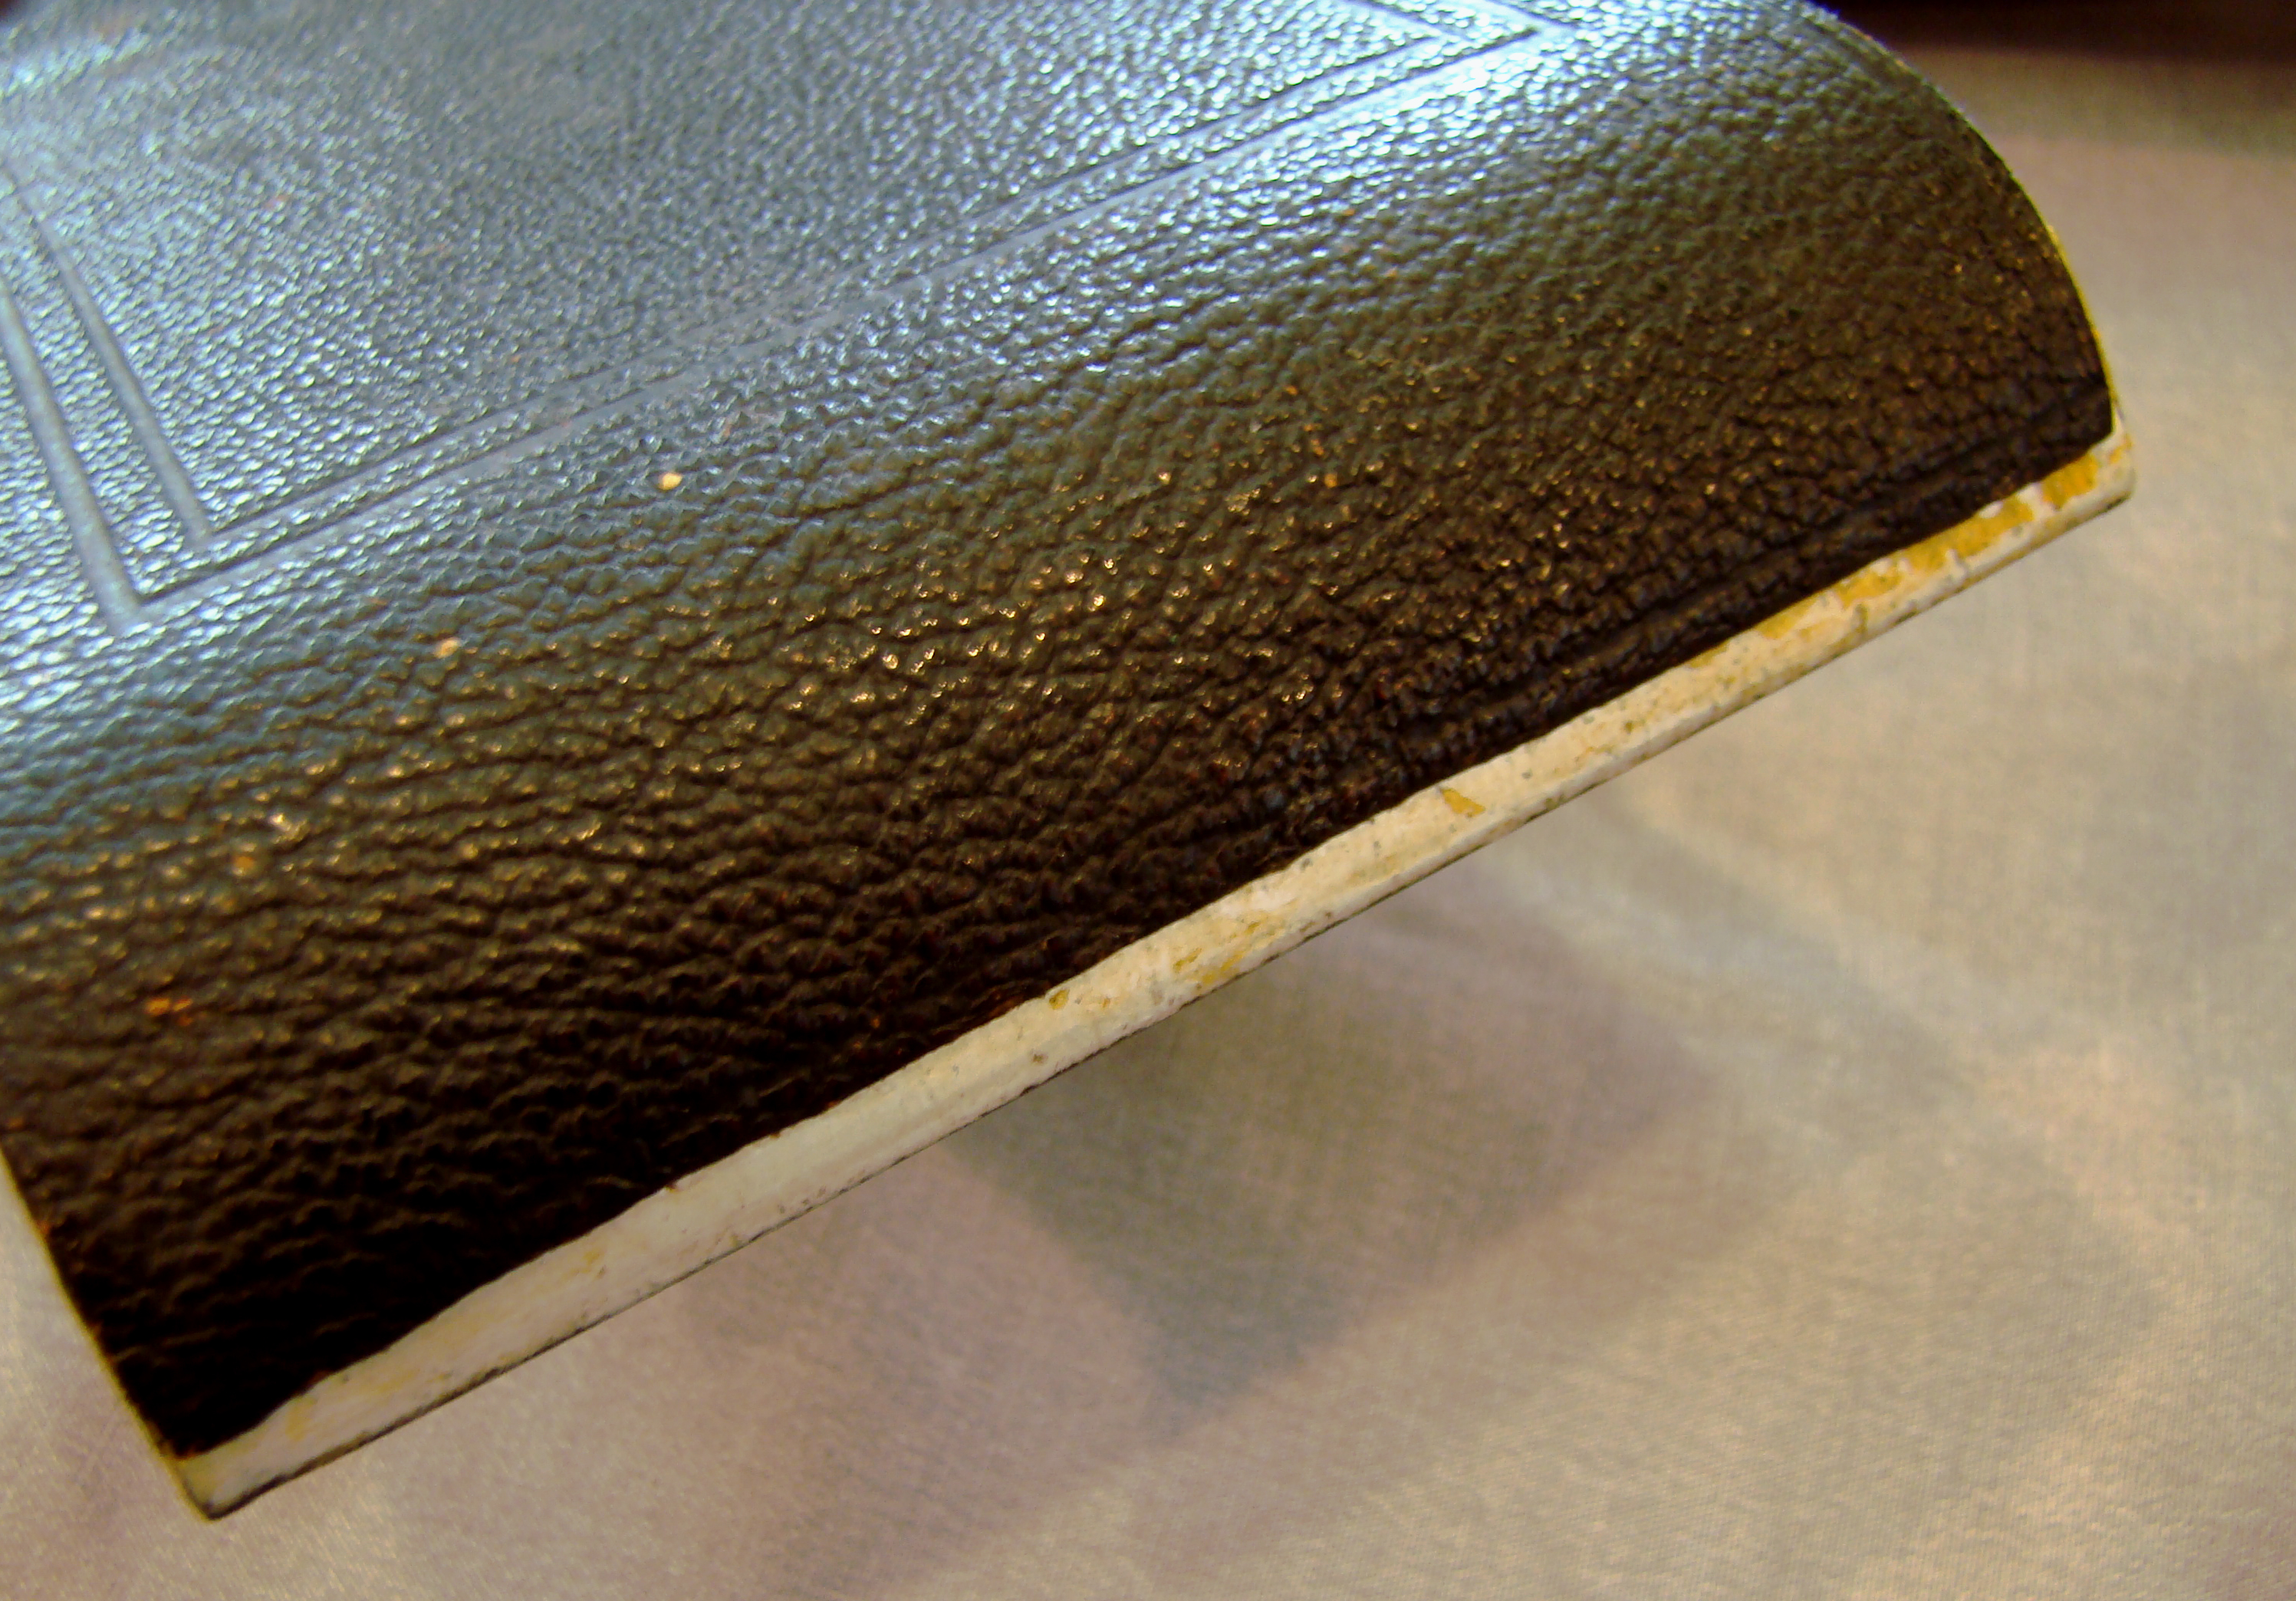
Shrunken Leather
This can be remedied by soaking the leather for 15 min in a pan of water to which a few drops of detergent have been added as a surfactant:
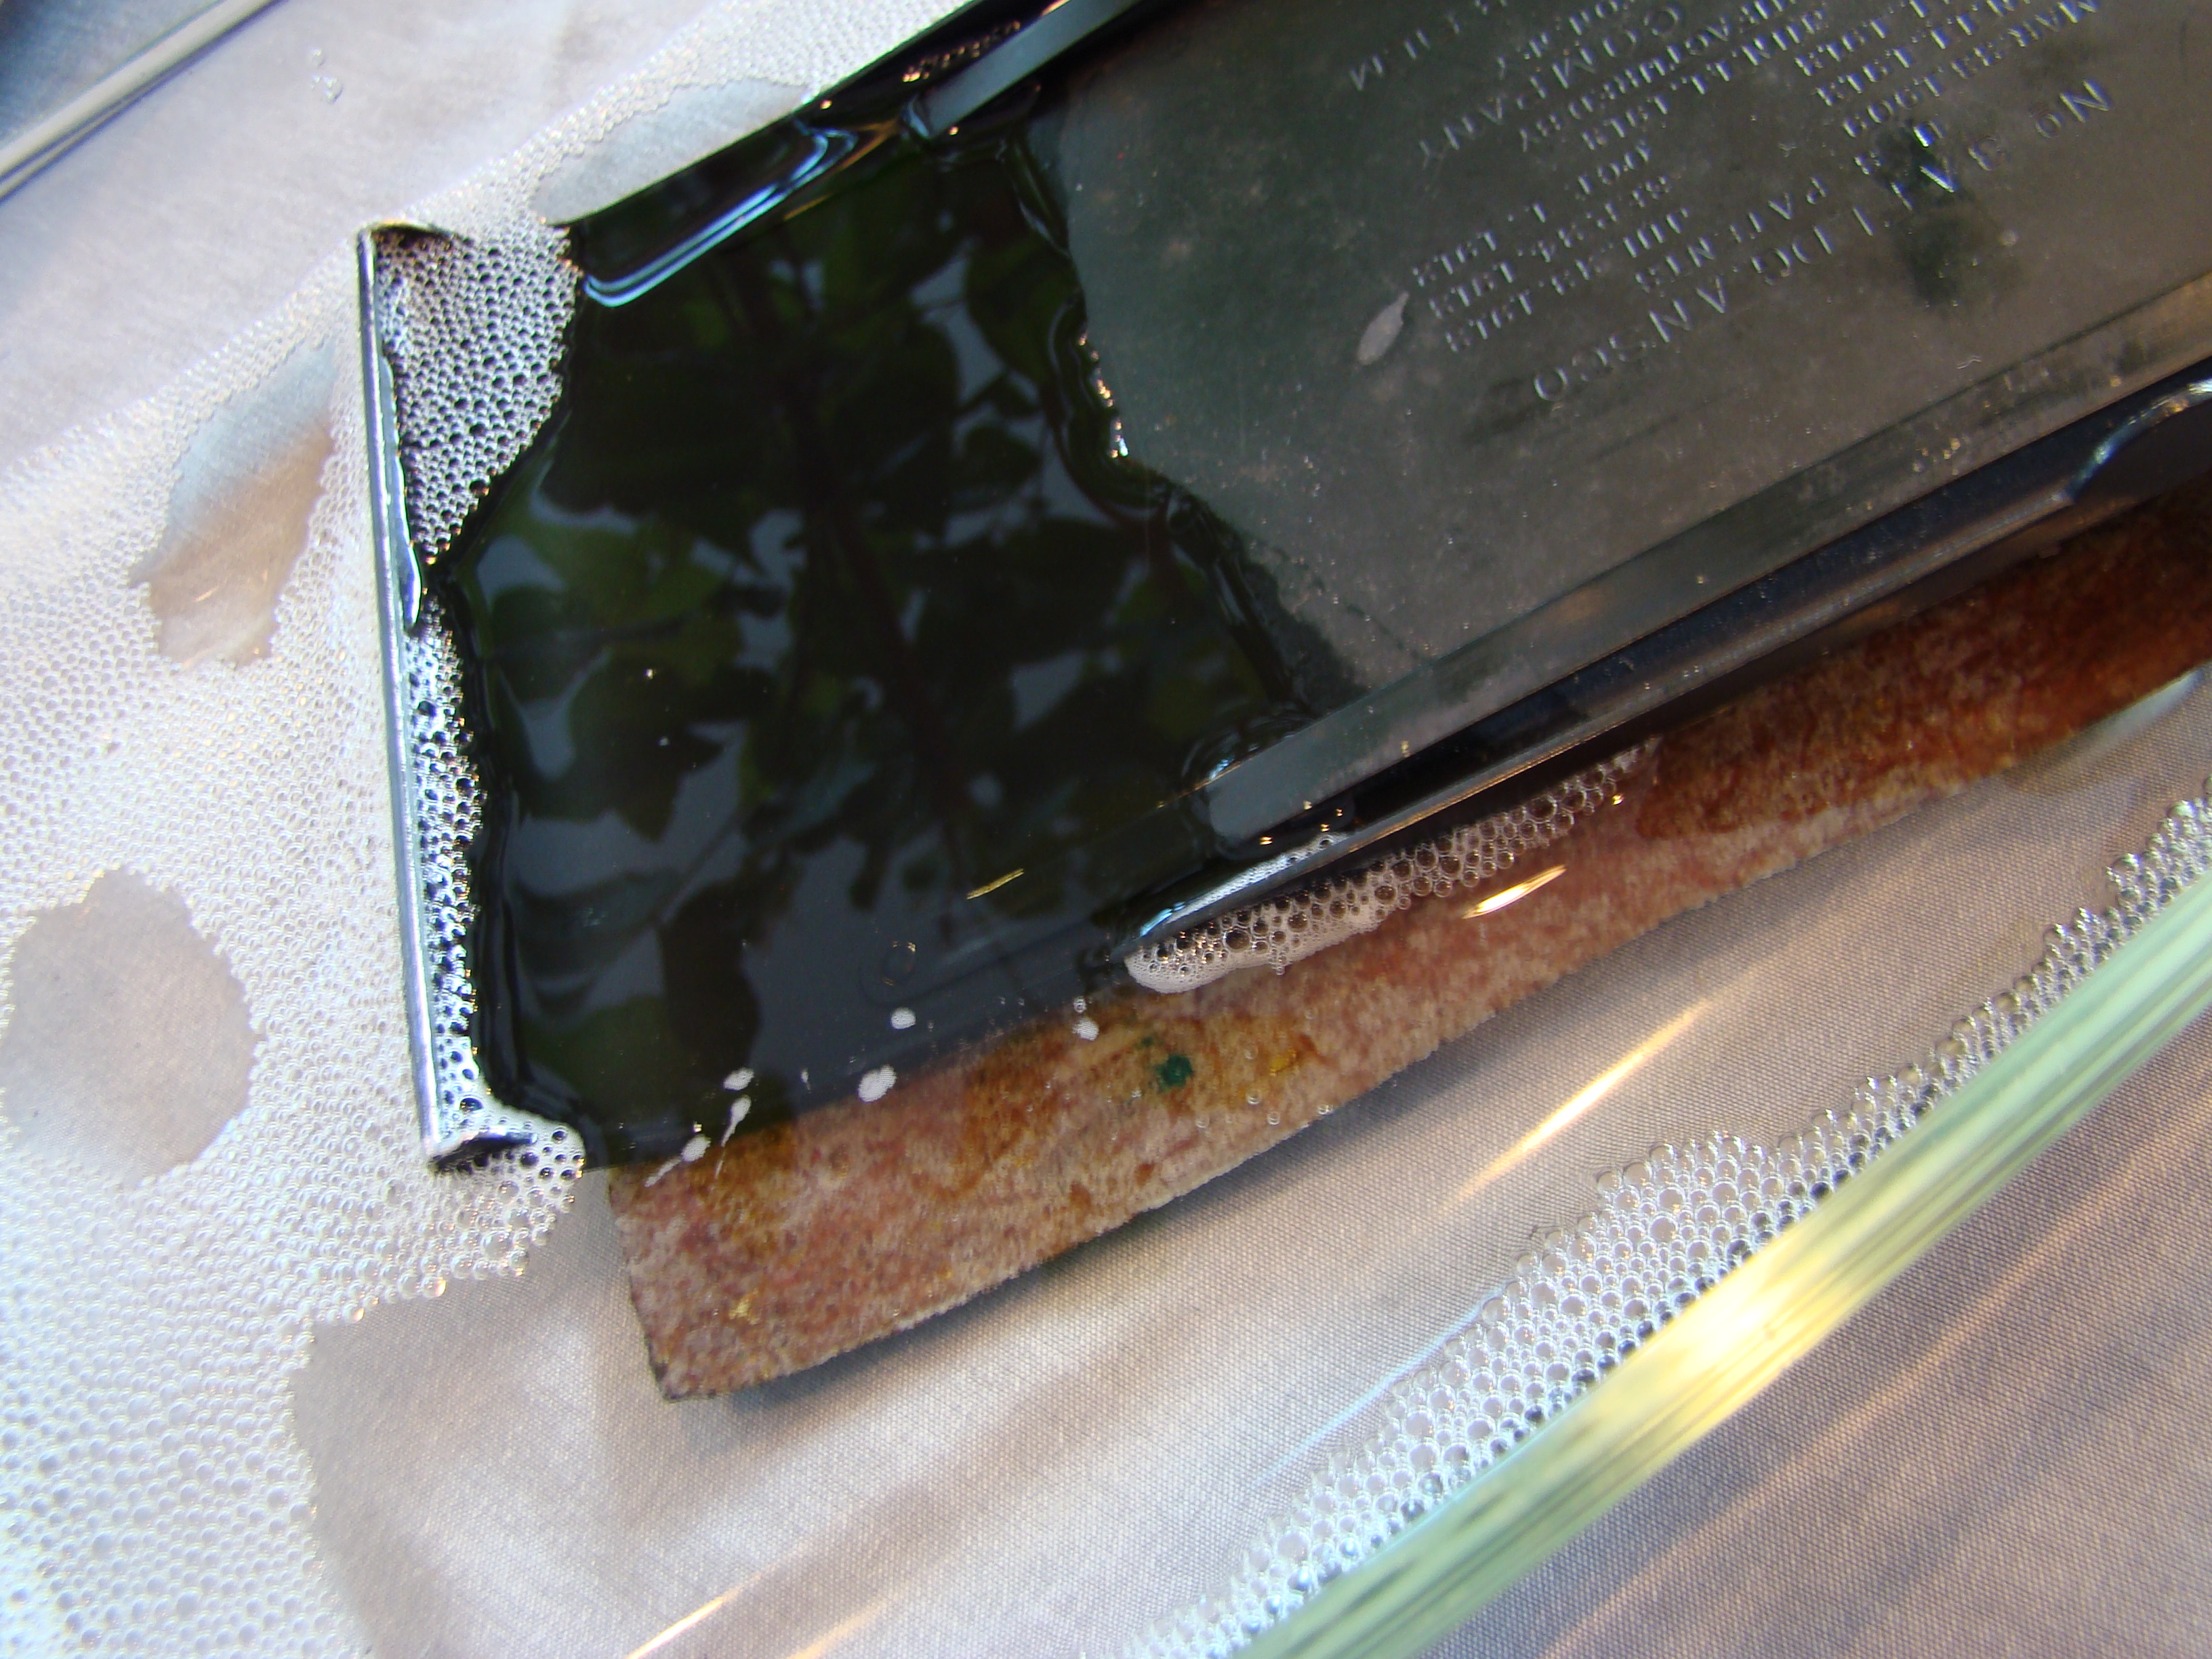
Soaking Shrunken Leather
Once it is thoroughly soaked, the leather becomes elastic once again and can easily be re-stretched. The old glue appears as a slimy coating on the underside of the leather and can be readily wiped off. The leather and frame are then both wiped dry, a thin layer of white tacky glue is spread on the metal back, and the leather is gently pressed down and massaged into its original configuration.
Step 3: Exterior Painting: Before any creamy or oily leather treatment is used, the exterior paint should be touched up. Be sure to remove all traces of the craft glue used to tack down the leather; this forms a rubbery coating, and can be scraped off readily with
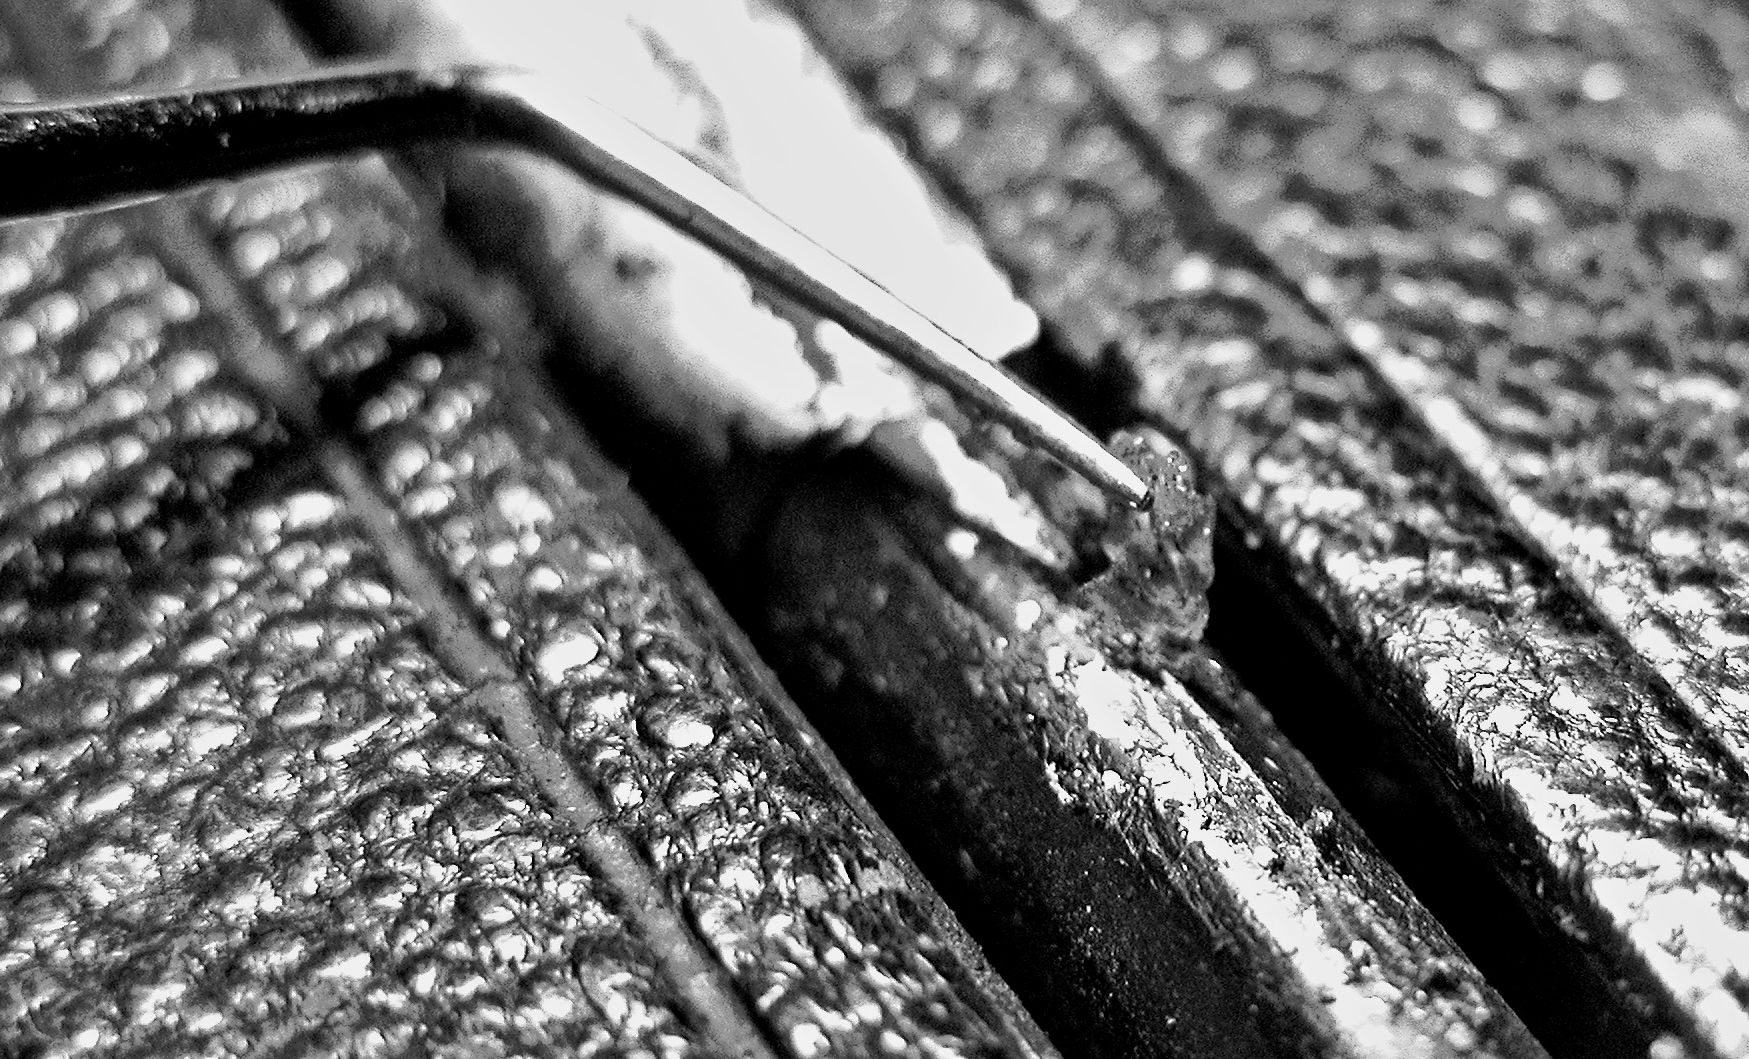
Scraping Off Traces of Leather Tacky Glue
a dental pick. Clean the painted metal surfaces with alcohol, xylene or toluene before painting. Check the integrity of the old paint before putting on a new coat. While some early twentieth century paints were quite durable, others deteriorated significantly with age. The black paint on the Ansco is stable in some areas, but has become almost
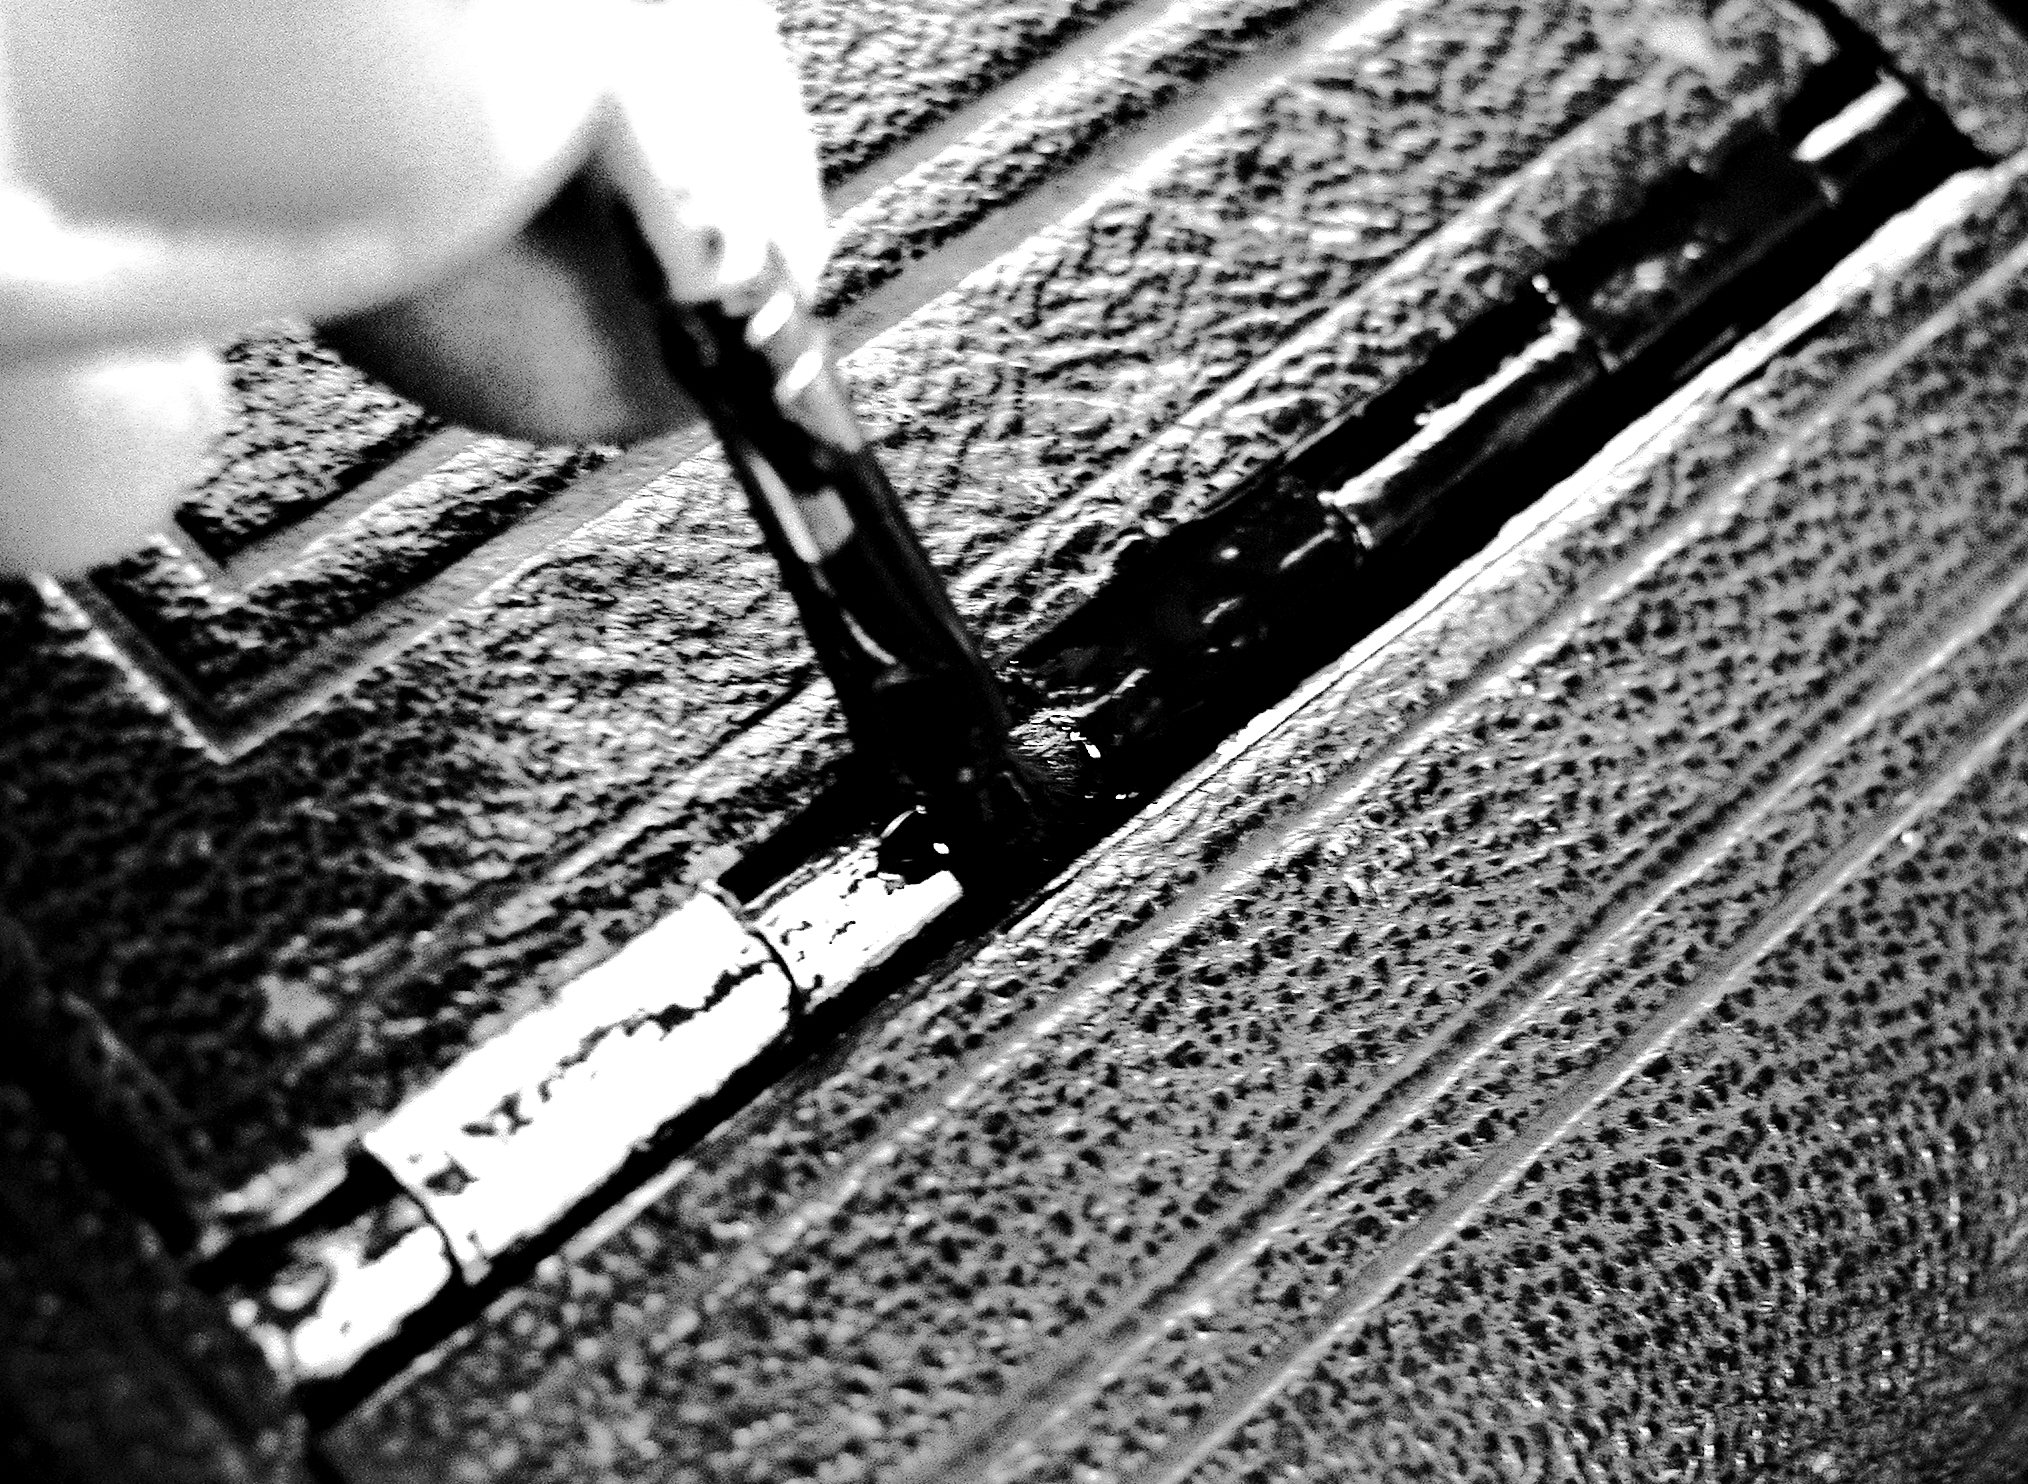
Painting the Base Plate Hinge
powdery around the hinge on the base plate, and much of it had to be scraped off before repainting. Touch up all of the paint that adjoins the leather, i.e., around the edges of the
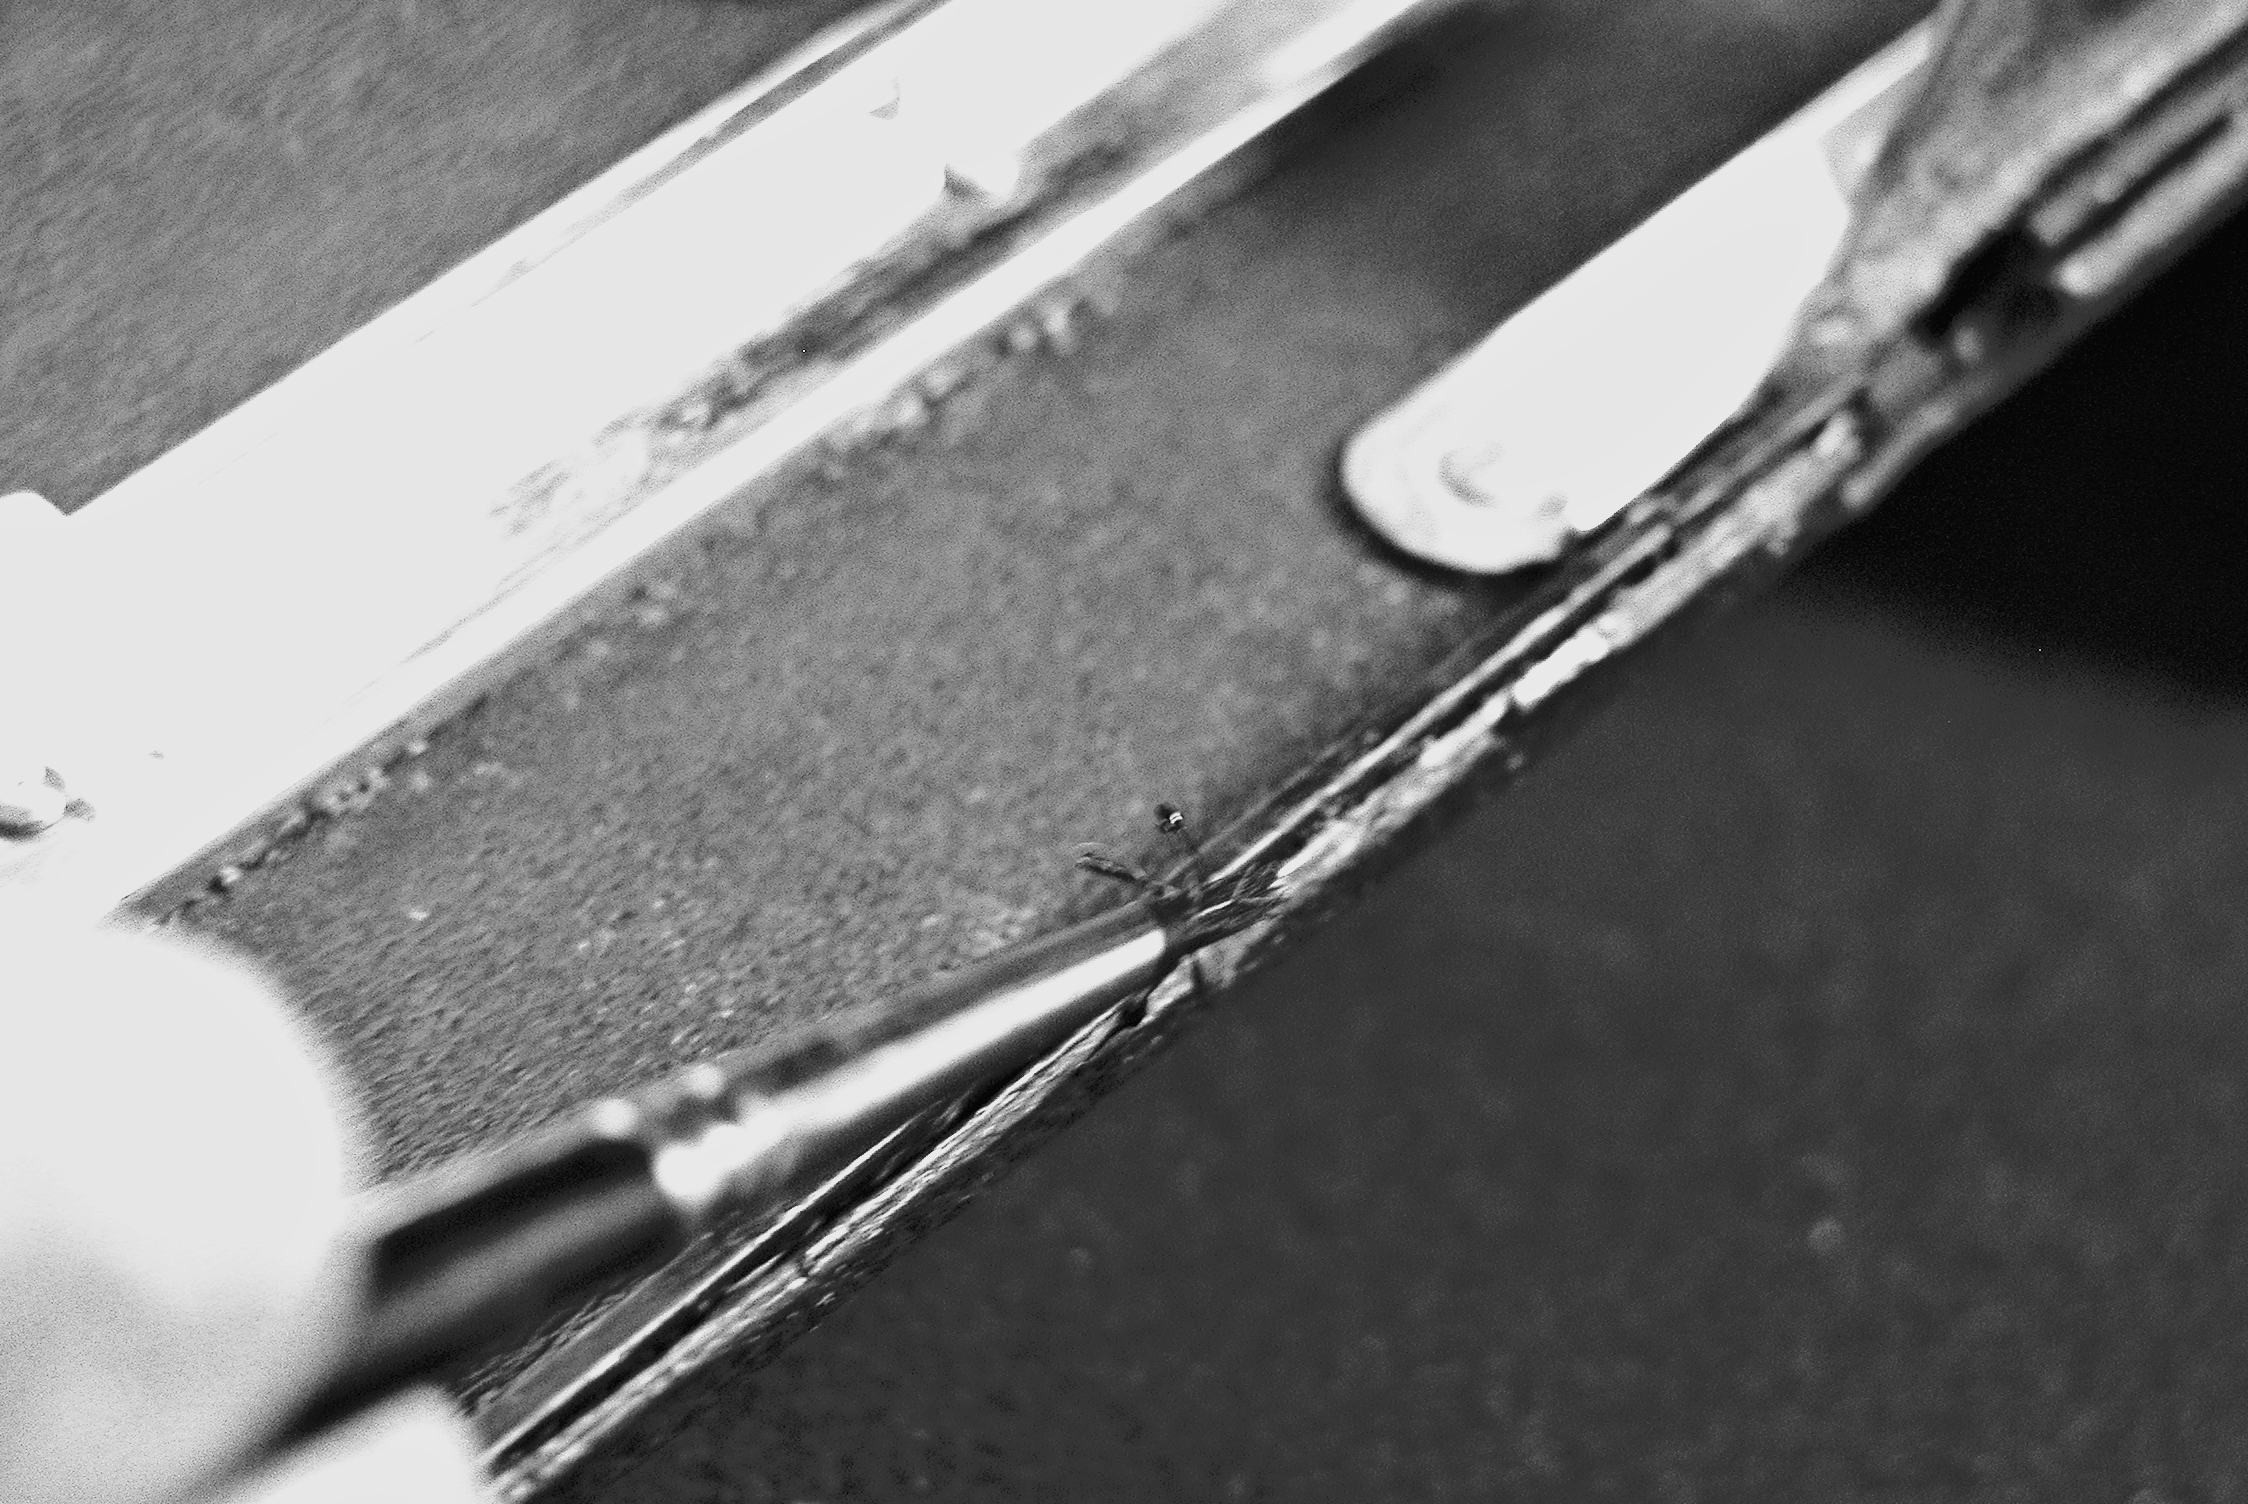
Touching up the Edges of the Base Plate
back plate, in the slots where the back plate inserts into the camera, and along the edges of the base plate. Painting before leather restoration allows the paint to adhere and dry before the surface becomes oily from the creams used to restore the leather.
Step 4: Restoring the Leather: Once the leather has been firmly reattached and the exterior paint touched up, clean the surface by spraying with Windex or Fantastik and washing with a moist (not soaking wet) cloth or soft brush. On the Ansco, this process removed a large amount of dirt. The camera is then allowed to dry, and all of the
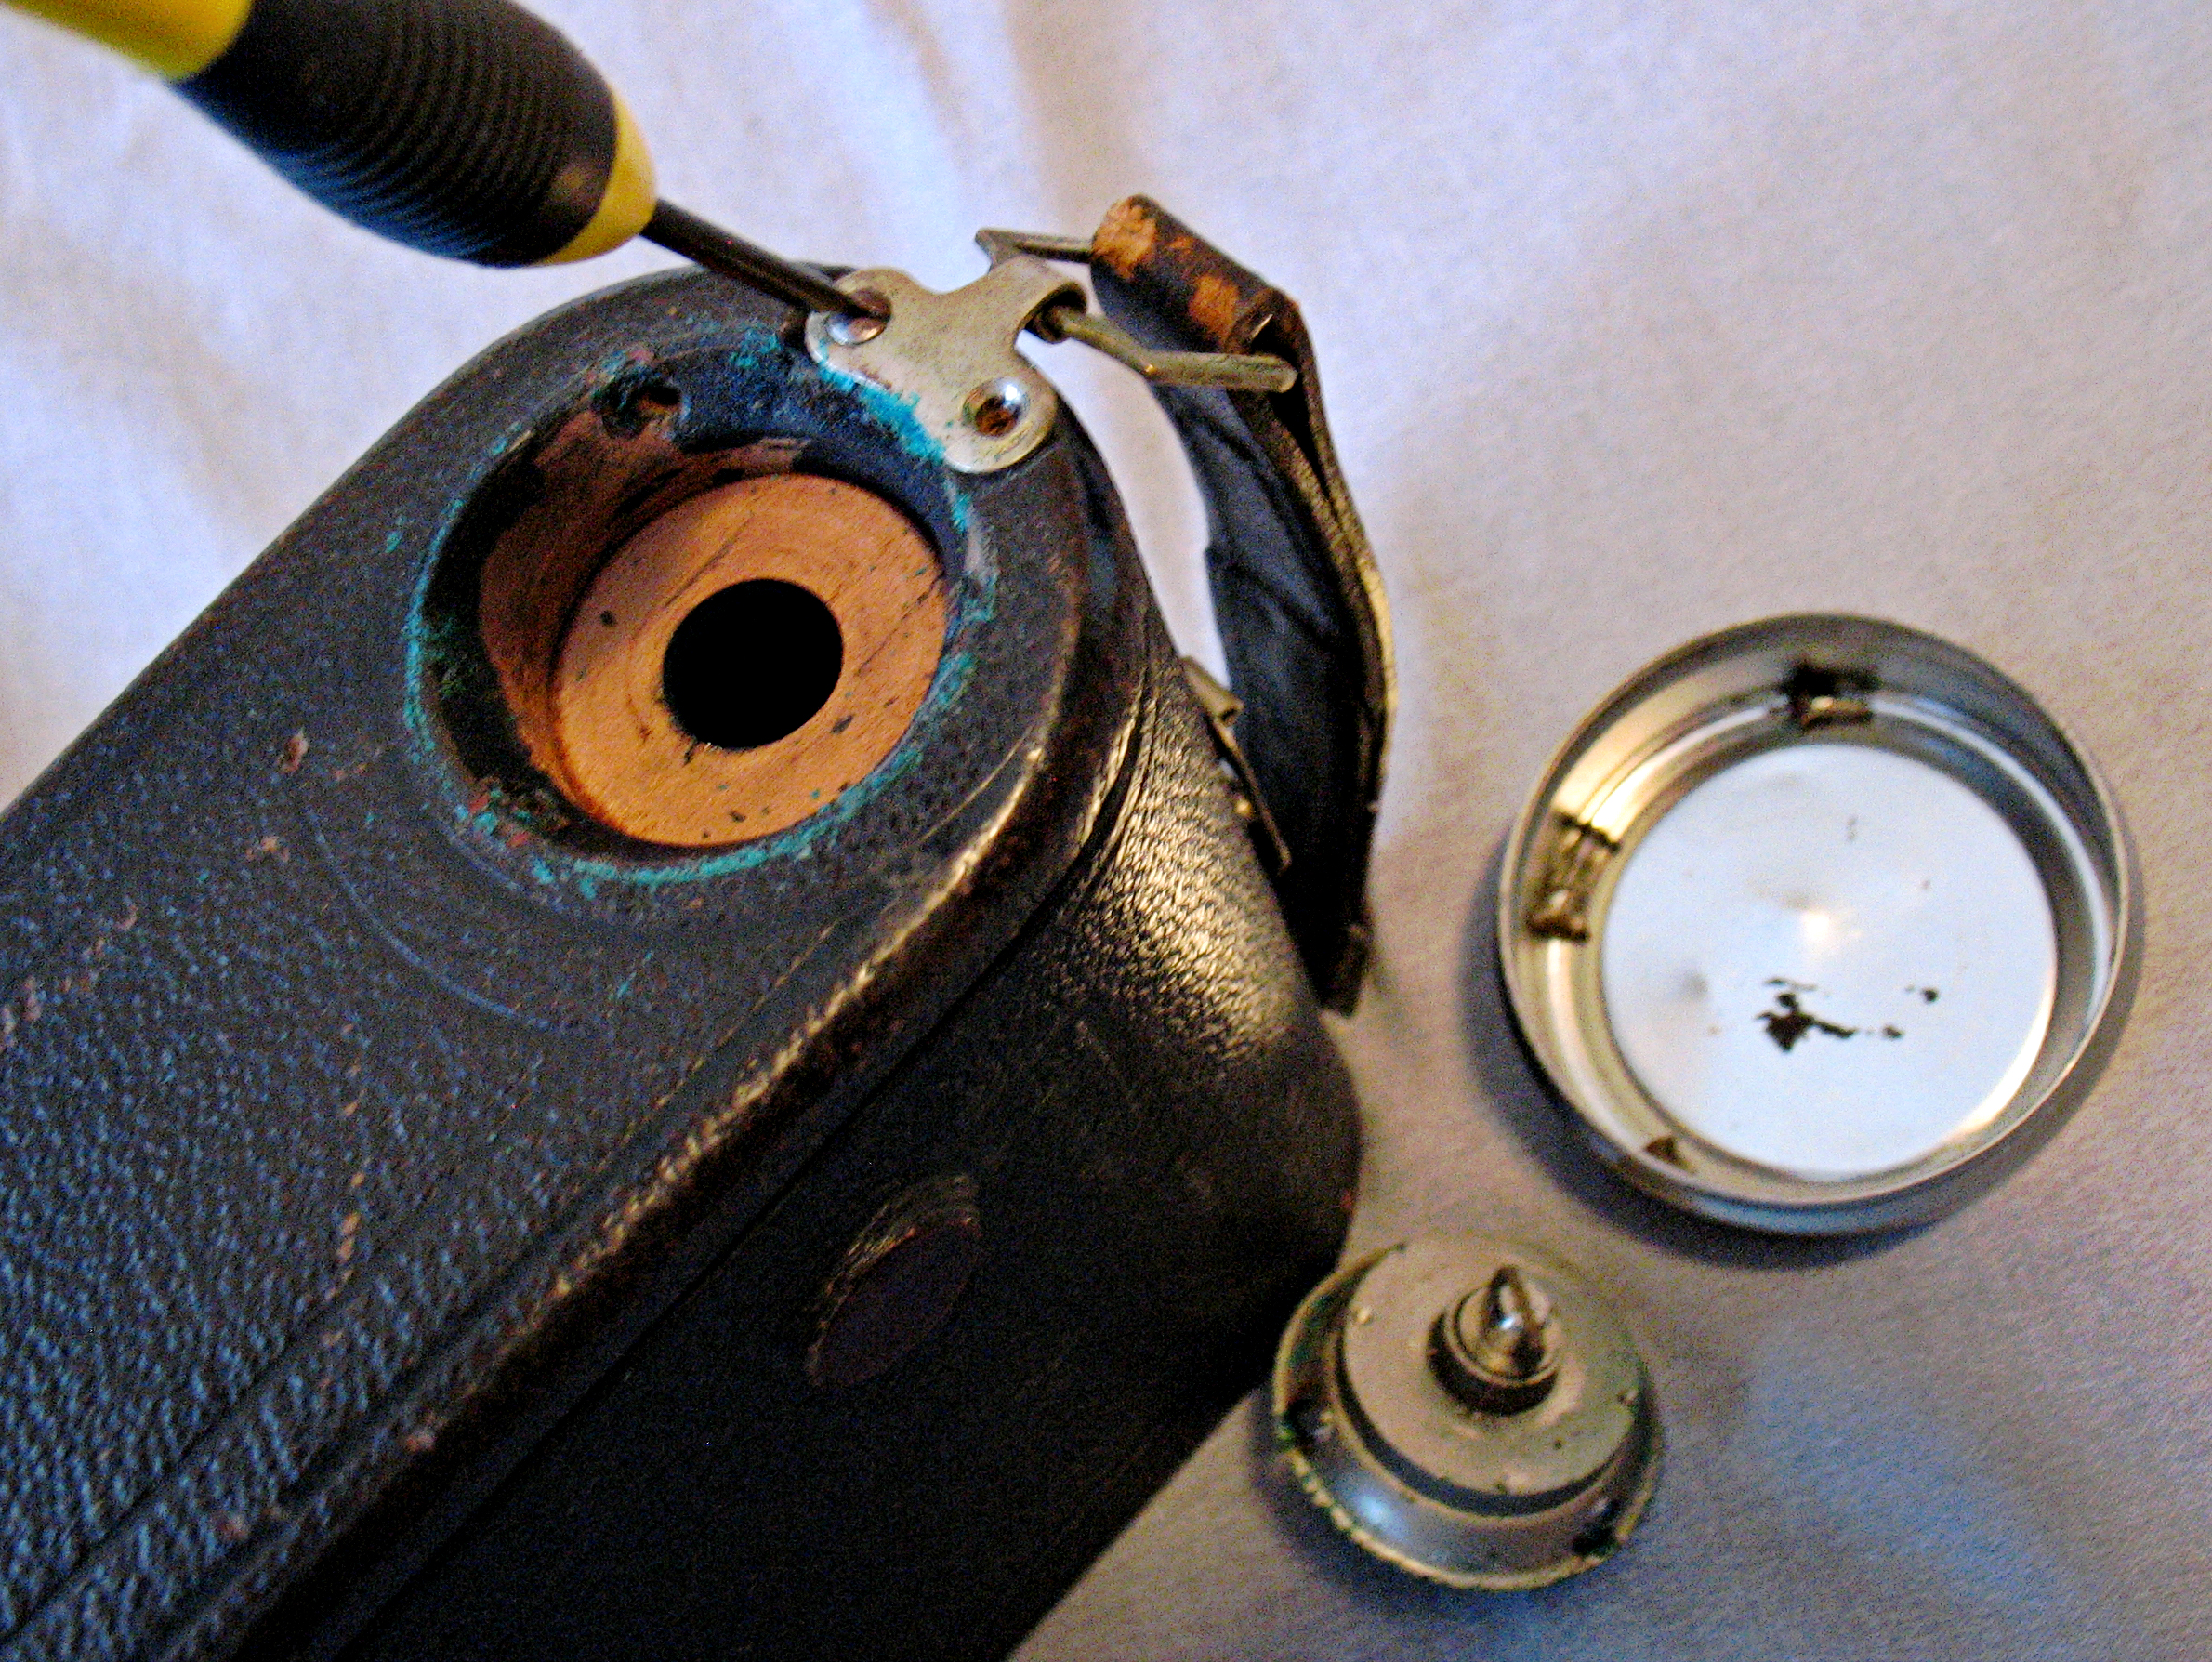
Removing the Hardware
removable external hardware pieces, including the strap, winding knob and film support inserts are removed.
Once the leather is cleaned and the hardware removed, leather restoration can begin. The covering is carefully examined and any loose edges are glued down.

Glueing Down Loose Edges
Small, partially detached fragments are glued down over gouges by applying a small amount of glue with a dental pick. The leather is then given a liberal coating of Dyo

Rips in the Leather
Leather Balm, a cream leather treatment, to rehydrate the fibers , followed after drying with Dyo Visco, a solvent-based waterproofing agent. If these products are not readily available, similar treatments can usually be identified by contacting your local shoe repair establishment. The surface is then given a coat of brown shoe polish and rubbed to a lustrous finish by hand.
Step 5: The Lens and Shutter: The first step is to remove the rear element. The shutter housing is then removed by unscrewing the rear retaining ring. However, with the Ansco
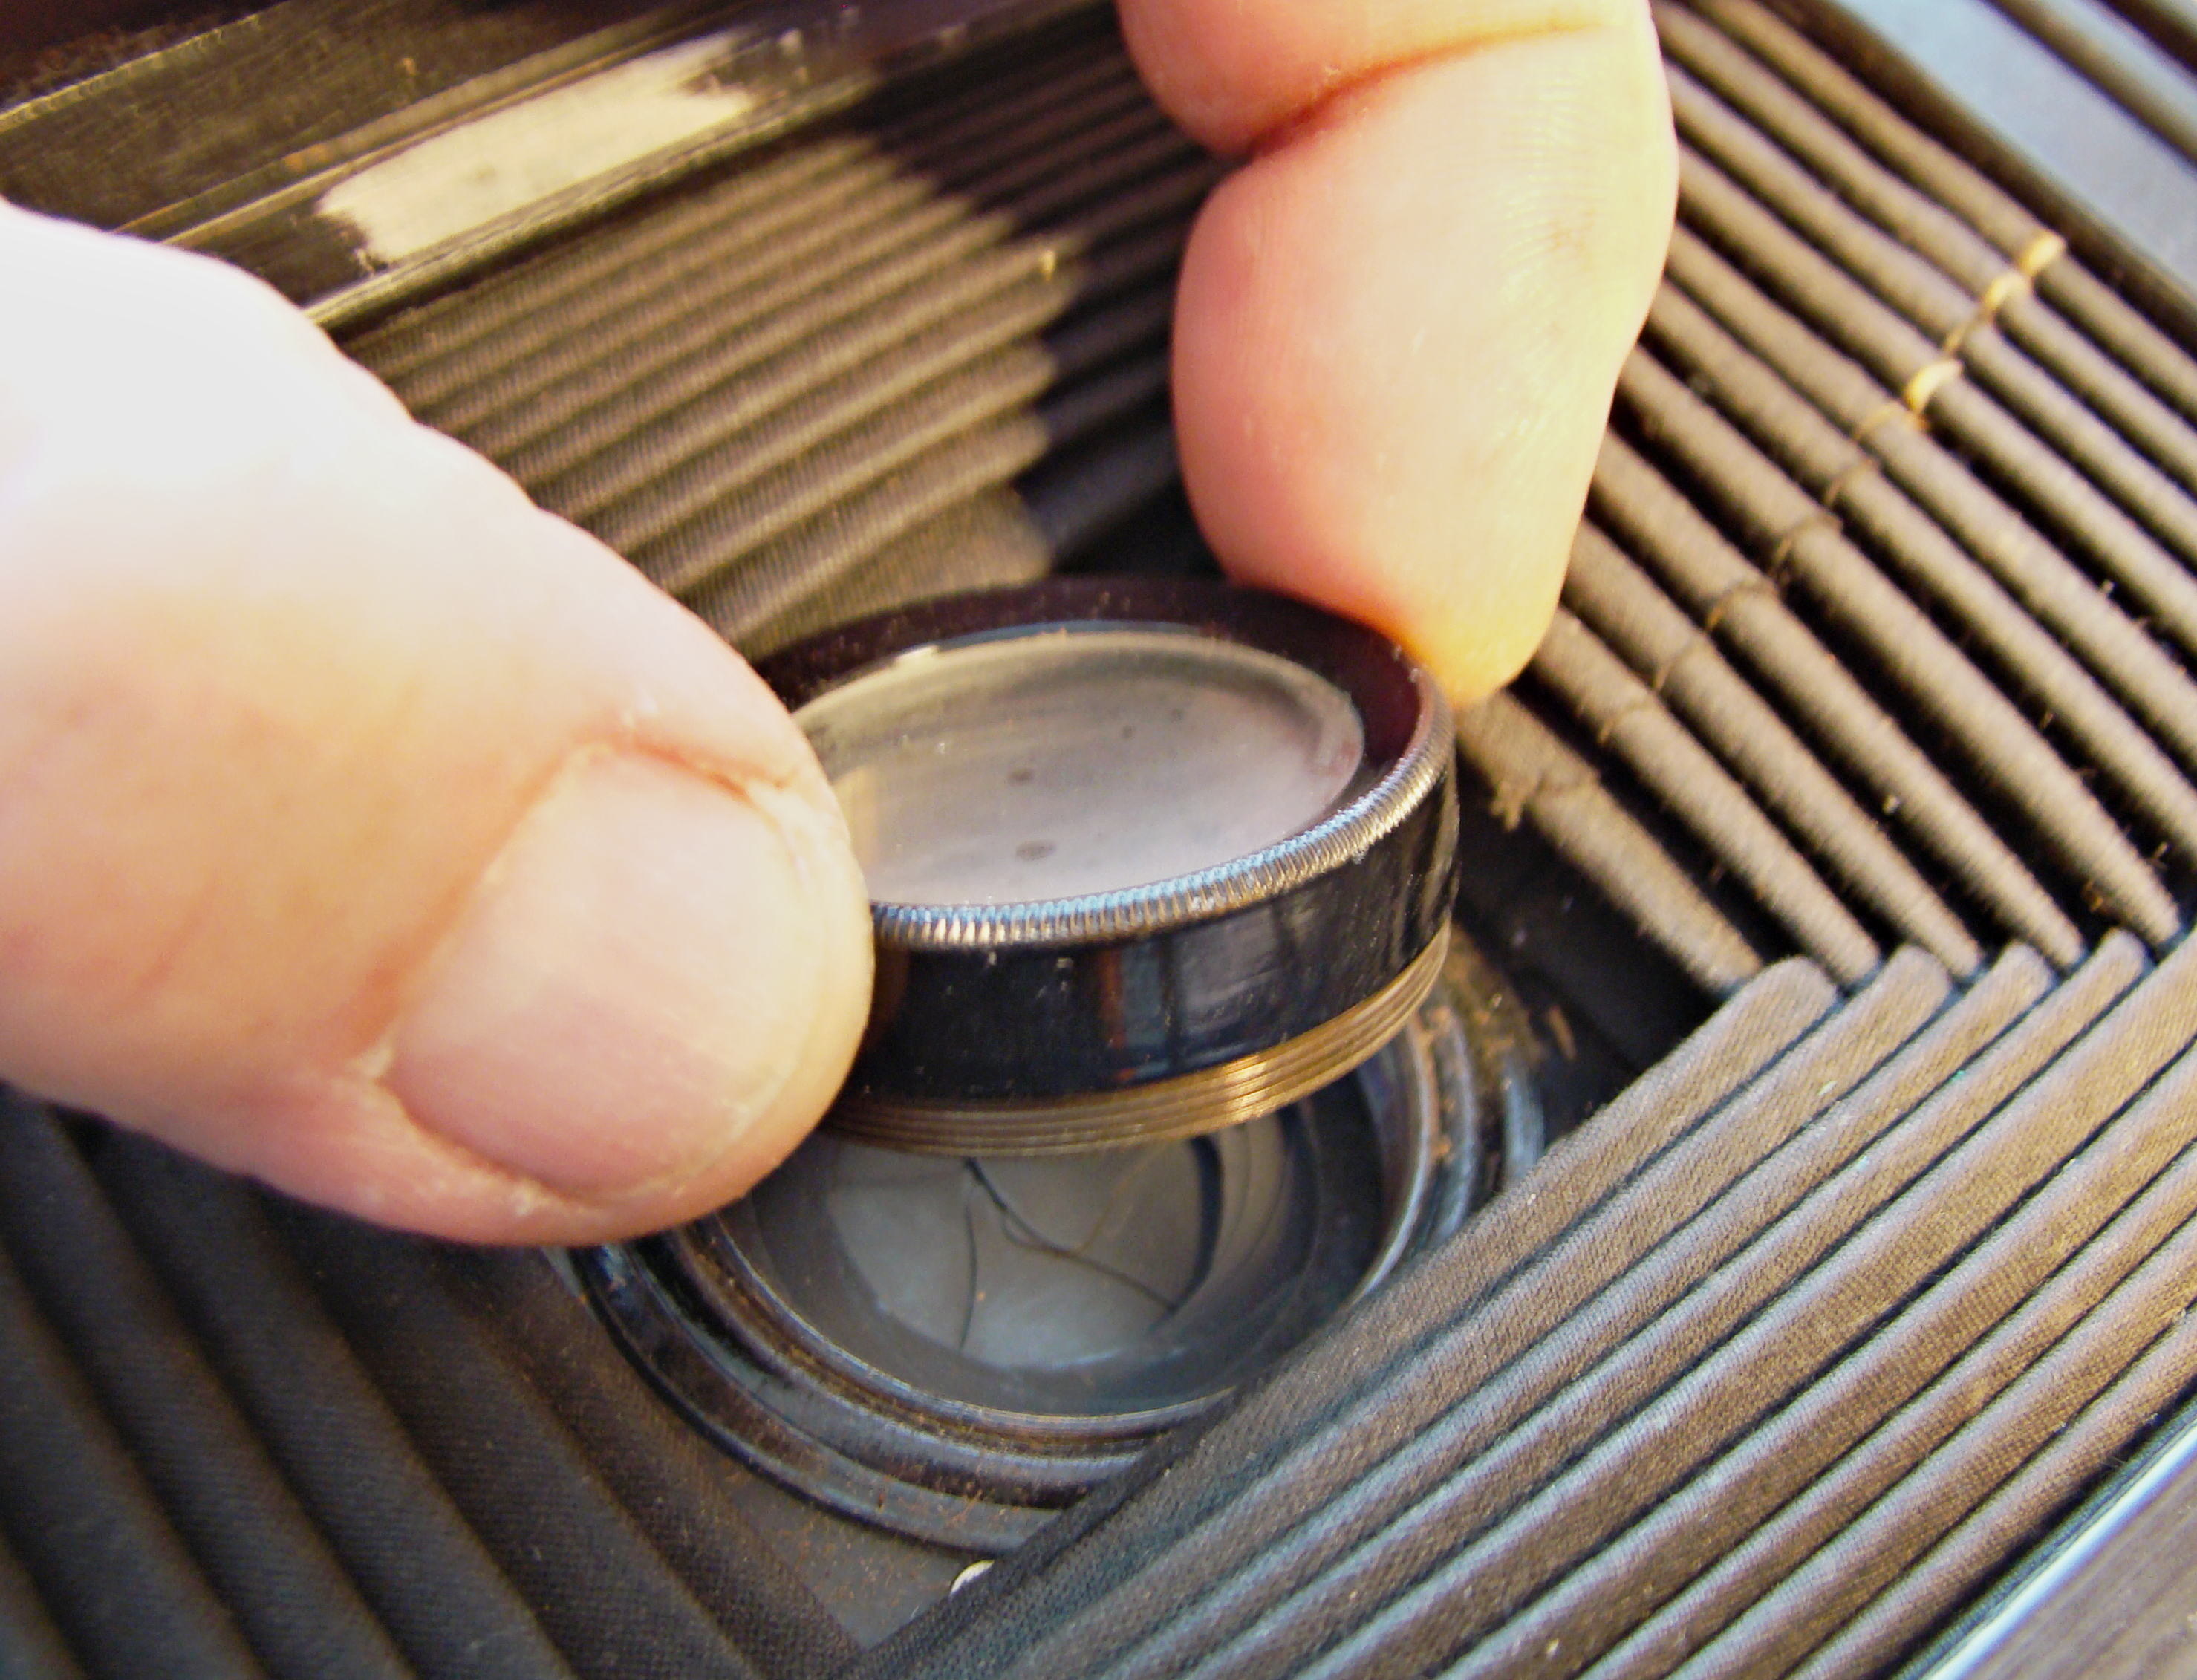
Removing the Rear Element
as with many roll film cameras, when the bellows are collapsed, the inner folds cover much of the lens retaining ring, and the camera is too deep for a modern short-tined
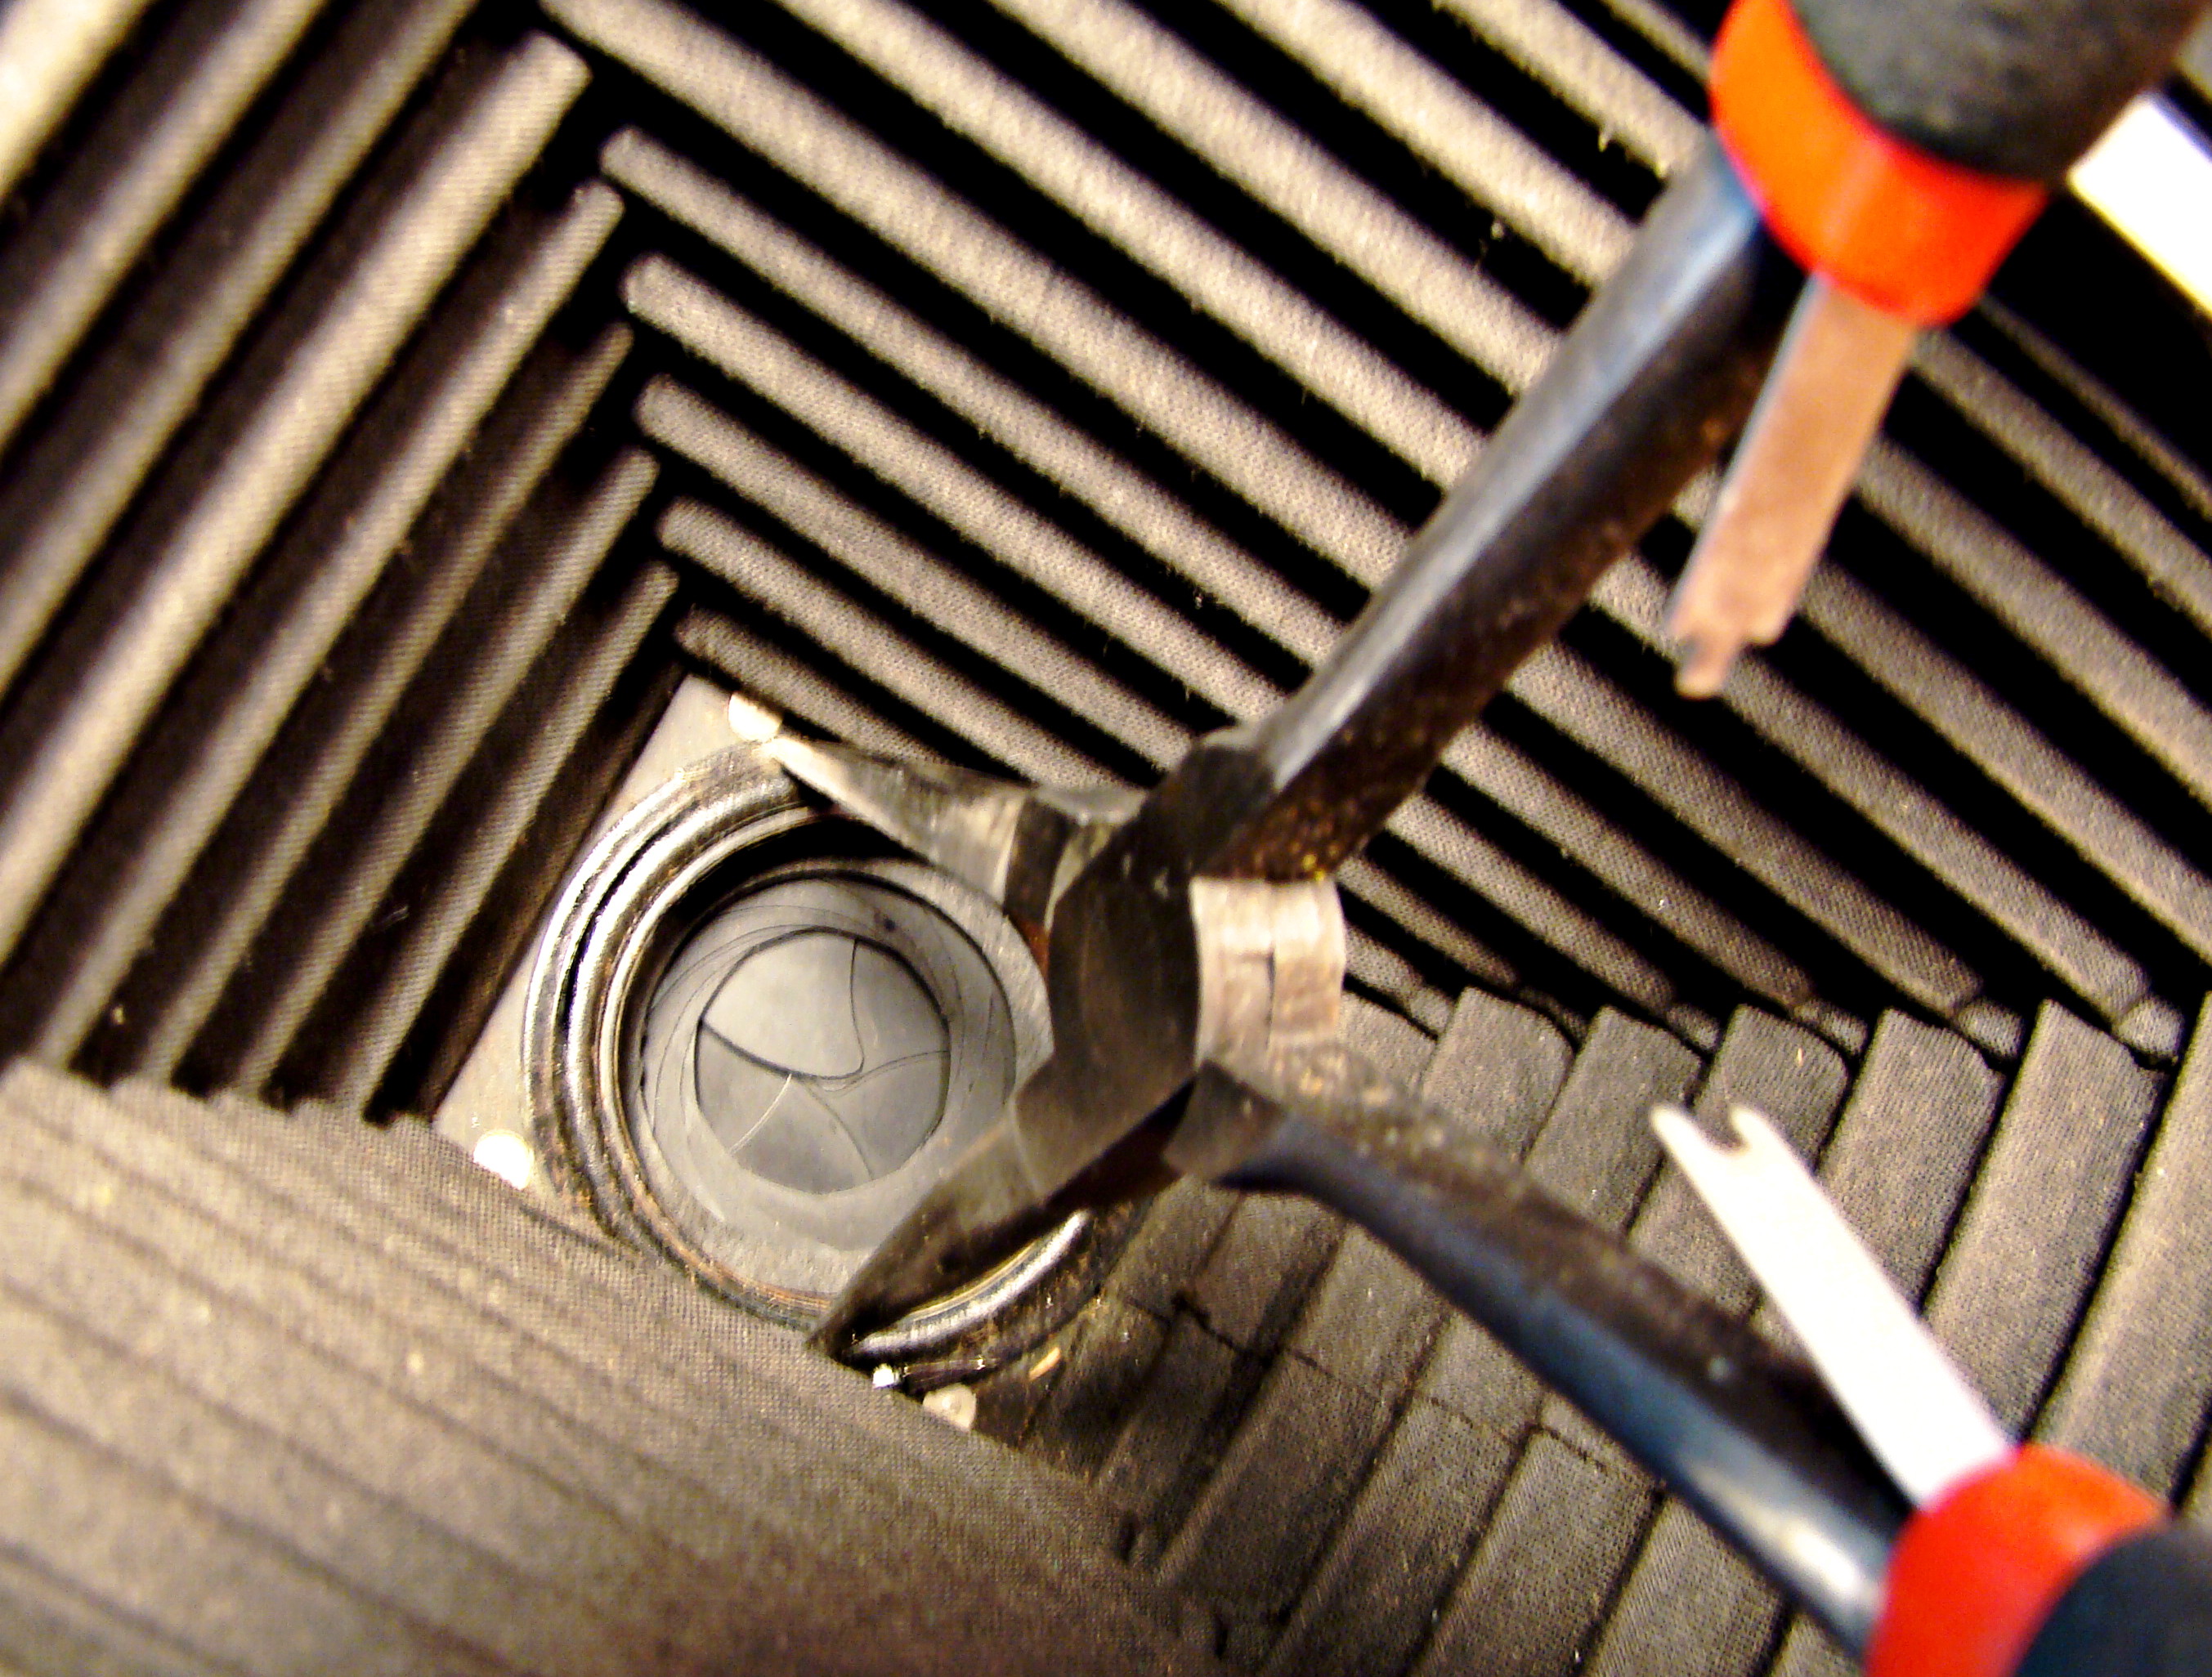
Needle Nose Pliers as a Lens Wrench
lens wrench to be used. The ring can be removed by partially extending the bellows and use a long pair of needle nose pliers with fine tips as an improvised lens wrench. This is an awkward operation that needs to be done with some caution, as it is easy for the pliers to slip and punch a hole in the bellows or damage the shutter. On the Ansco, it was possible to simply hold the retaining ring steady while the entire lens and shutter assembly was unscrewed from the front. On many cameras, either there is an orientation pin, or the front standard is sufficiently cluttered that the whole assembly cannot be rotated, and the retaining ring must be laboriously rotated from the rear.
Once the shutter assembly is removed, the front lens element is unscrewed and both elements can be cleaned with Windex after carefully brushing off the layer of accumulated dust. Cleaning the front element of the Ilex shutter and lens revealed a surprise, as several bubbles became apparent in the glass of this lens. These are unusual even
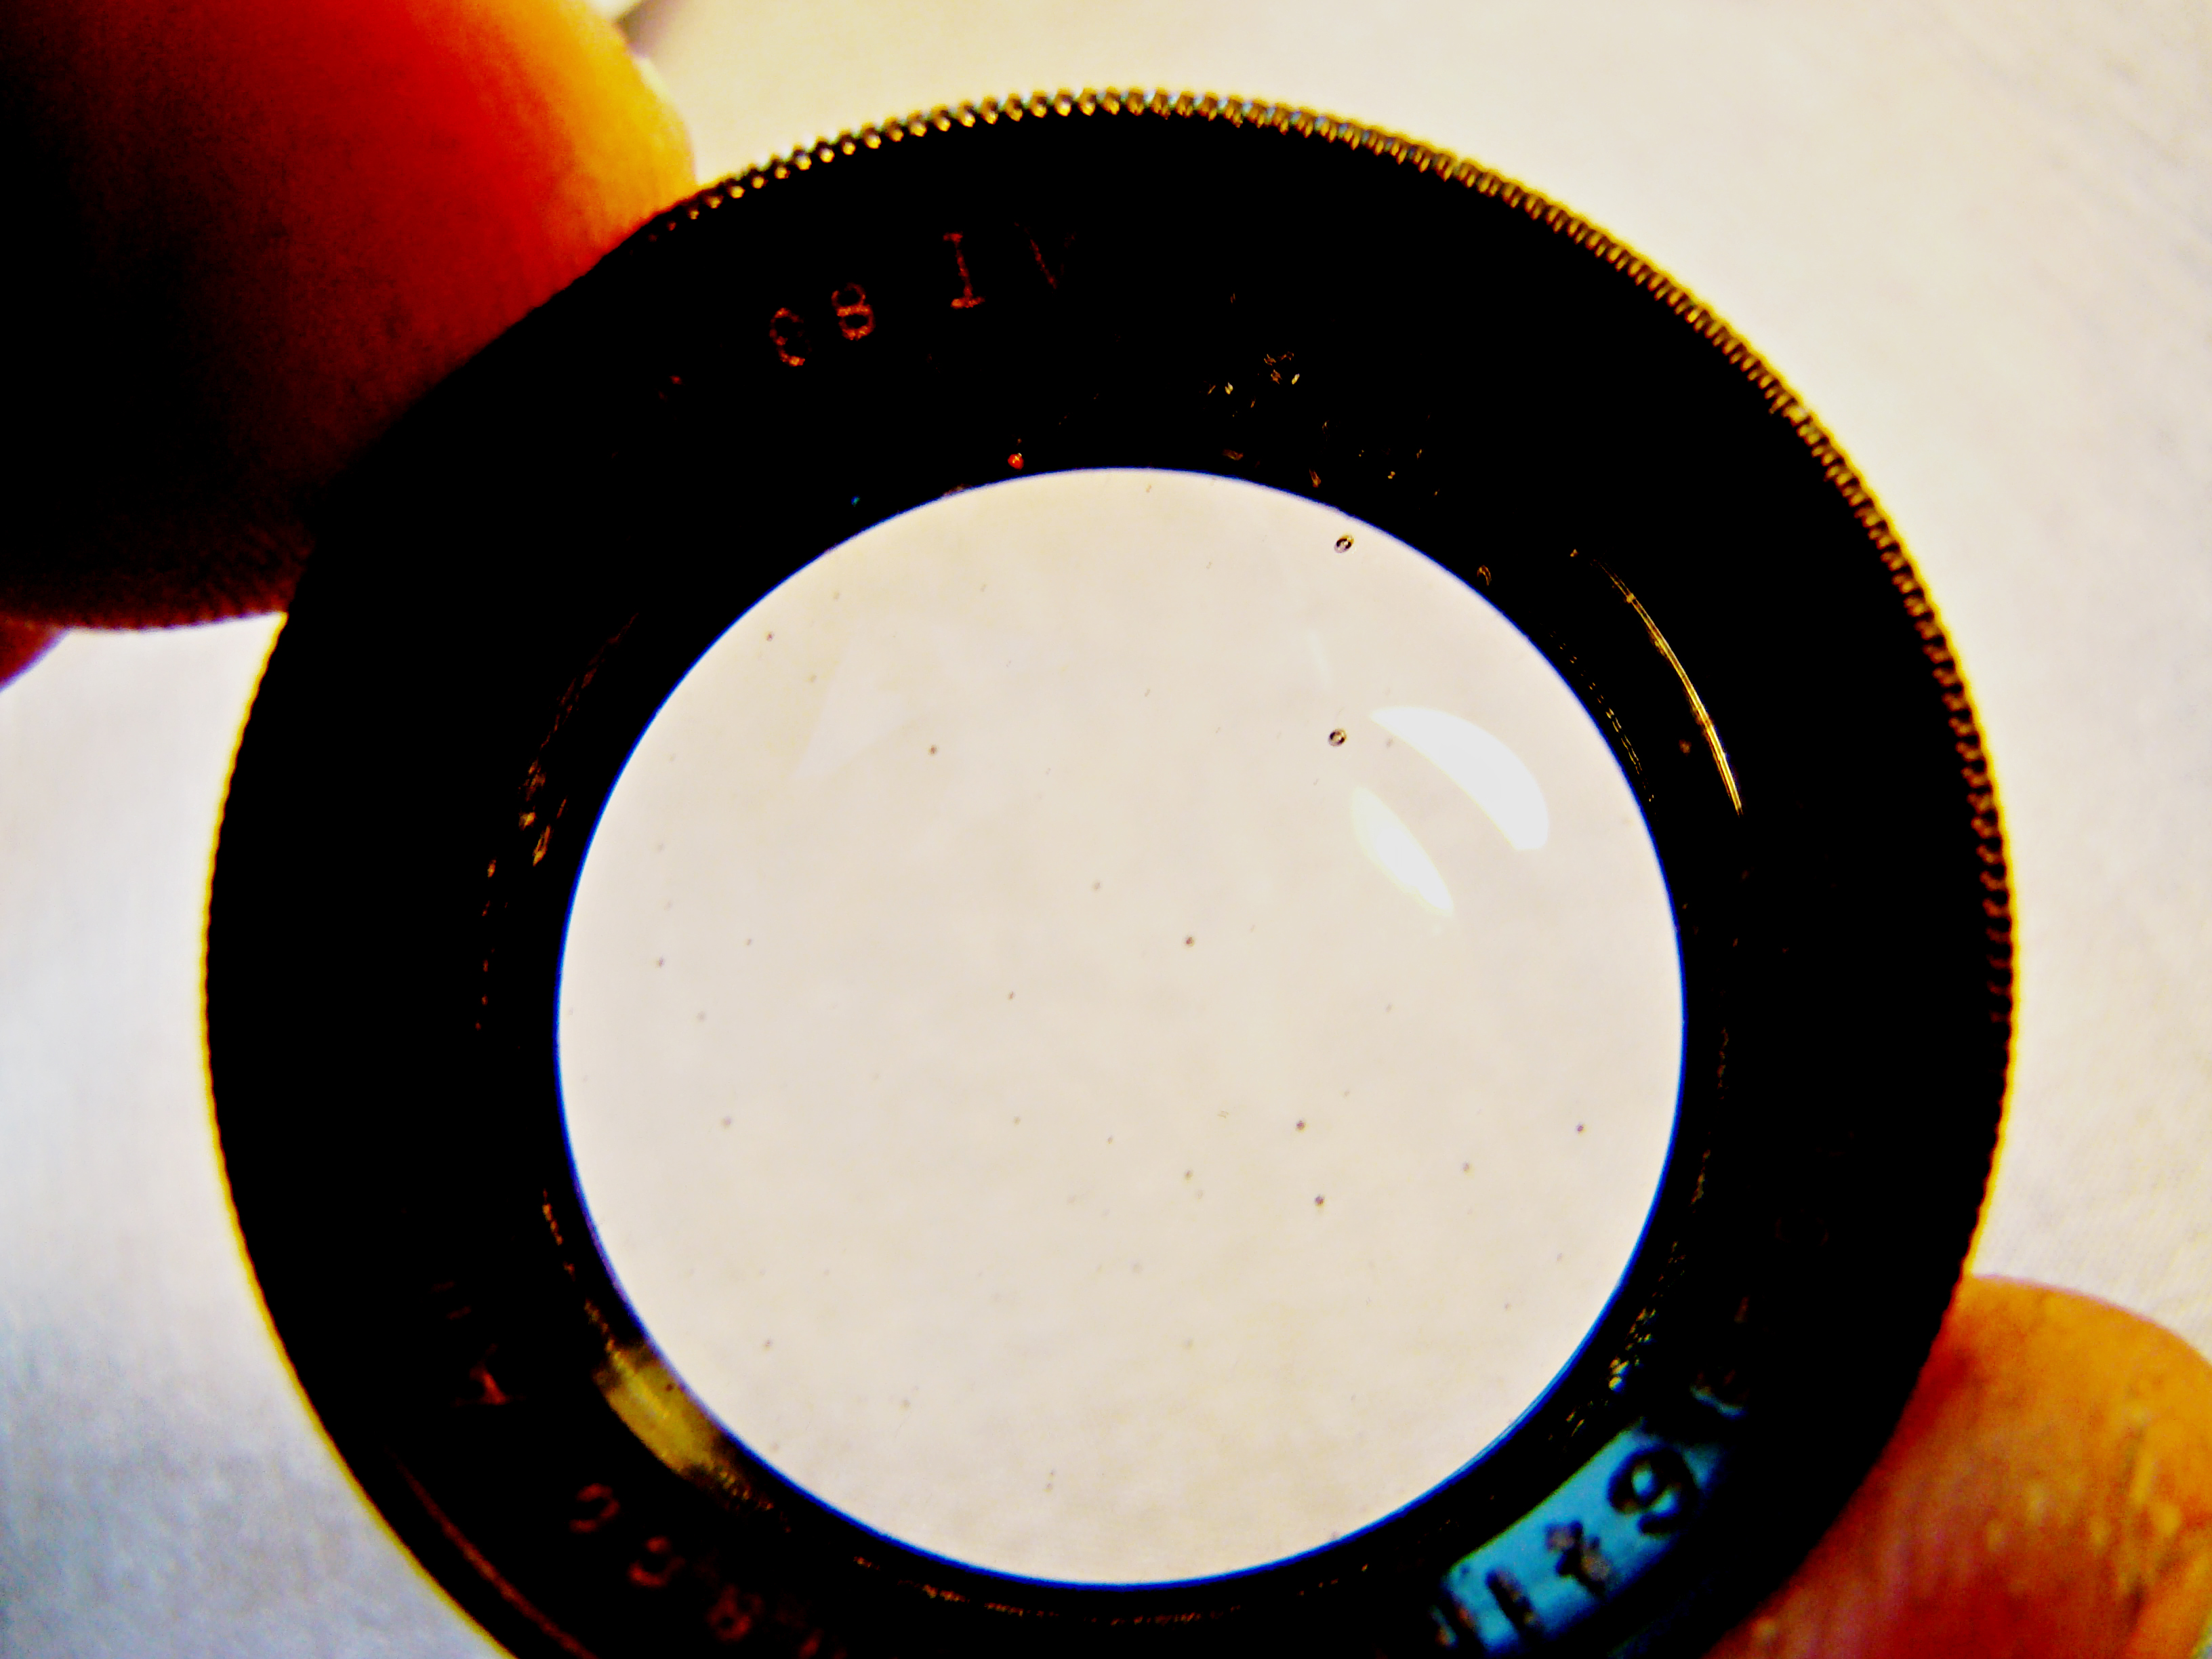
Front Element Bubbles
in old cameras, were obviously present at the time the lens was manufactured, and do not speak highly for Ilex’s quality control. Cleaning the rear element revealed another surprise: a tracery of fine lines around the edges of the outer surface of the lens (i.e., that
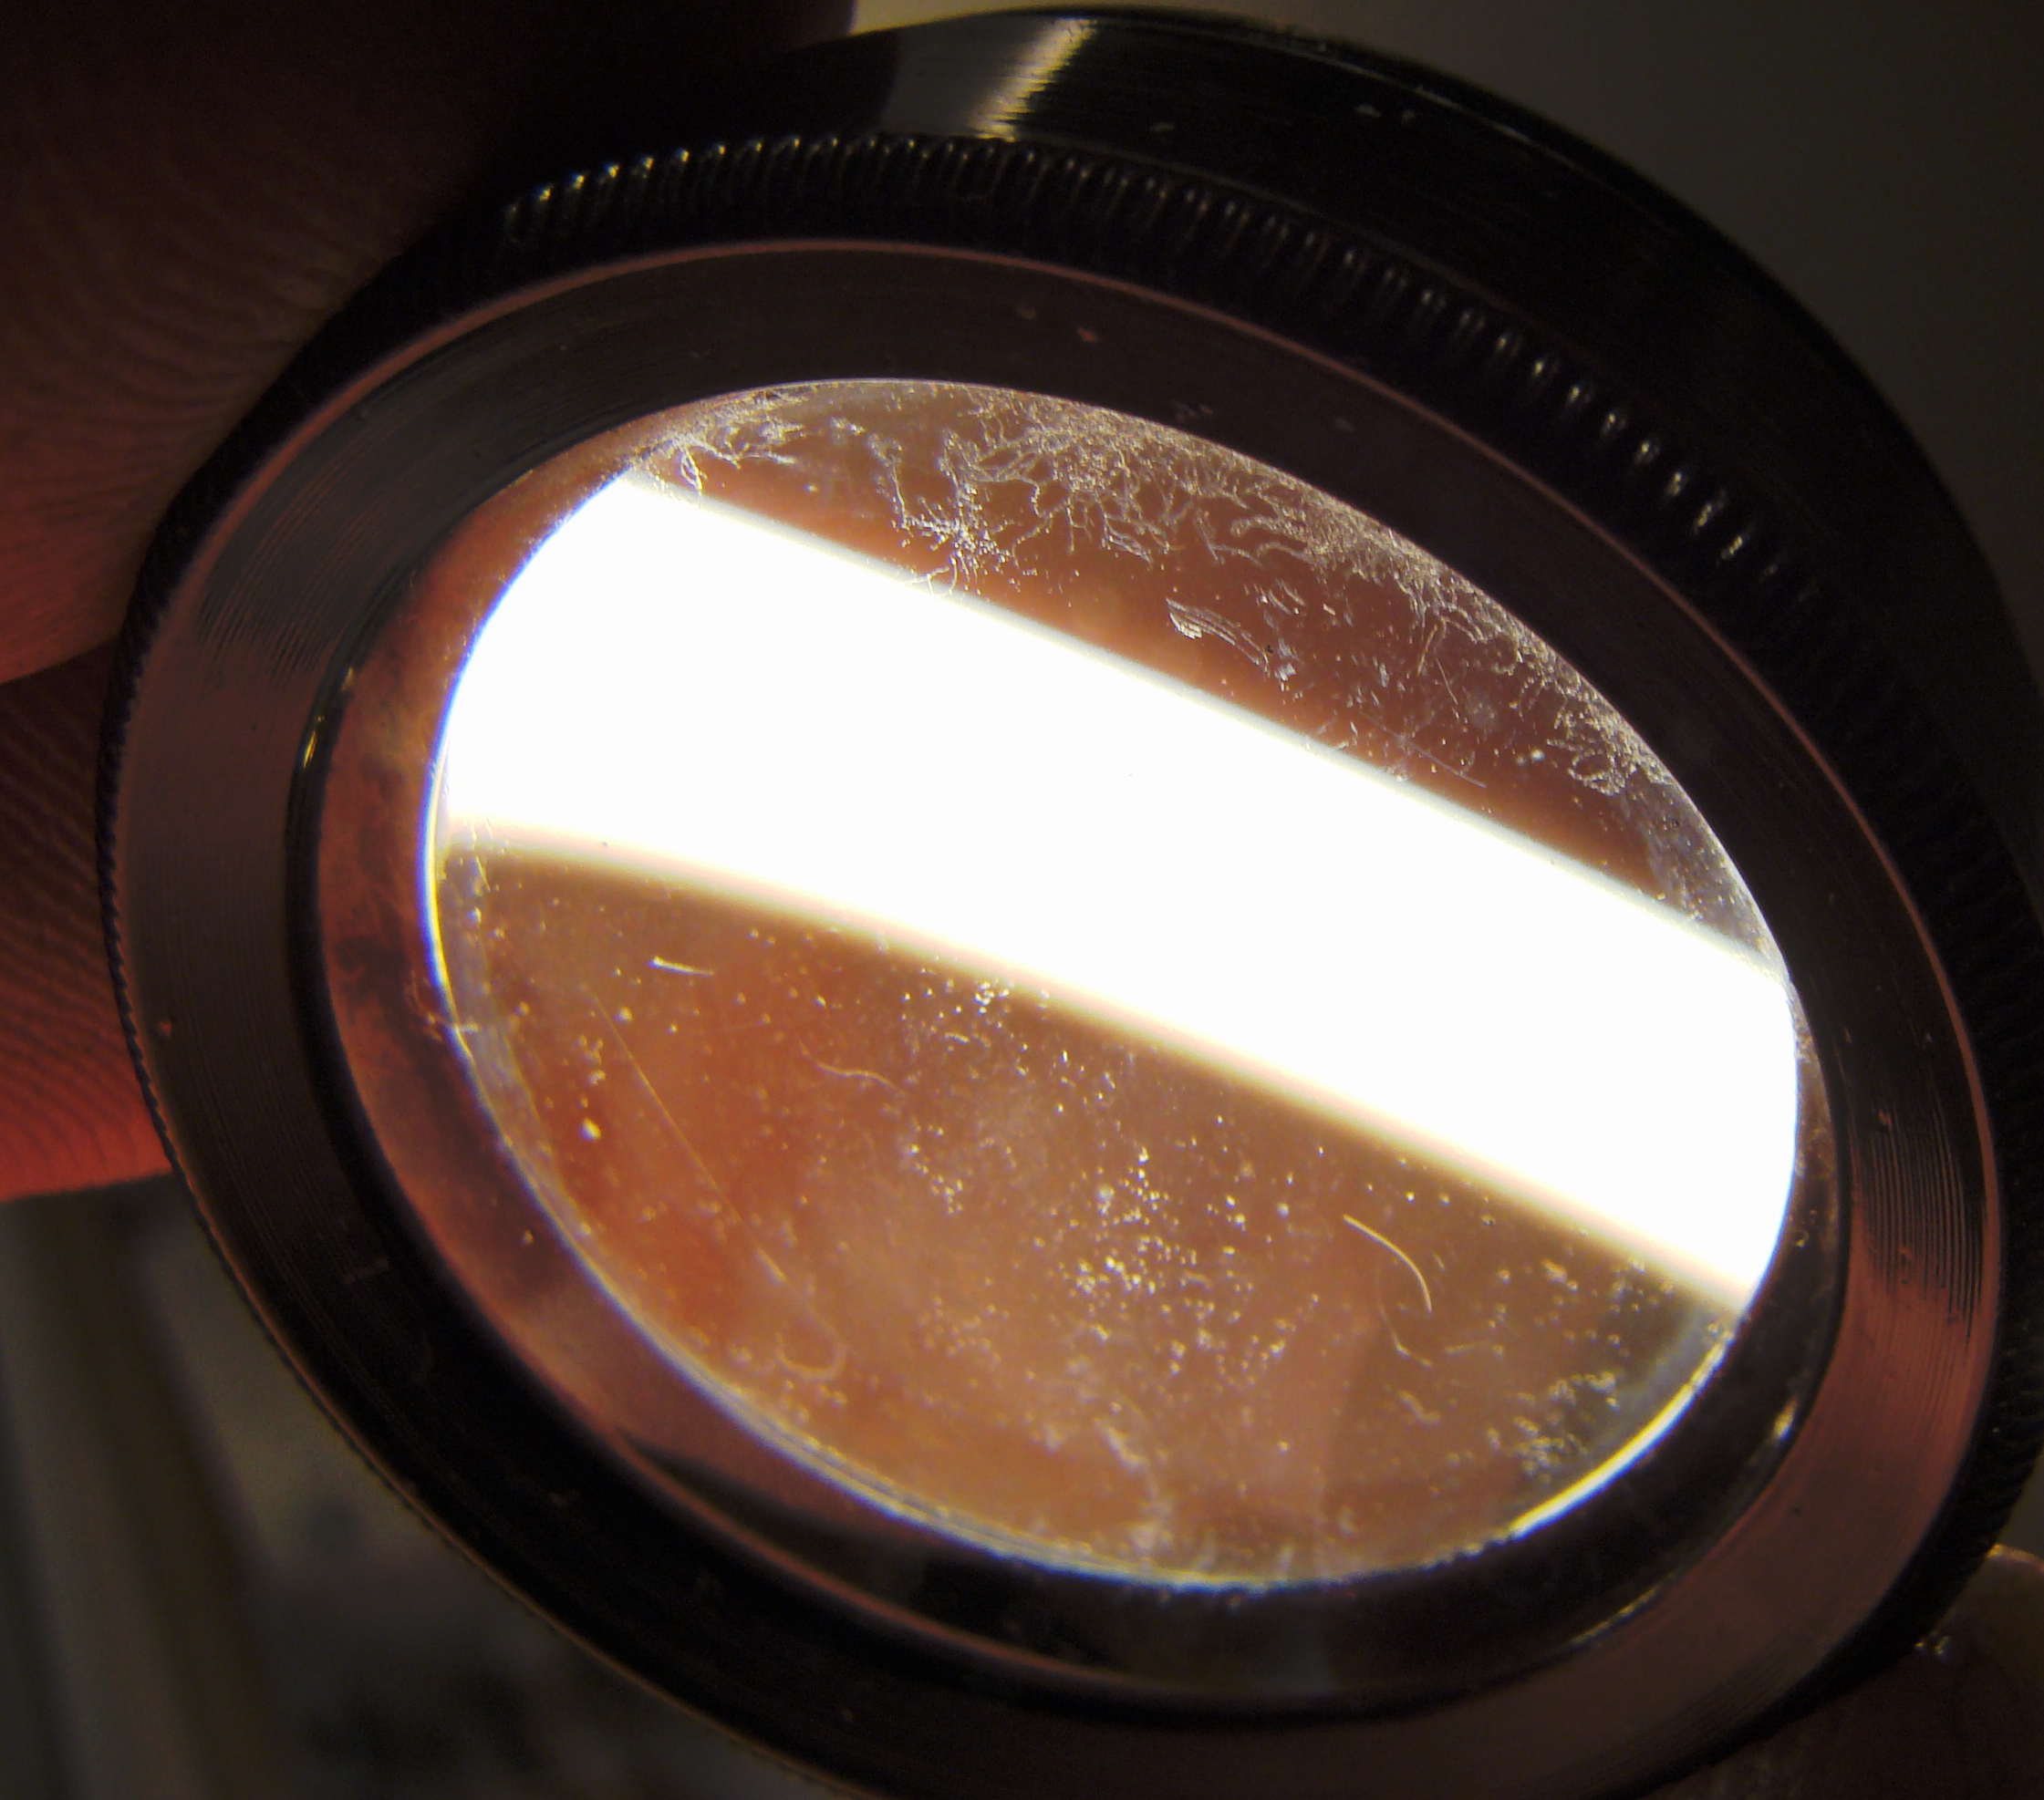
Rear Element with Fungus
surface that would be exposed to the moister inside of the camera) consistent with fungus growth on the glass. This can best be seen with a strong light shone obliquely across the back of the lens. Fortunately, much of this material was removable by a determined cleaning with Windex on a Q-tip. A patchy change in the color of the glass surface was still visible to careful examination by reflected light, but the filaments (fungal hyphae – See “Lens Fungus”) were able to be scrubbed off successfully.
After cleaning the lenses, the shutter is disassembled and cleaned. First, the two shutter actuator levers are removed, followed by the shutter speed setting dial. The settings of the internal shutter mechanism are controlled by a master cam connecting with the dial by
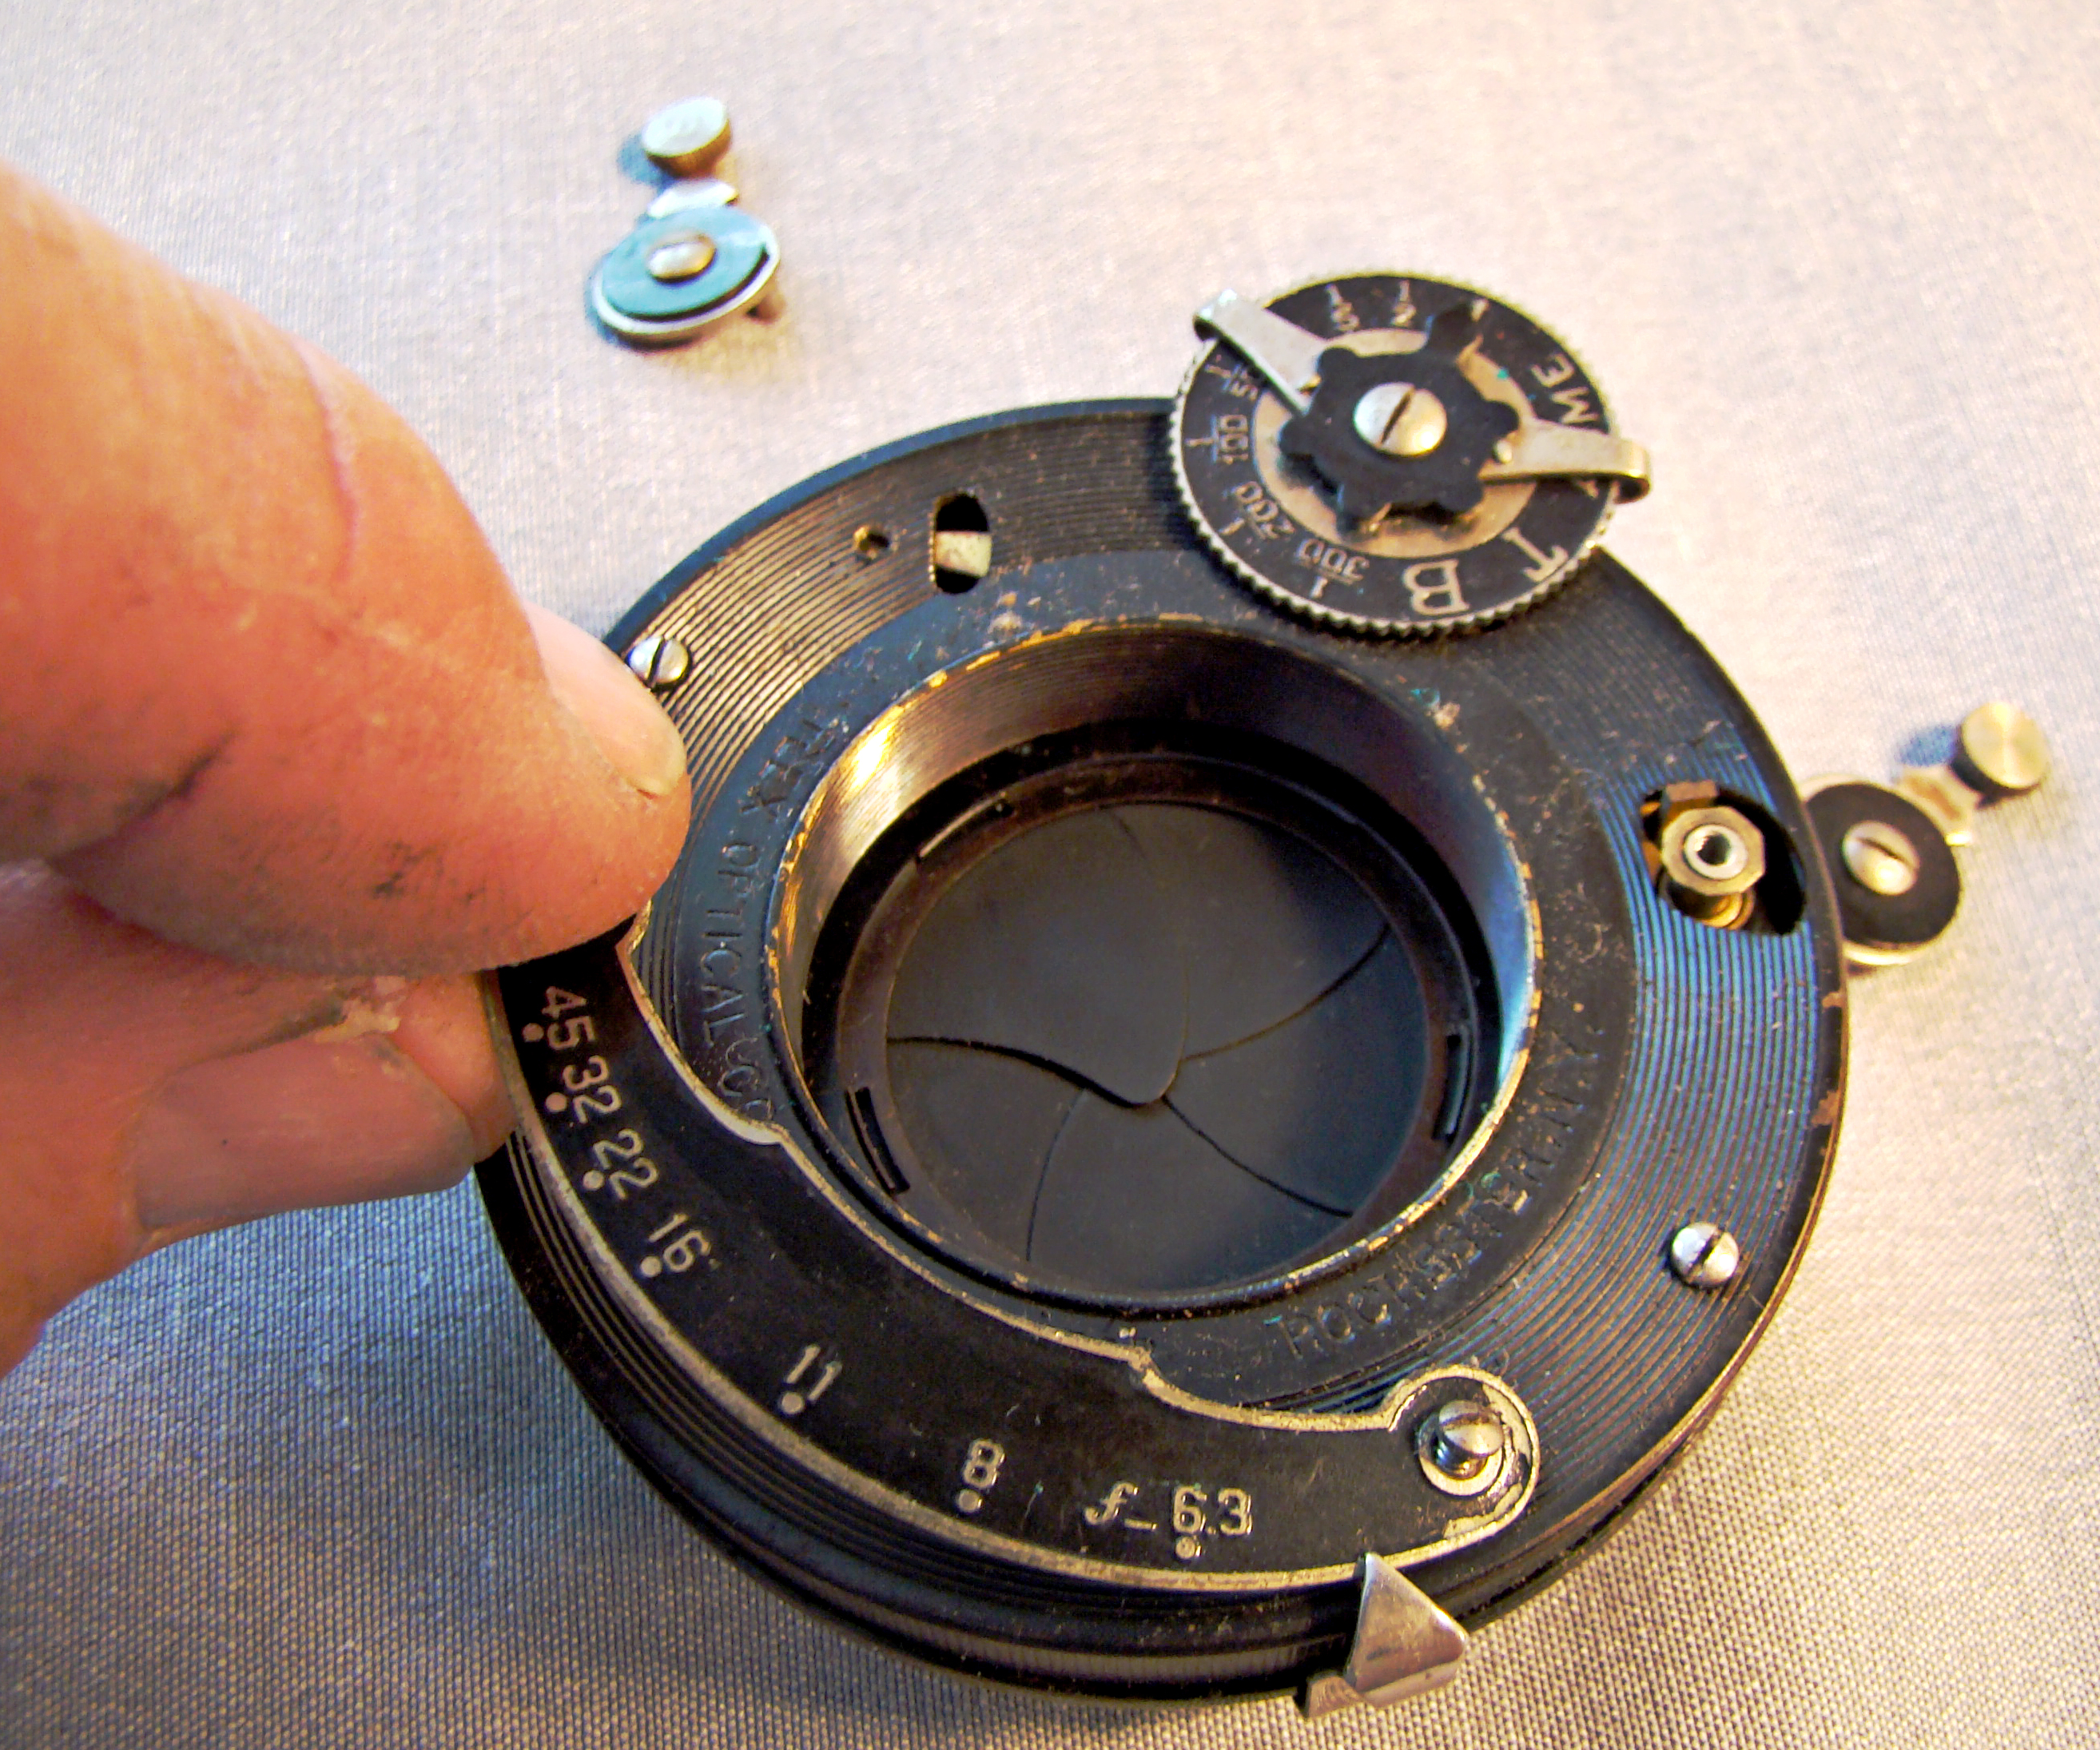
Removing the Front Controls
means of a small post on the back of the dial. It is essential that this post and the
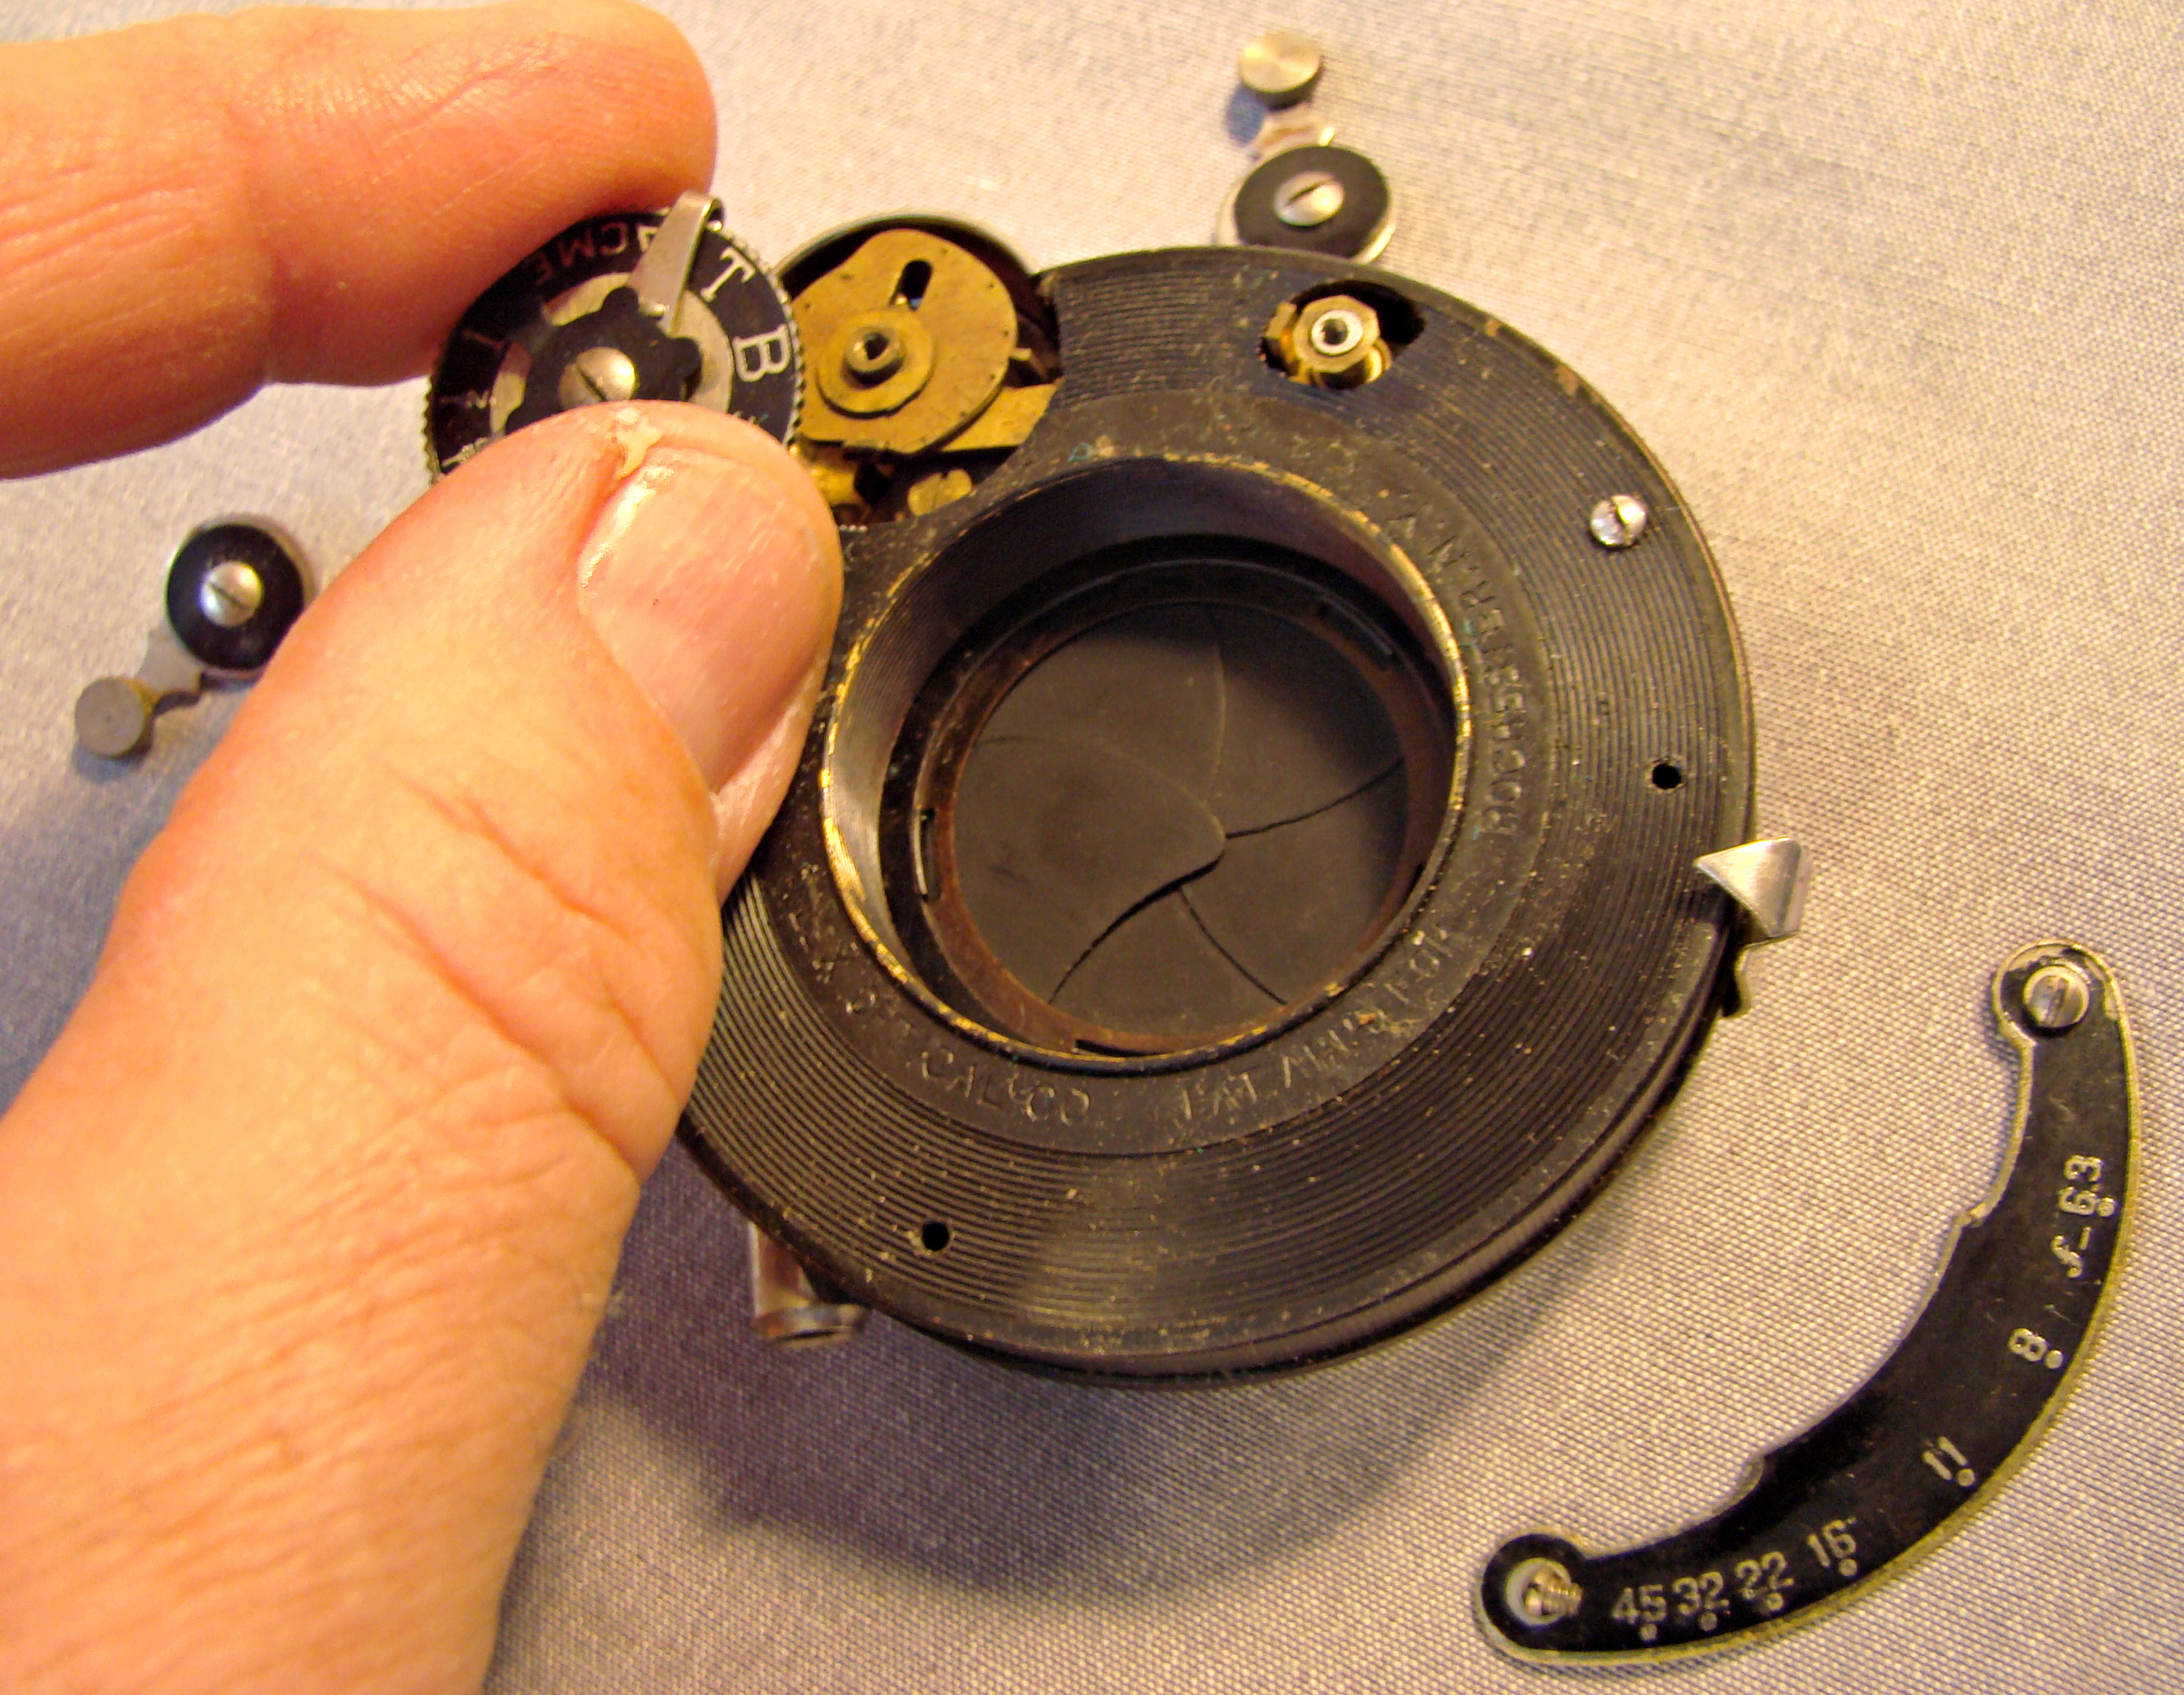
Removing the Shutter Speed Dial
cam slot be realigned correctly when the shutter is reassembled. The cam controls
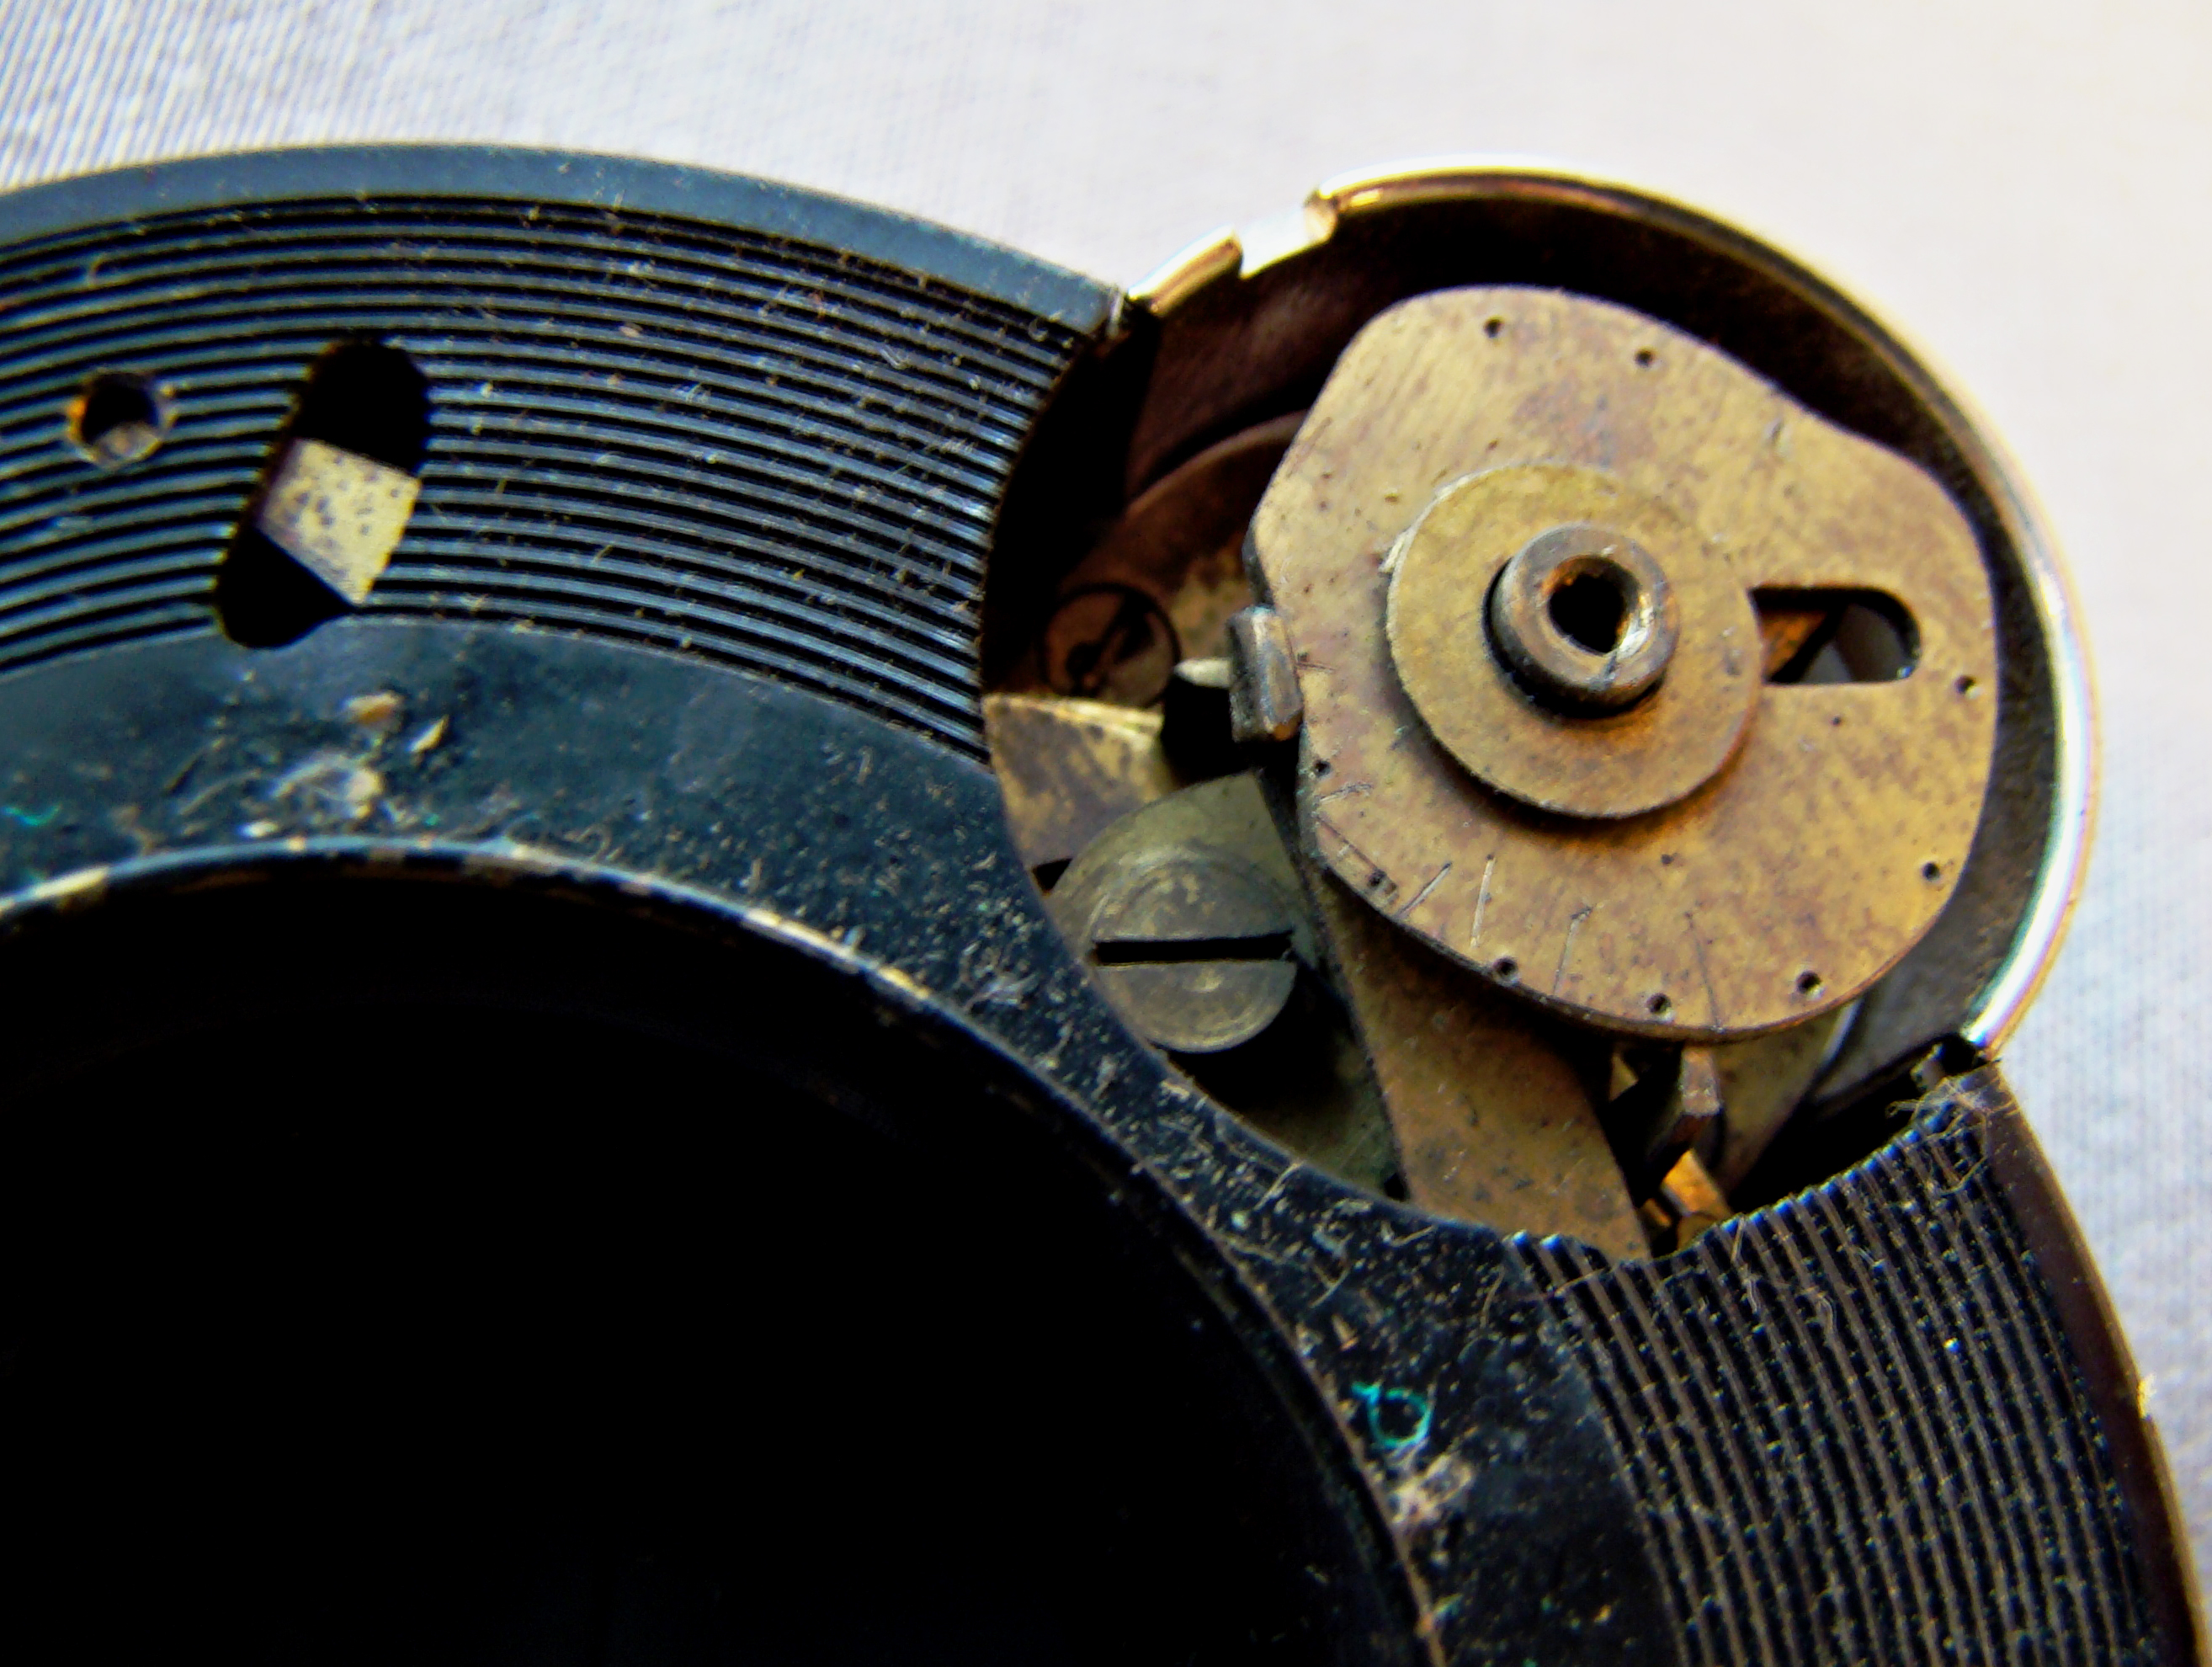
The Shutter Speed Cam
the action of the shutter mechanism by shifting the two small levers visible on the left and lower right of the cam. Also note the small slot visible to the left of the cam housing. The brass lever visible in this slot is a part of the shutter release lever; it is moved by a small post on the back of the shutter release lever to fire the shutter.
Once the front hardware has been removed, the front panel can be lifted off after
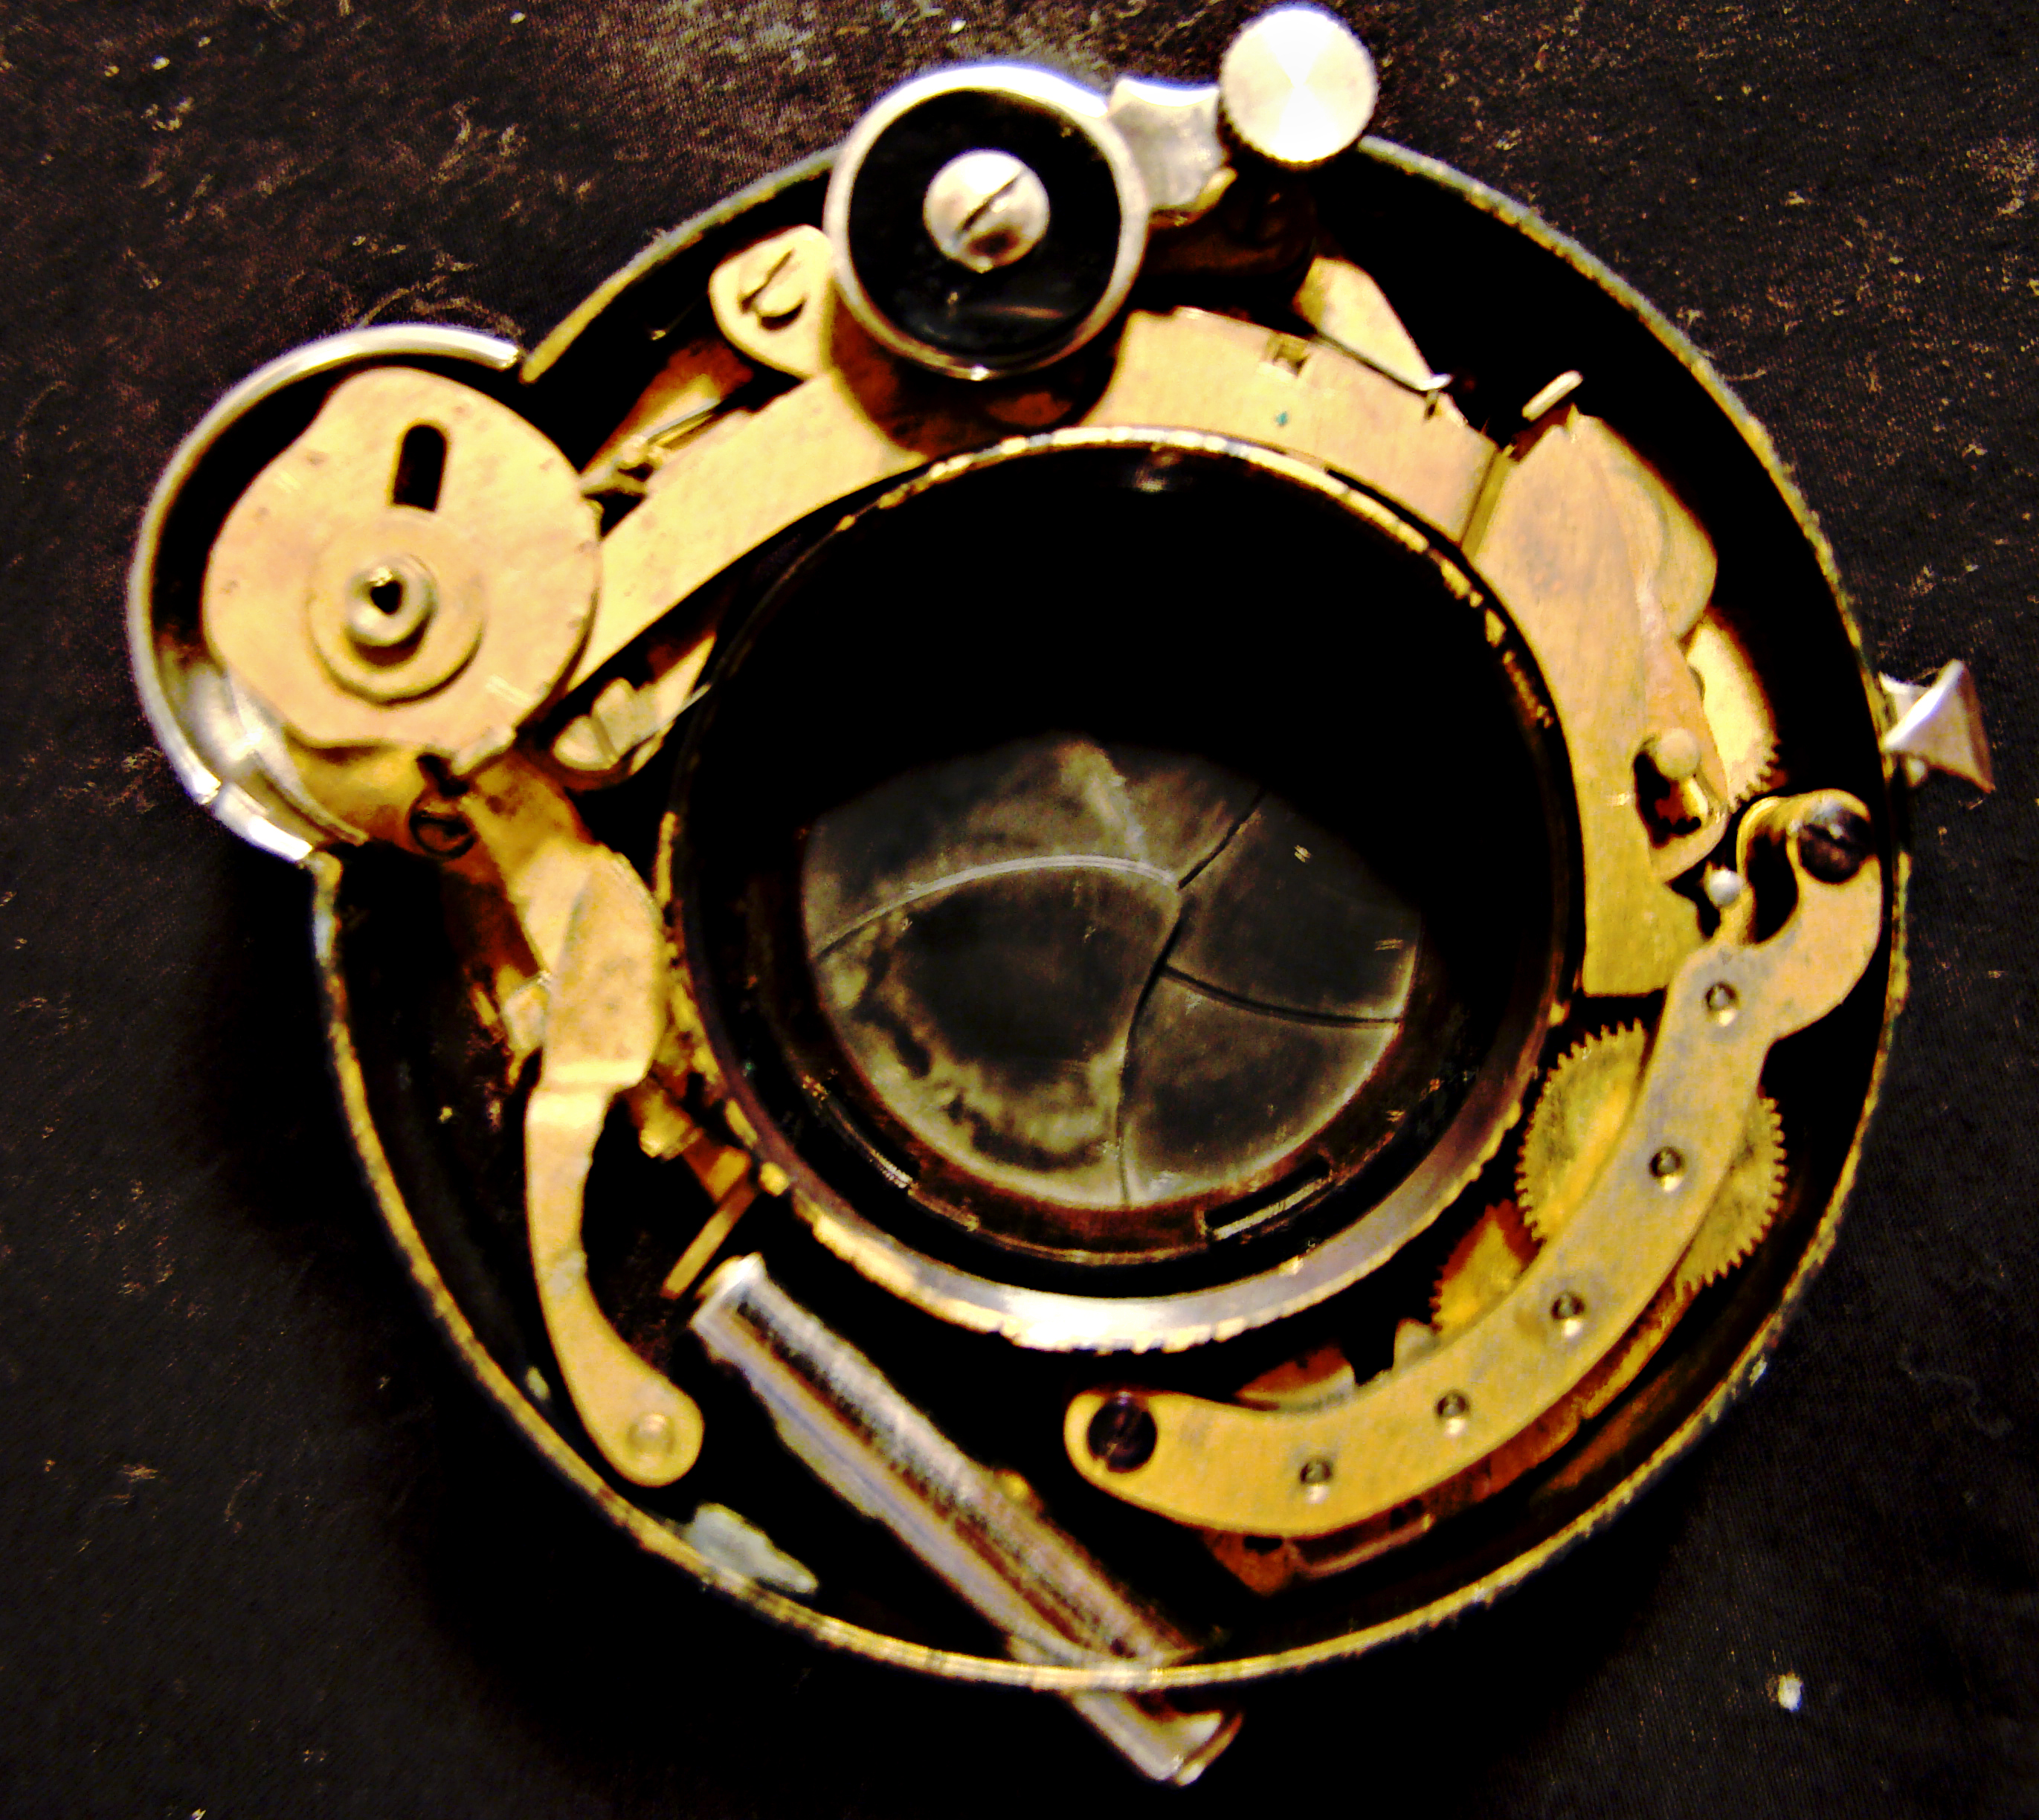
The Ilex Acme Shutter Mechanism
removing the two screws on the front panel, exposing the mechanism of the shutter. The slow shutter speed movement is to the lower right, while immediately above is the movement for speeds 1/25 sec and above. The large chrome-plated cylinder in the lower left accepts the cable release and abuts directly on the shutter release lever, which is immediately above.
Since the Acme shutter uses no lubricants, it can be cleaned with dilute isopropyl alcohol in a small ultrasonic cleaner and then allowed to dry. This procedure should NEVER be used on any shutter that requires lubrication, and one must use solvents carefully, as many of the shutter blades on early twentieth century cameras were made of non-metallic materials that can be readily damaged by concentrated solvents. Cleaning in this fashion and judicious application of a small amount of graphite powder improved the performance of the faster shutter speeds, but the lower speeds were still approximately twice as long as the indicated values, probably due to weakening of the drive spring over many decades. In the absence of detailed manuals, the decision was made not to disassemble the shutter mechanism further.
The chromium-plated parts were then polished with a small amount of Flitz on a Q-tip. Since the paint on the shutter housing was
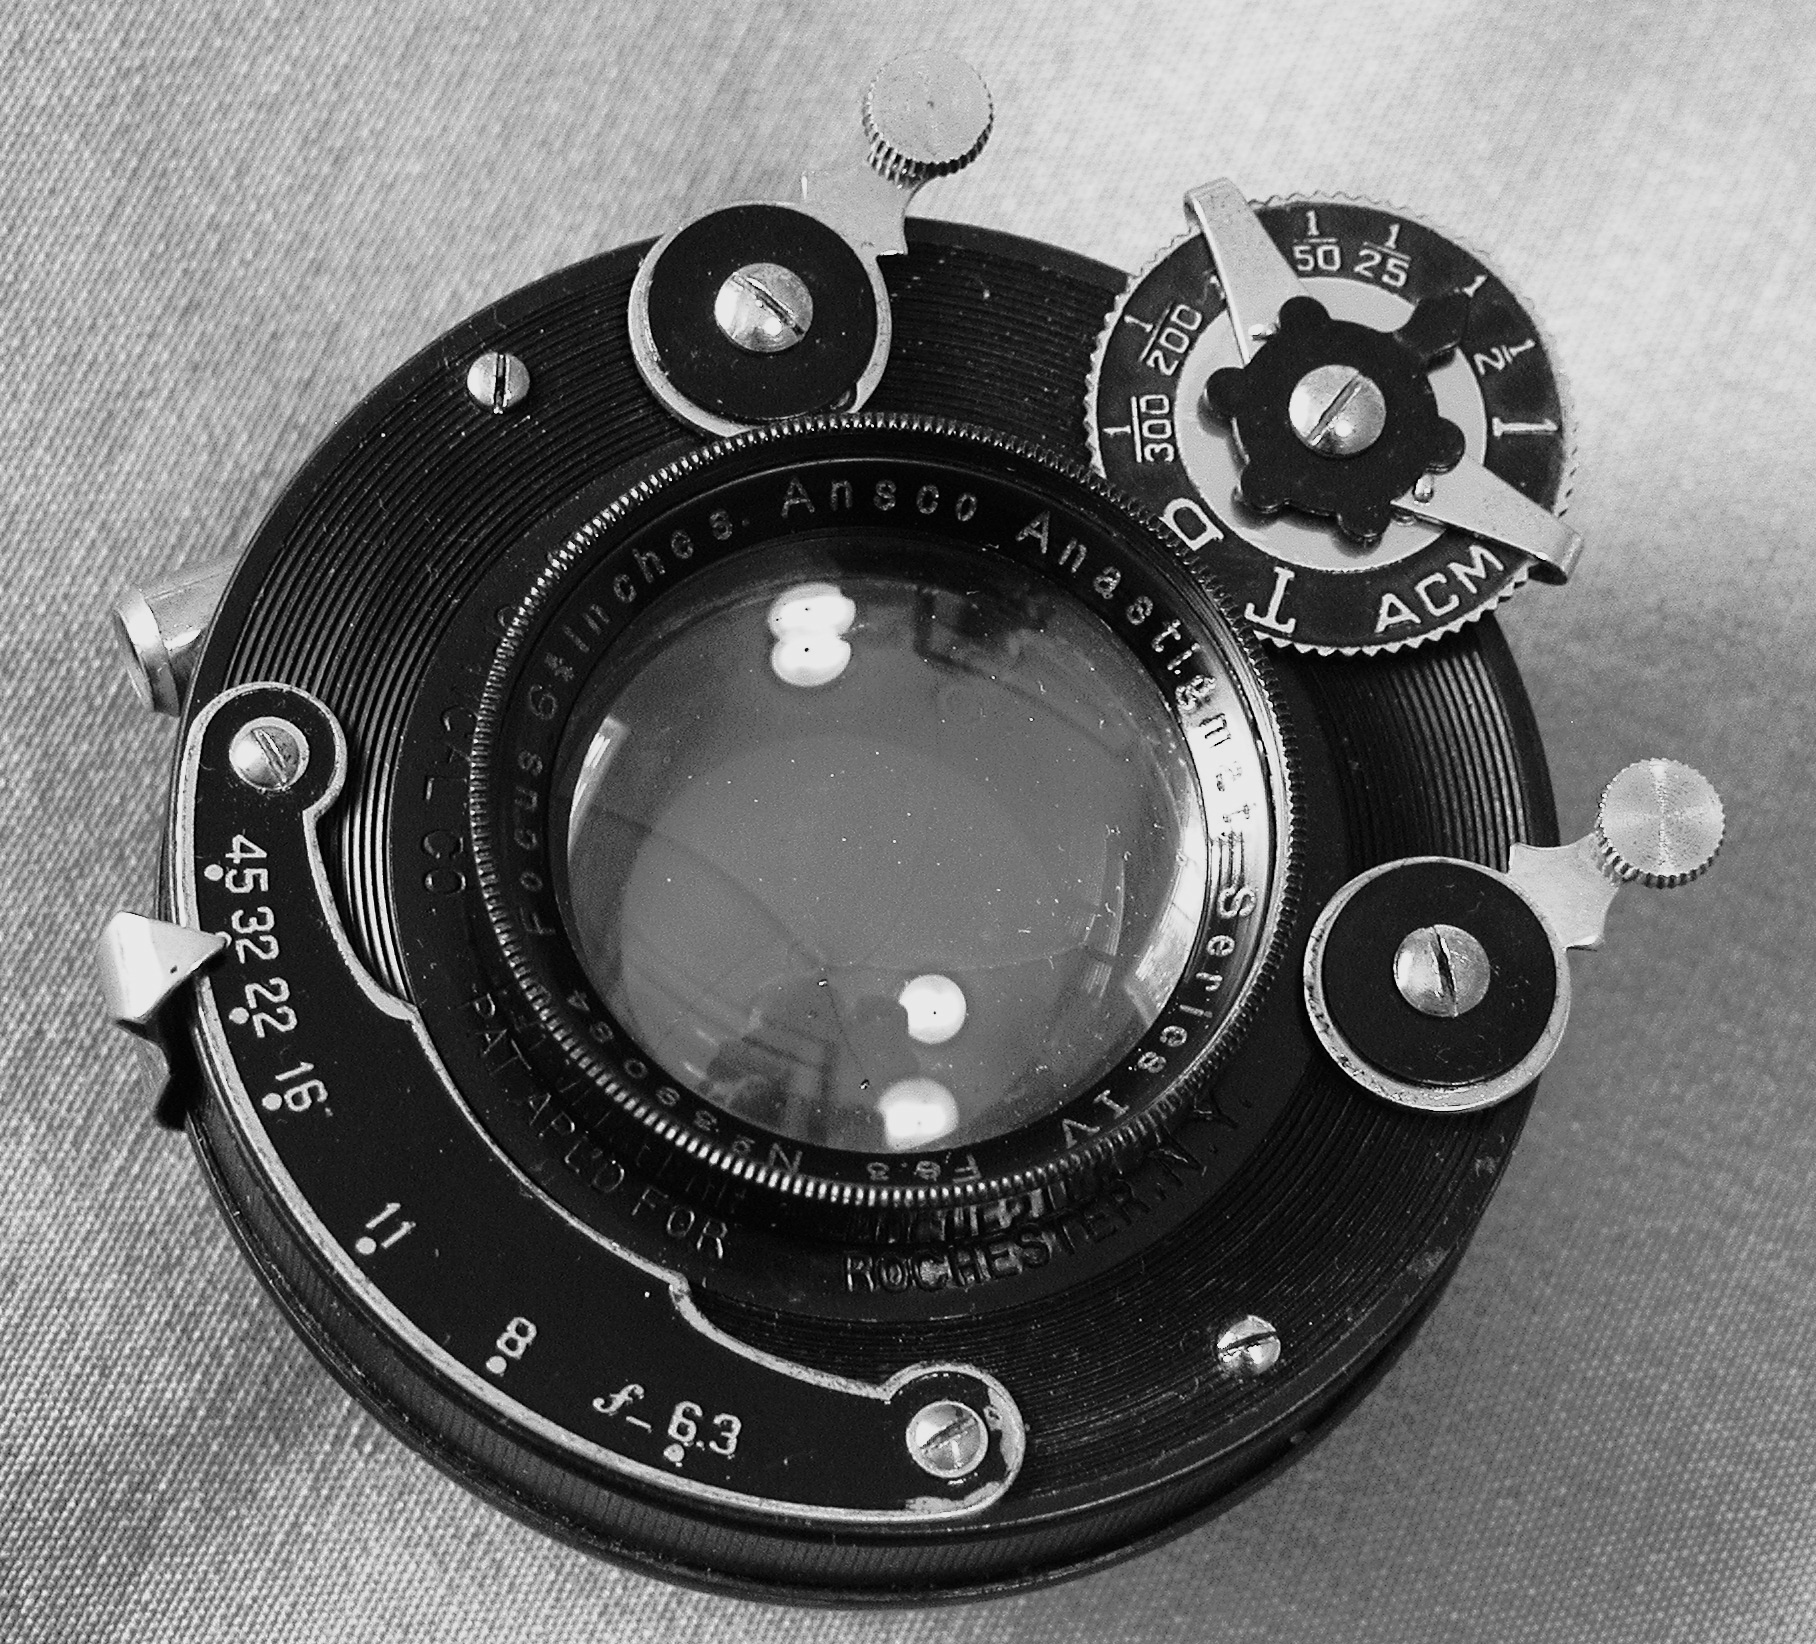
The Finished Lens and Shutter
largely intact, its polish was merely touched up with a light application of shoe polish, and the shutter was reassembled.
Step 6: The Interior: With the shutter assembly removed, the next step involves polishing – and more polishing – the chrome front standard and rails, followed by restoring the luster of the bellows and polishing and cleaning the interior leather and wood. Since the front standard is a complex structure largely held together by rivets, it can only be disassembled to a limited extent, and polishing is a fussy and time-consuming process. The Dremel helps, but in a structure of this complexity, much of the work must be done carefully by hand.
The three screws holding the viewfinder are removed, and the entire chromium-plated front standard, including the complex folding vertical and lateral front feet, is polished with Flitz, Q-Tips, and a cloth. Once this is accomplished, the small stop on the bottom rail is removed (carefully noting its original position), allowing the front standard to slide forward and be lifted off the rail.
To Be Continued…
References:
Tomosoy, Thomas. “Restoring Classic and Collectible Cameras.” Amherst Media, Buffalo, New York, 1998.

