The Shutter Blade Blues
The Klio, the Kolios, the Synchro, My God!
An Alphax, a Betax, my head’s feeling odd!
A Compound, a Graphex, the list just goes on,
The Rapax, the Ilex – I’m awake until dawn!
The Ibsor, the Deckel – such fine German parts,
A dirty old Victor whose pistons won’t start.
The Vario snickers,
“What speeds do I have?”
I bet it’s a fiver –
Or is it just three?
The Packard it clatters, the Acme it whirs,
And – yes, oh, so German – the Compur just purrs.
The Kodex, the Rulex, my nerves won’t unwind,
The Kodak’s Ball Bearing, the Thornton’s a blind!
A ring ‘round the edge, a dial at the top,
It’s so complicated, oh, when will it stop?
I can’t organize them, the list is too fat,
I don’t want to choose one – I’ll just use my hat!
Back in 1913, life was simple. Oh, you died if you got tuberculosis, they gave you arsenic for syphilis, women couldn’t vote, and you starved when you lost your job, but you never had to sort through the hordes of clockwork shutters that proliferated later in the twentieth century. There was one really good shutter – the Compur – and a few simple ones with no slow speeds. You never had to sort out a Copal from a Bolsey from a Prontor – or maybe you don’t care, but then you wouldn’t be reading this!.
The list of twentieth century leaf shutters with clockwork, Ilex-type delay escapements really is daunting and confusing. Furthermore, most of us really do not understand how shutters work. The article will give examples of the workings of two shutter types – one simple, one expensive and complex, then attempt to organize and make sense of the many names that float around when between-the-lens shutters are discussed.
A PRIMER ON HOW SHUTTERS WORK:
My focus here is on the operation of clockwork shutters, about which amazingly little is written in the contemporary literature. In the early part of the twentieth century, this would have been a common topic in books on camera repair; unfortunately, most of these publications are moldering away in basements and not readily available.
A Simple Shutter: The Kodak Ball Bearing Shutter
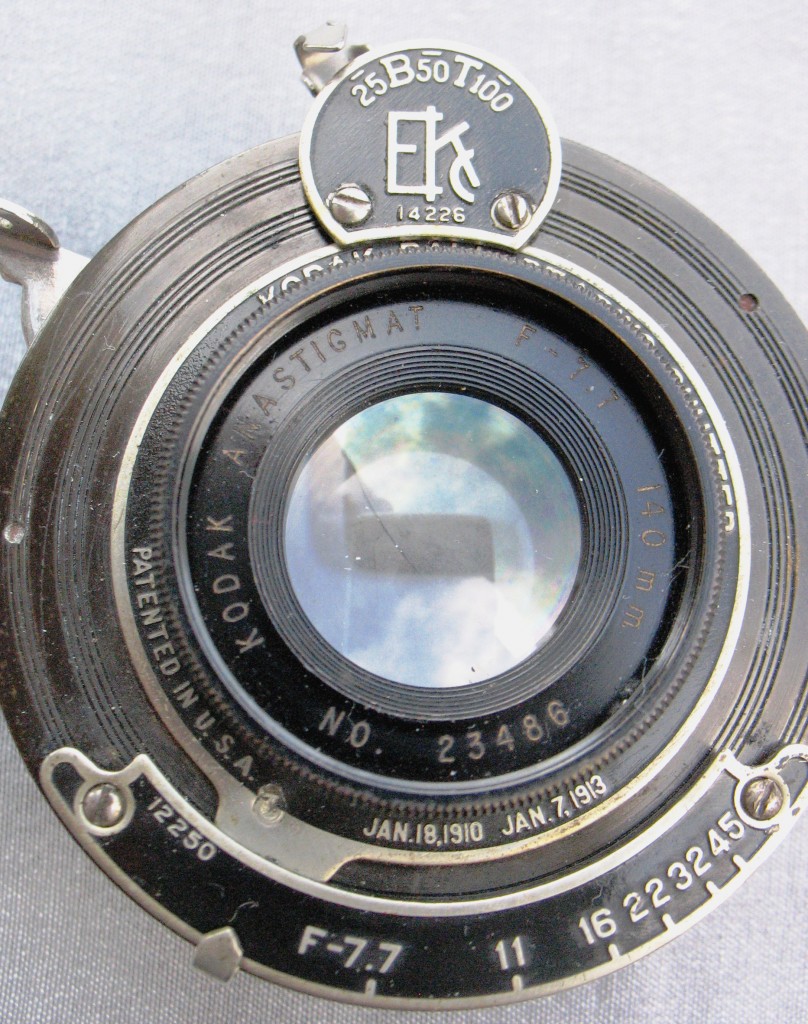
Let us start by examining one of the most classic shutters of the early 20th century: the Kodak Ball Bearing Shutter. Two excellent articles describe in detail the disassembly and cleaning of Ball Bearing Shutters (see Infotech and P. Huego references).
The Ball Bearing Shutter used here, a three-speed model from a No. 1A Kodak, depends entirely
on spring tension to vary shutter speeds. Like many of the early BB shutters, the “T” and “B” settings are located between the shutter speed settings on the top speed selector dial.
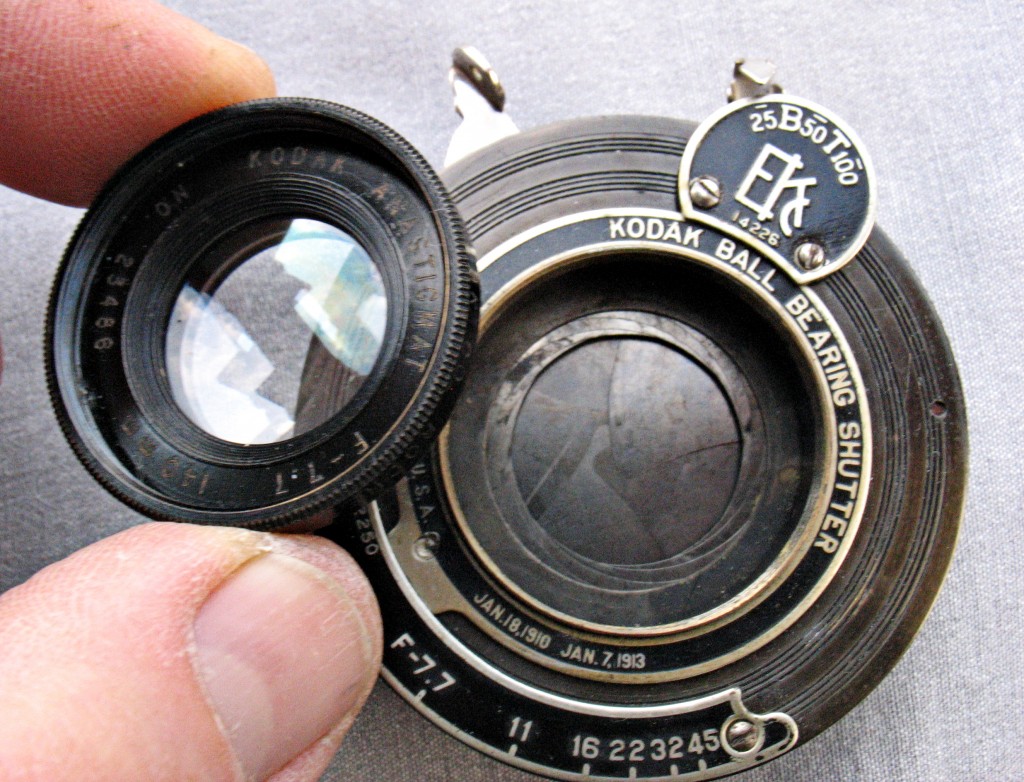
Before working on the shutter, carefully unscrew and clean the front and rear lens elements,
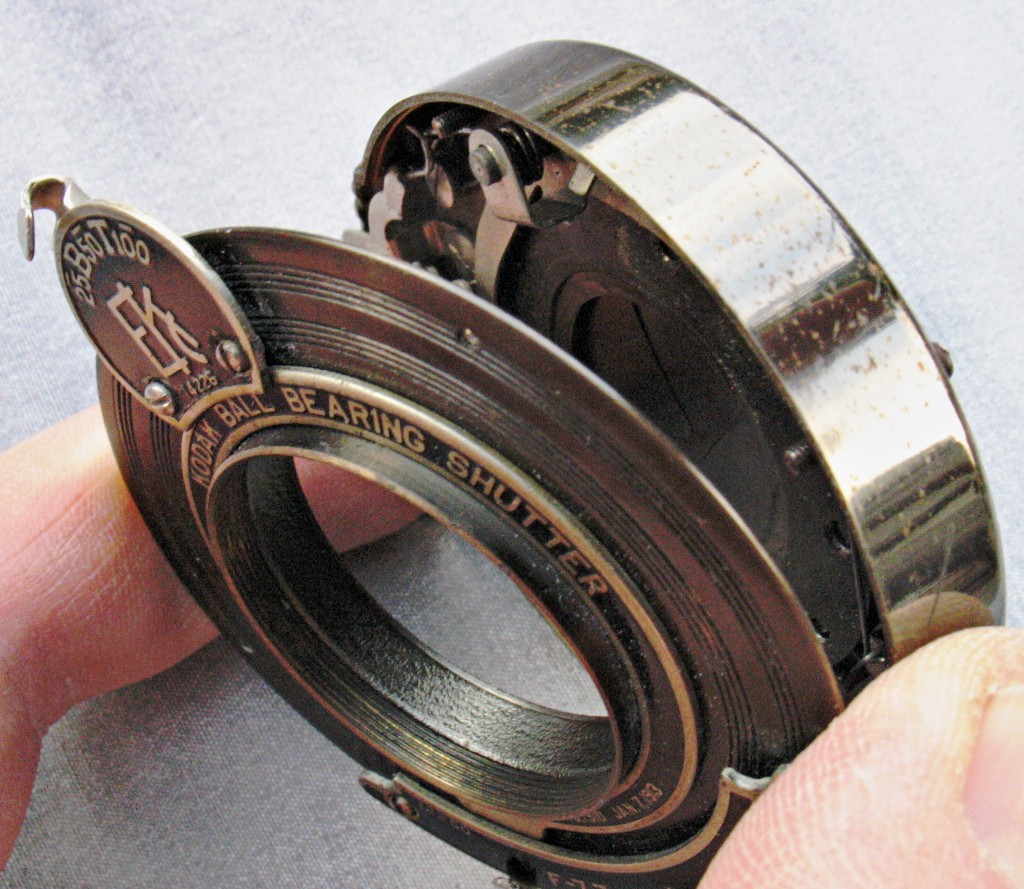
checking for scratches and fungus. There are then two options for disassembling the shutter: removing the front plate piecemeal and cleaning the aperture and shutter speed scales or, for quicker access to the internal mechanism, removing the entire front plate as a unit. This is not possible with more complex shutters, but with the Ball Bearing Shutter, the entire front plate can be removed and replaced as one piece. Turn the shutter over and remove the five peripheral
rear screws that traverse the shutter from front to back; the whole front assembly can then be lifted off intact. If you elect this route, be careful to keep both scales at their original settings
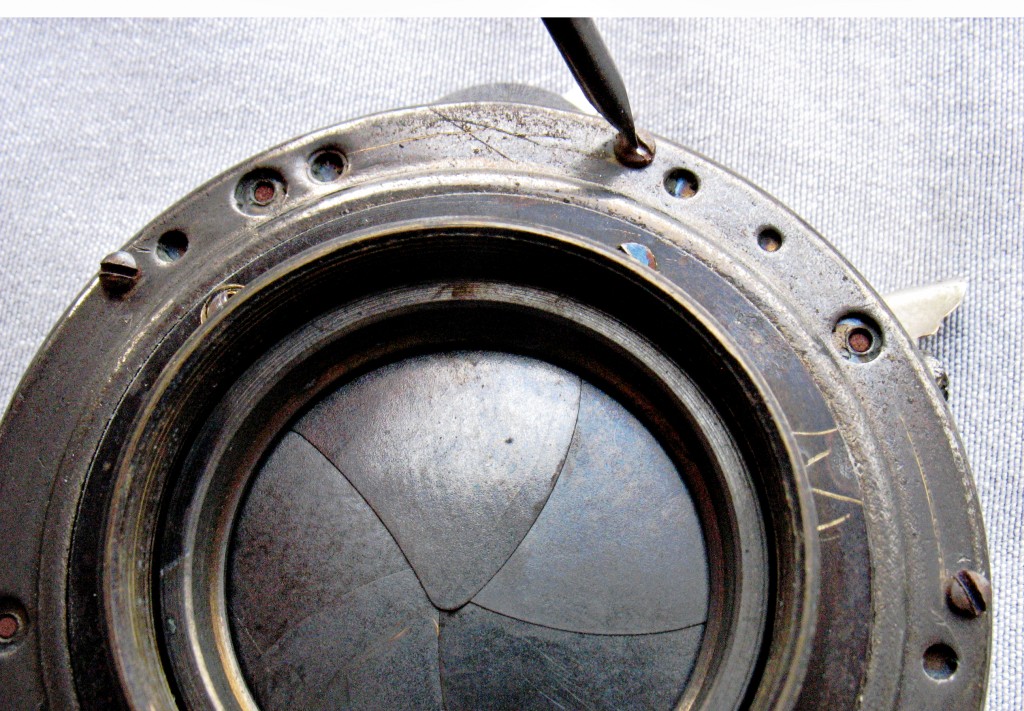
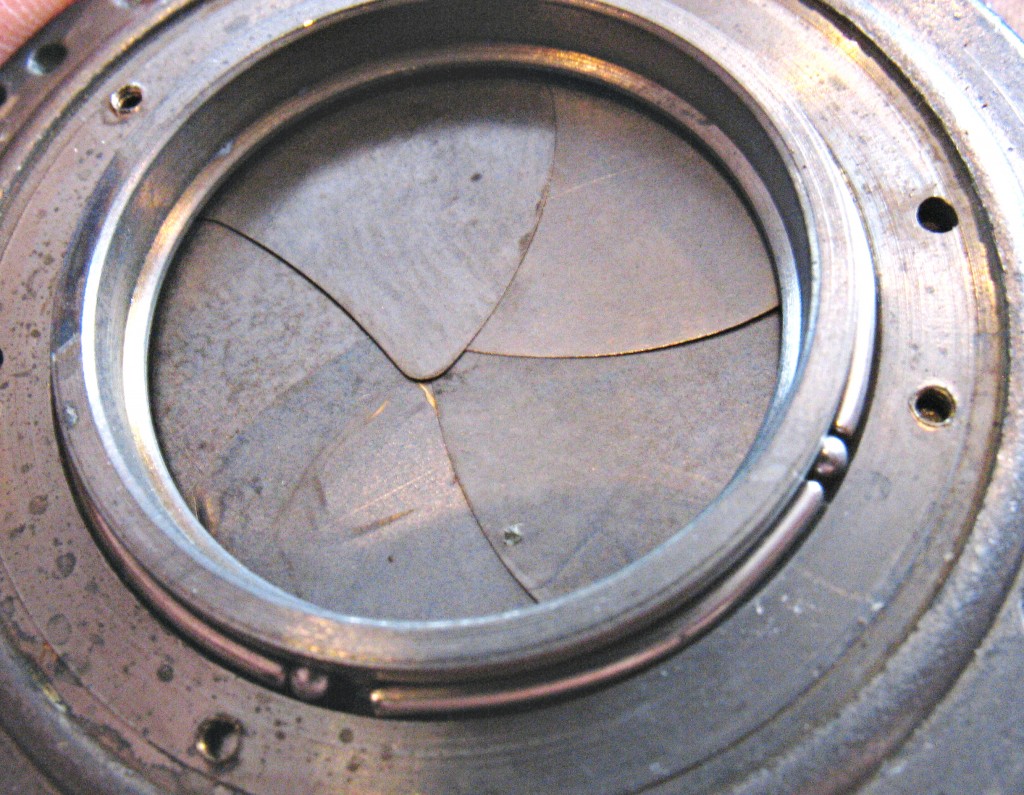
so that they can be reassembled onto the underlying pins in the shutter mechanism. Note that the five shutter blades are visible once the rear element is removed. Be careful not to get fingerprints on the blades, as the oils from your skin can be corrosive over time.
The back plate into which the rear element is screwed covers the shutter ring ball bearing assembly for which this shutter was named; removing the screws attaching this plate reveals the underlying ball bearing race:
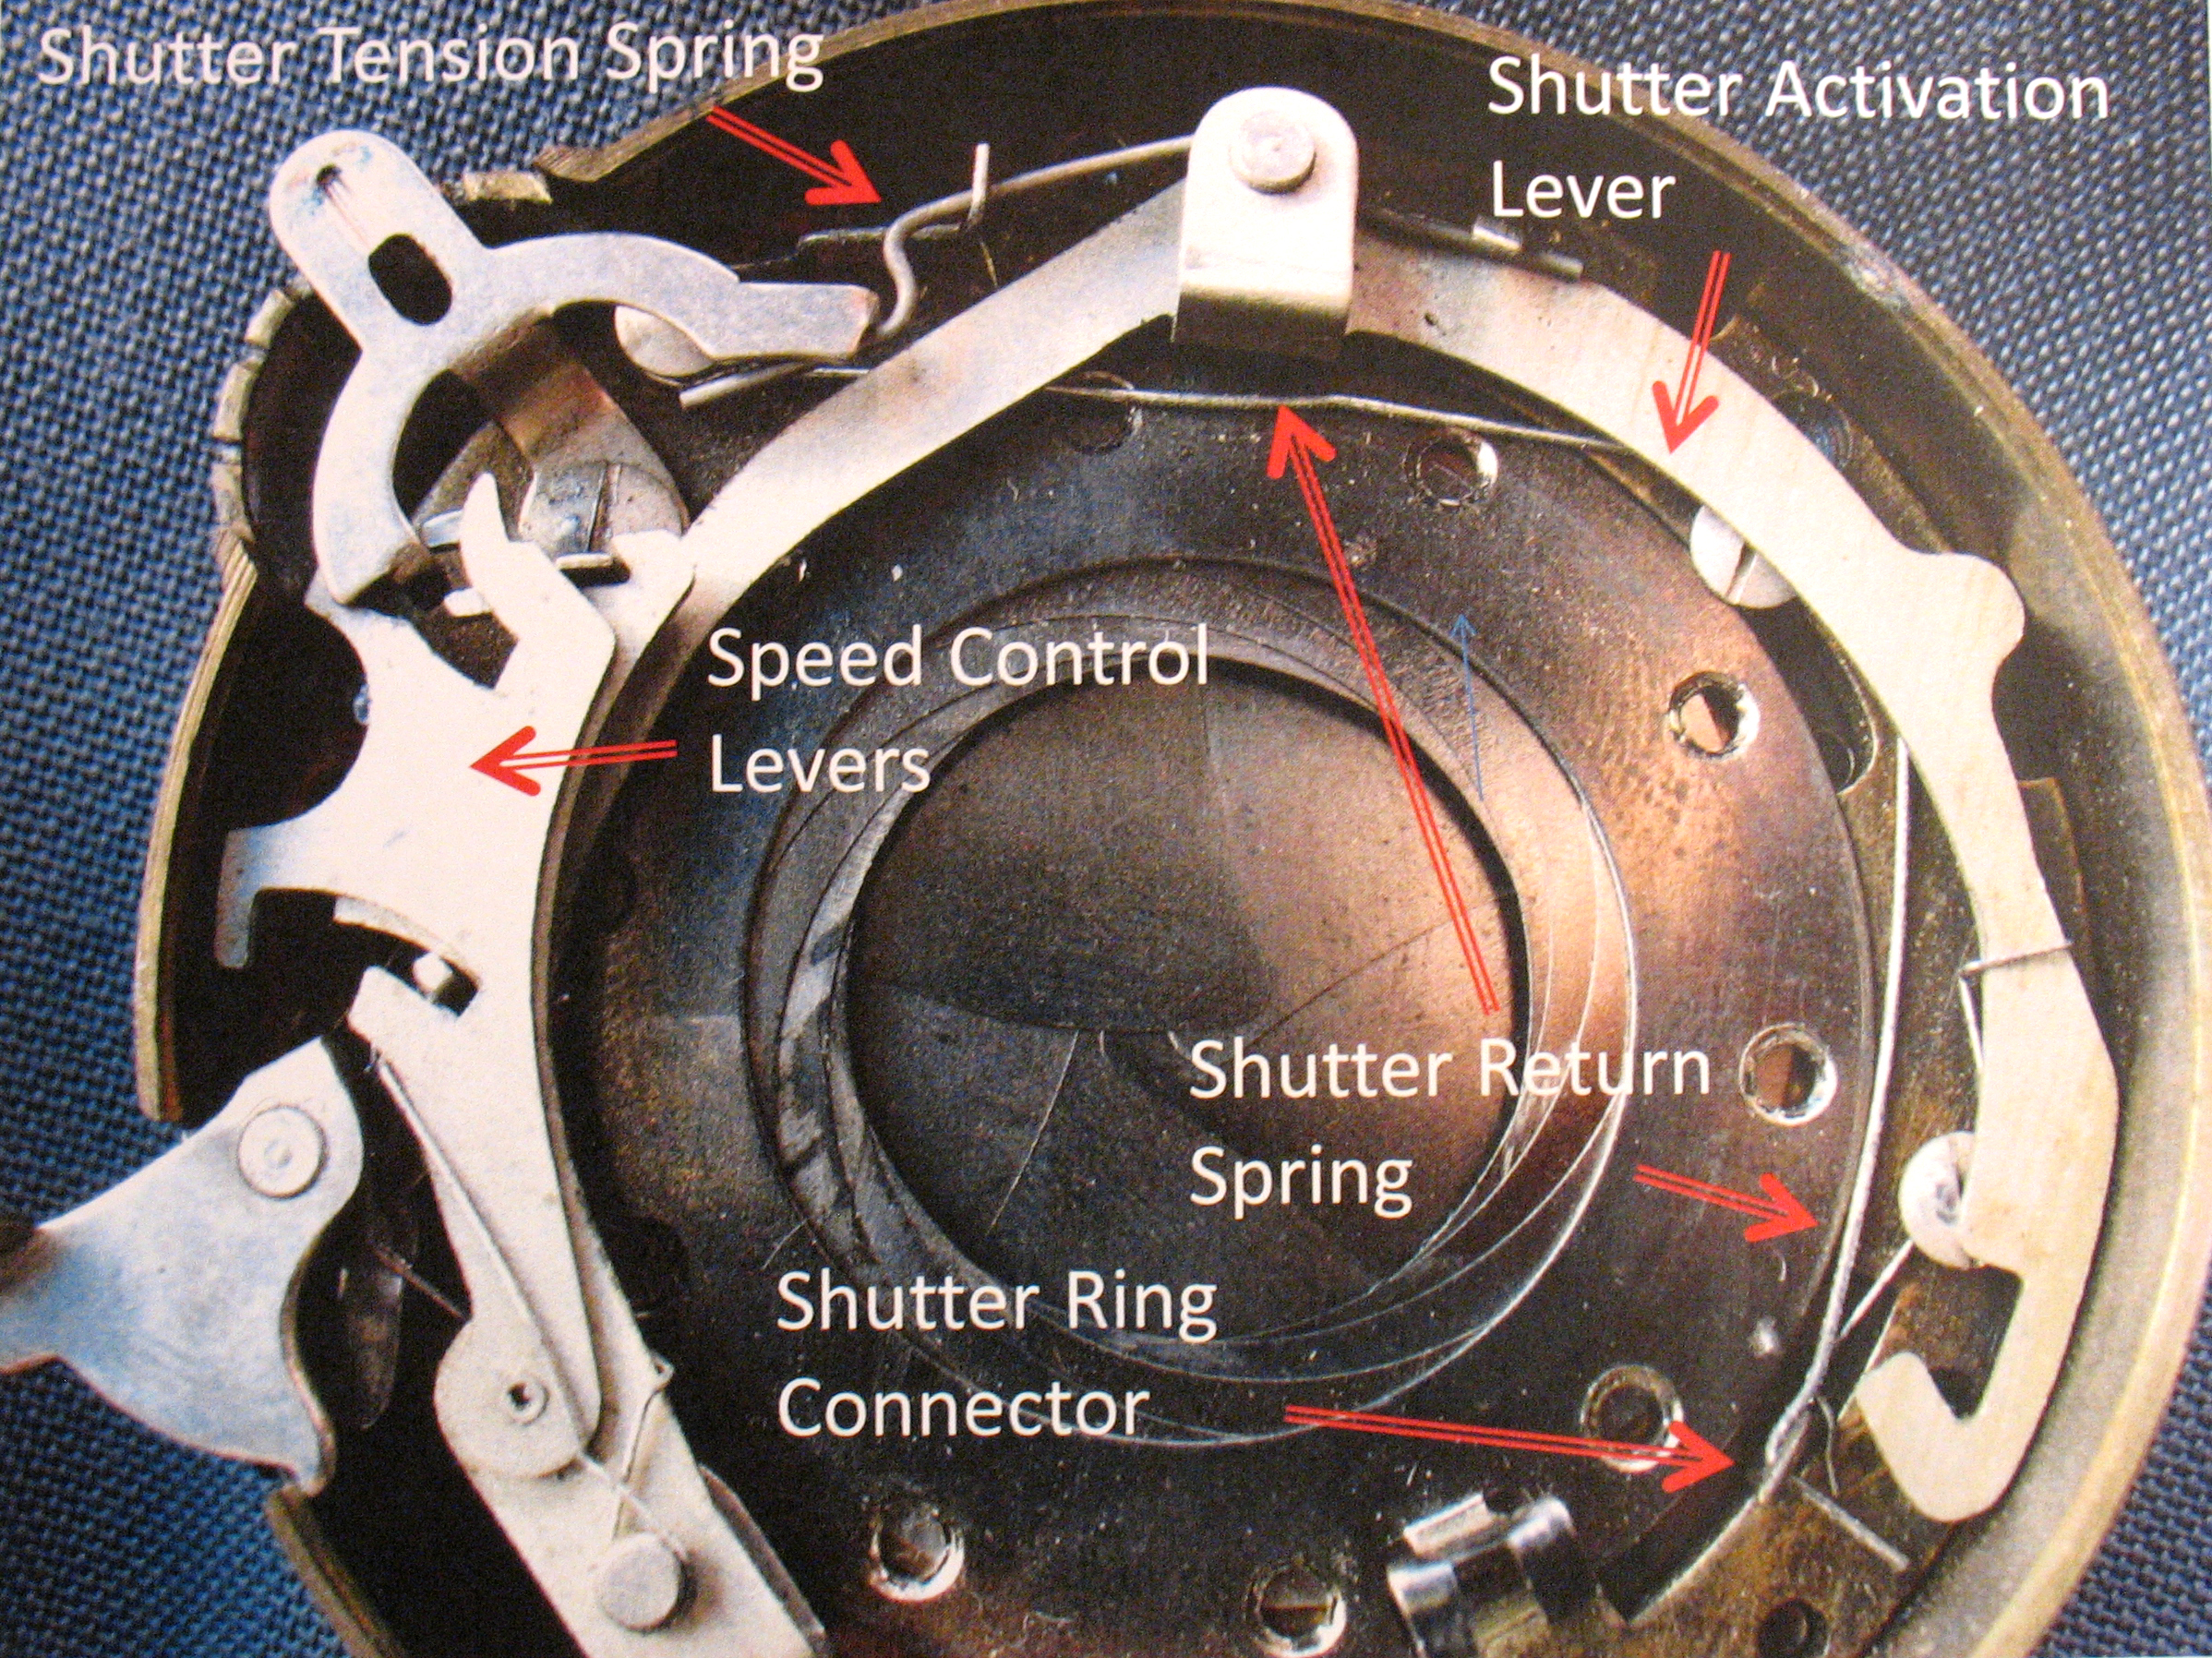
The mechanism of the Ball Bearing Shutter is simple yet ingenious. The shutter release lever (left) both cocks and releases the
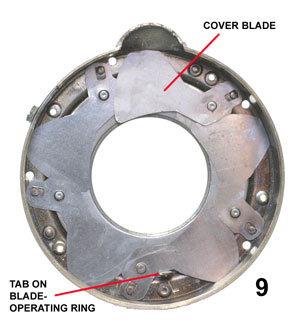
shutter via the C-shaped shutter activating lever that curves around the periphery of the mechanism. The shutter blades are activated by a shutter ring that lies between the blades and the aperture assembly (lying beneath the aperture mechanism, it is not visible in this image, ). Each blade has a fixed pivot together with a small post that fits into a slot on the shutter ring. Opening the shutter is accomplished by rotating the ring; each blade then swings around on its pivot, dragged by the movement of the post as it slides within its slot on the ring.
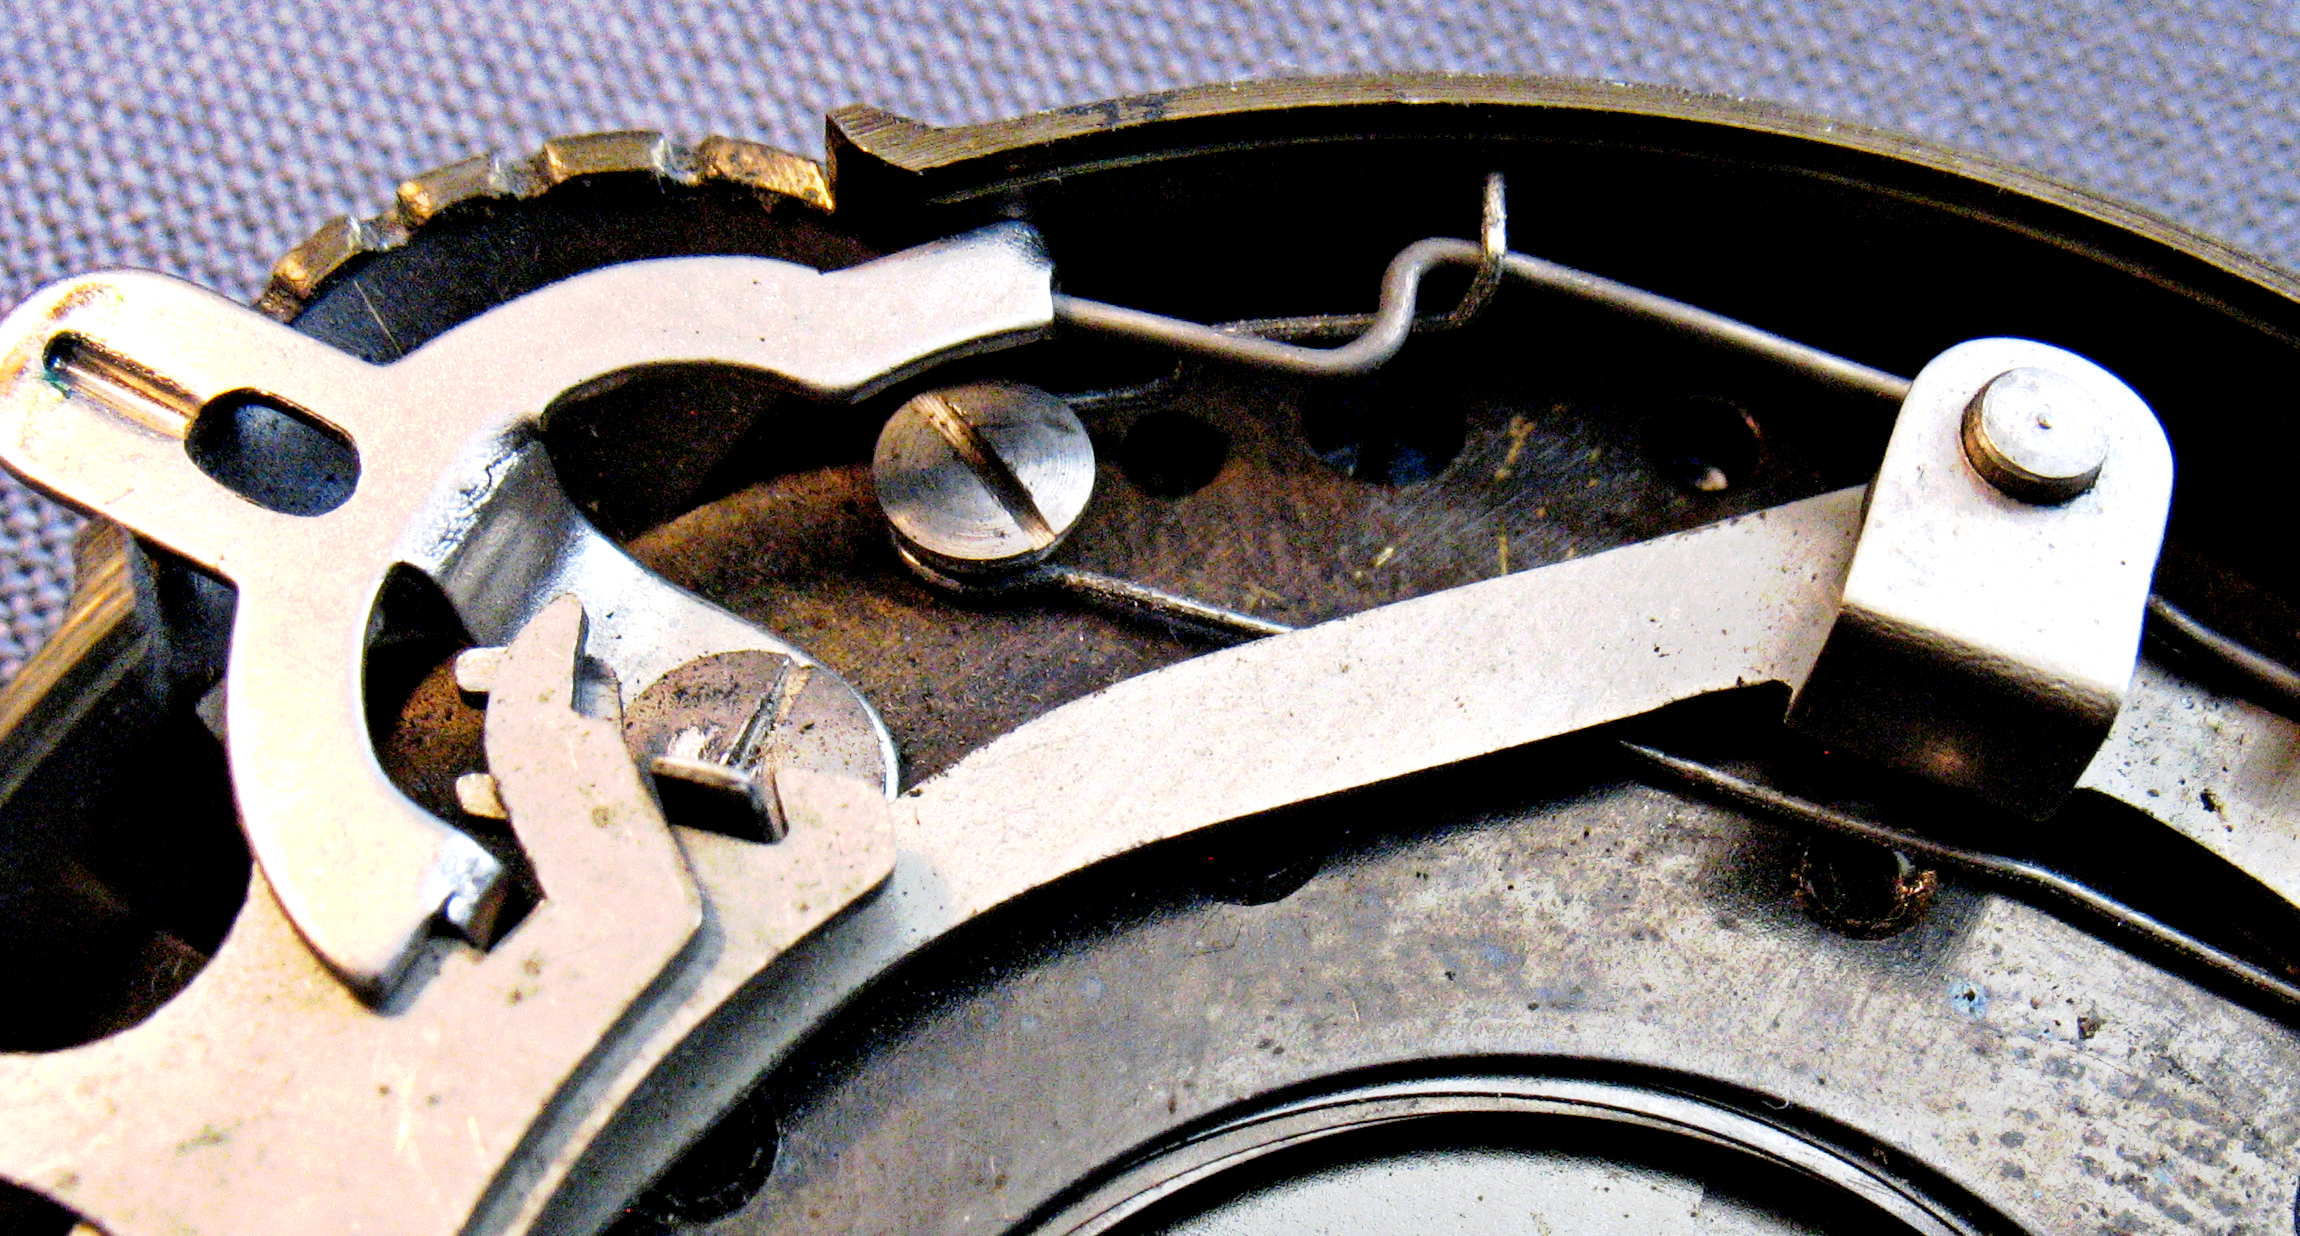
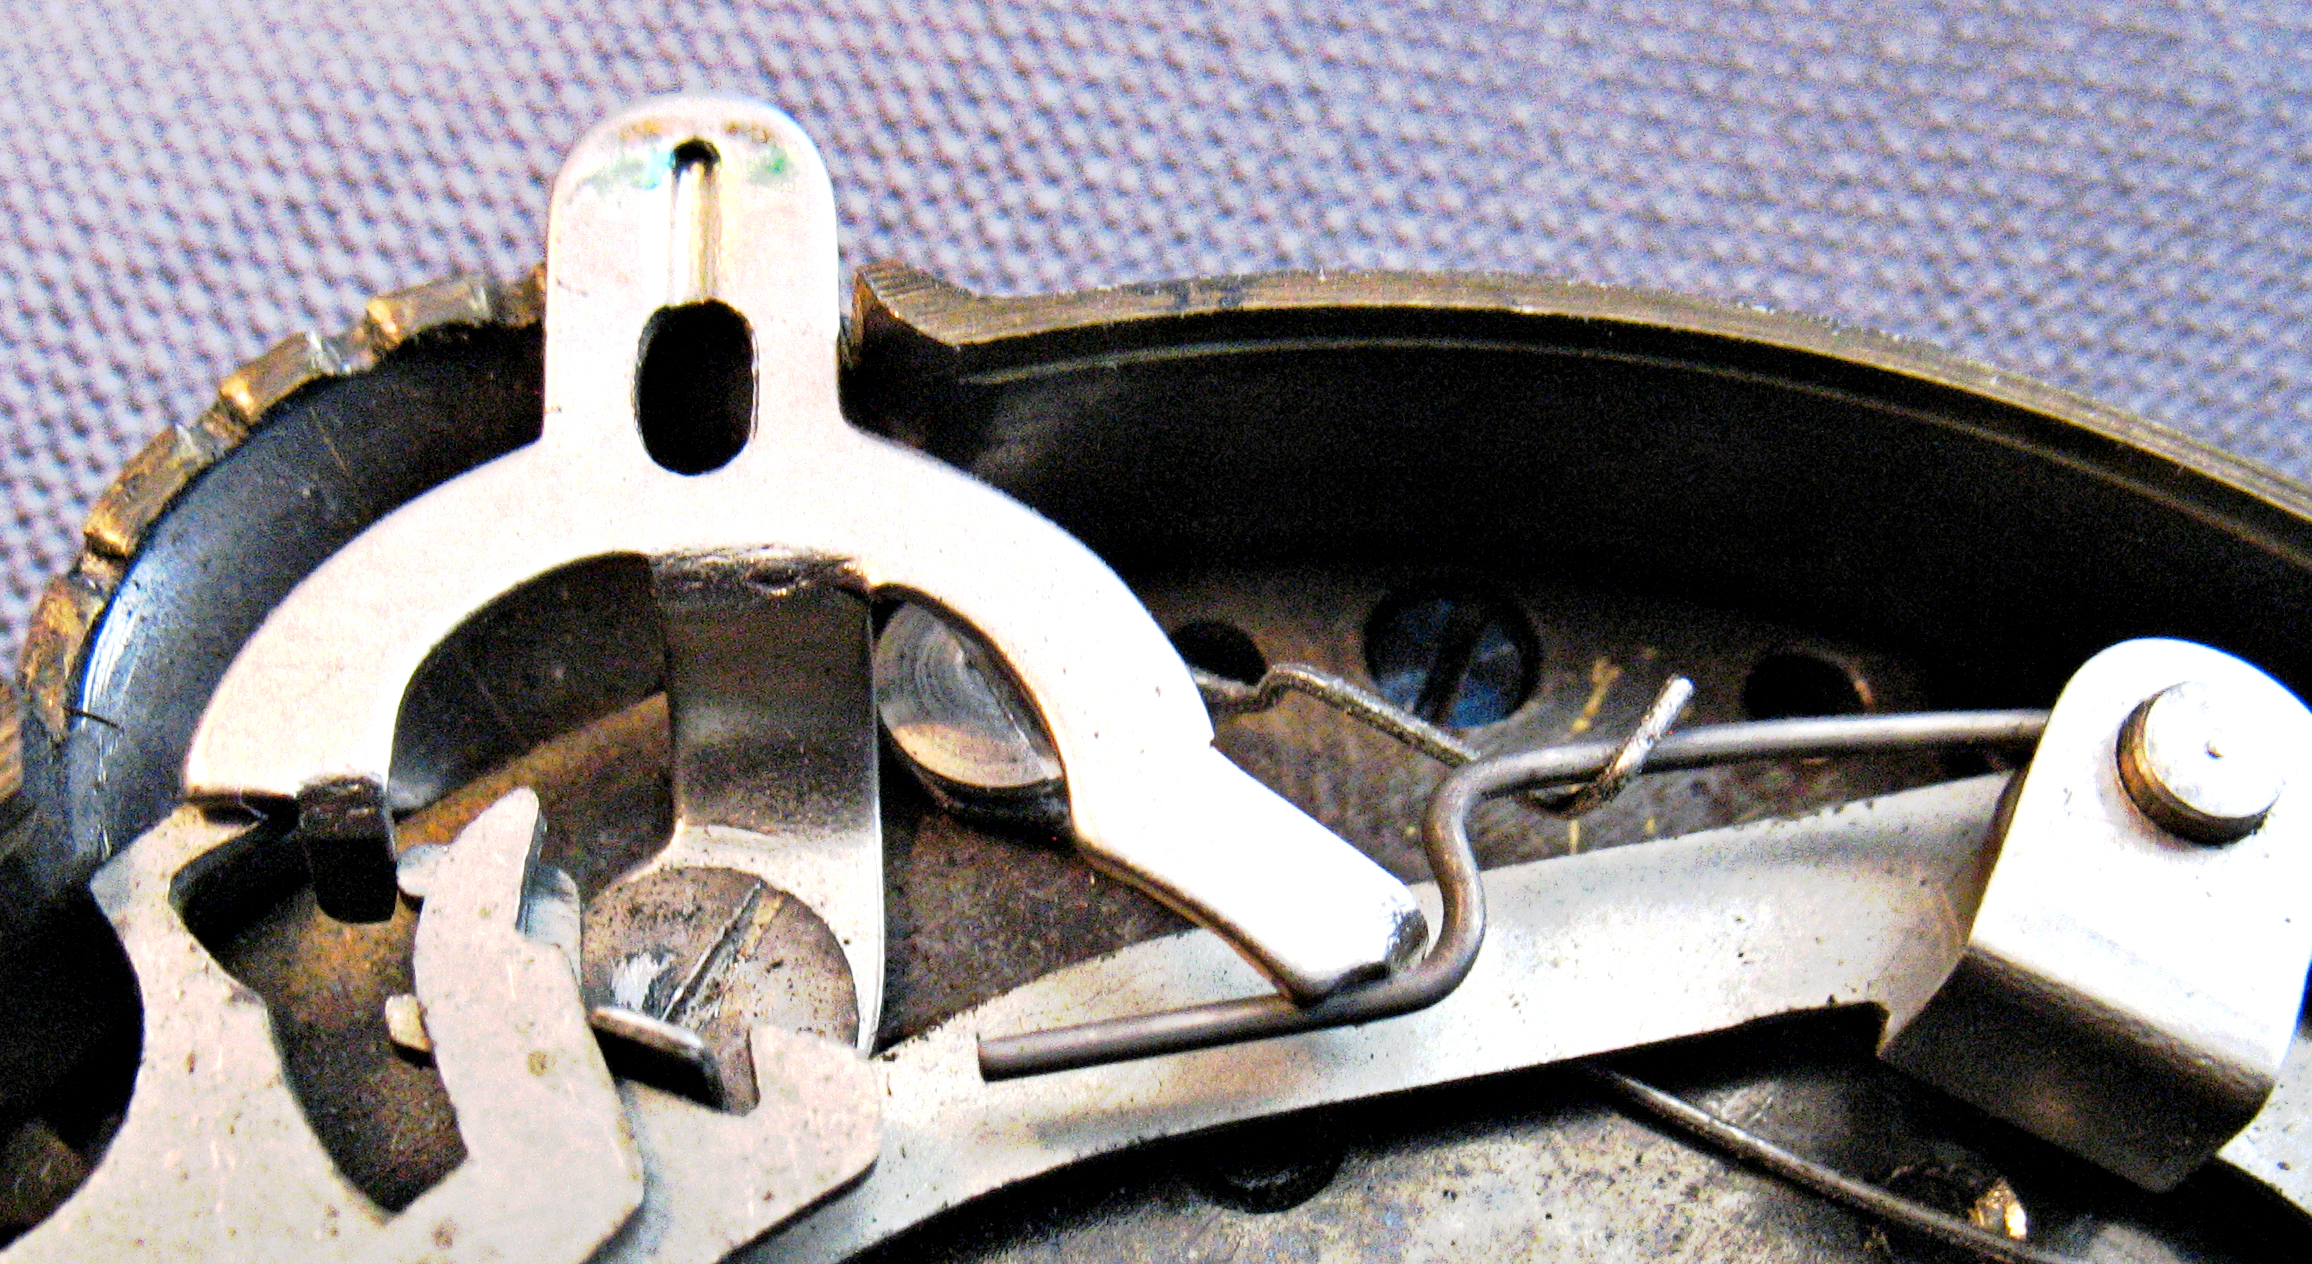
A small metal tab on the shutter ring (the Shutter Ring Connector – barely visible in the image) protrudes upward into the interior of the shutter body. When the shutter is released, the shutter activating lever moves forward, rides up over this tab and then falls down and hooks the tab, pulling it forward and rotating the shutter ring, thus opening the blades. The shutter return spring then rotates the ring back to its original position, closing the blades. The shutter ring connector post and return spring can be better seen at higher magnification:
The overall operation of the shutter can best be appreciated by watching it in action:
Kodak Ball Bearing Shutter Overall Operation from RAND COLLINS on Vimeo.
The interaction of the shutter release lever and the shutter ring activating post can best be appreciated in this close-up video showing the lever riding up over the post, with shutter blades visible in the lower left. After the release lever grabs the post, its action rotates the underlying shutter ring, pulling the blades open. The return spring the forces the post back, reversing the rotation of the underlying shutter ring, and the blades snap closed:
Kodak Ball Bearing Shutter Overall Operation from RAND COLLINS on Vimeo.
The manner in which the shutter ring connector post controls the opening of the blades can best be appreciated by manually moving it with a small screwdriver:
Activating the Shutter Blades with the Shutter Ring Connector Post from RAND COLLINS on Vimeo.
Note that this simple shutter lacks any clockwork escapement or other delay mechanism (such as an air brake), relying entirely on the balance between shutter spring tension and the combined inertia of the shutter activating lever, shutter blades, and shutter blade ring to control the speed. Shutter speed is varied by changing the tension on the main shutter tension spring; note how the tension on this spring increases as the shutter speed lever is moved from the 1/25 sec to the 1/100 sec position:
The shutter speed selector lever also controls shutter speed and function by changing its interaction with the two overlapping speed control levers, whose upper ends possess several cleverly-designed slots and steps. On any shutter speed (1/25, 1/50, or 1/100 sec.), pressing on the shutter release lever opens and closes the blades through the combined actions of the shutter activation lever and the return spring, as the activation lever forces the blades open and snaps back freely under pressure from the spring. At this setting, the configuration of the shutter speed control levers allows the activation lever to cycle freely:
Shutter Control Levers at 1/25 sec. from RAND COLLINS on Vimeo.
When the shutter is on the “B” setting, a step in one of the two speed control levers catches the proximal end of the shutter activation lever before it can return, just as it has pulled the shutter blades to the fully open position:
Kodak BB Shutter: Detail of Function of Speed Control Levers on “B” Setting from RAND COLLINS on Vimeo.
Caught in this intermediate position, the distal end of the shutter activation lever impedes the return of the shutter ring connector post and its attached shutter ring, freezing the blades in the open position:
Kodak BB Shutter: Close-up of Shutter Ring Held Open in T and B Positions from RAND COLLINS on Vimeo.
Releasing the shutter lever frees the shutter activation lever to return to its resting position, allowing the blades to snap shut.
On the “T” setting, slots on the two speed control levers form a pocket that similarly catches the shutter ring activation lever in mid-travel; in this case, the end of the shutter speed control holds this pocket in place this even as the shutter lever is released, leaving the shutter blades open until the shutter is fired a second time:
Function of Shutter Control Levers on “T” Setting from RAND COLLINS on Vimeo.
The action of the distal end of the shutter control lever is the same as on the “B” setting, with the shutter ring post caught at the end of its travel with the blades open (see above).
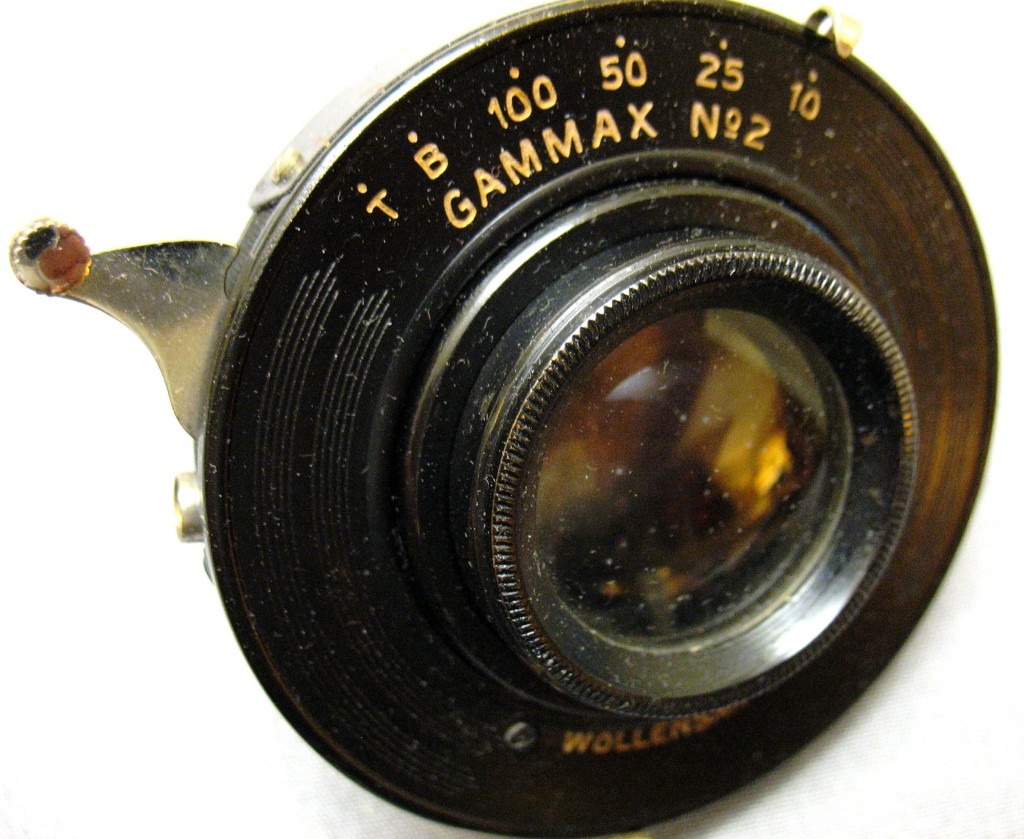
A Simple Clockwork Delay Mechanism: The Wollensak Gammax No.2 Shutter:
This shutter, from another 3A Folding Ansco, is a contemporary of the Kodak Ball Bearing Shutter, appearing as early as 1913 in the Sears catalog on a No 2 Conley Junior. Representing the next
step upward in function and complexity, it has four speeds (1/100, 1/50, 1/25, and 1/10 sec.) and employs a very simple clockwork delay mechanism. It is fascinating to see how the Gammax builds on Kodak’s design, using two interacting speed control levers and a semicircular shutter activation lever, coupled with a more sophisticated shutter ring control system that can interact with the clockwork delay:
References:
Huego, P. Kodak Ball Bearing Shutter. http://www.vintage-camera-repair.info/ball%20bearing%20shutter.htm.
Infotech posting. “Kodak Ball Bearing Shutter.” http://www.Infotech posting. “Kodak Ball Bearing Shutter.” http://www.vintage-camera-repair.info/ball%20bearing%20shutter.htm.


YouTube
jdpow123 has made a comment on Kodak Ball Bearing Shutter 1/25 sec.:
How did you get the shutter assembly off of the camera? I’m a little scared to apply too much force.
In most cases, there is too much front hardware to allow the lens to be removed by just rotating it, and it is necessary to remove the rear retaining ring.
See the following posting for the procedure to do this on an antique Ansco:
https://throughavintagelens.com/2010/06/restoring-vintage-cameras-v-the-3a-ansco-restoration-step-by-step/
Good luck!
Glad I found this, I have a ball bearing shutter from an autograph 1A that won’t fire. It seems that the shutter release lever is rising over the shutter post but not connecting. I’m not sure if this is because the post has worn away or the release lever is bent. I’m not willing or able to completely dissasemble the shutter to get the post out, but was wondering if applying some solder to the post to extend it higher so that the lever would catch would be a cheap fix? Or perhaps I’d ruin it completely 🙁